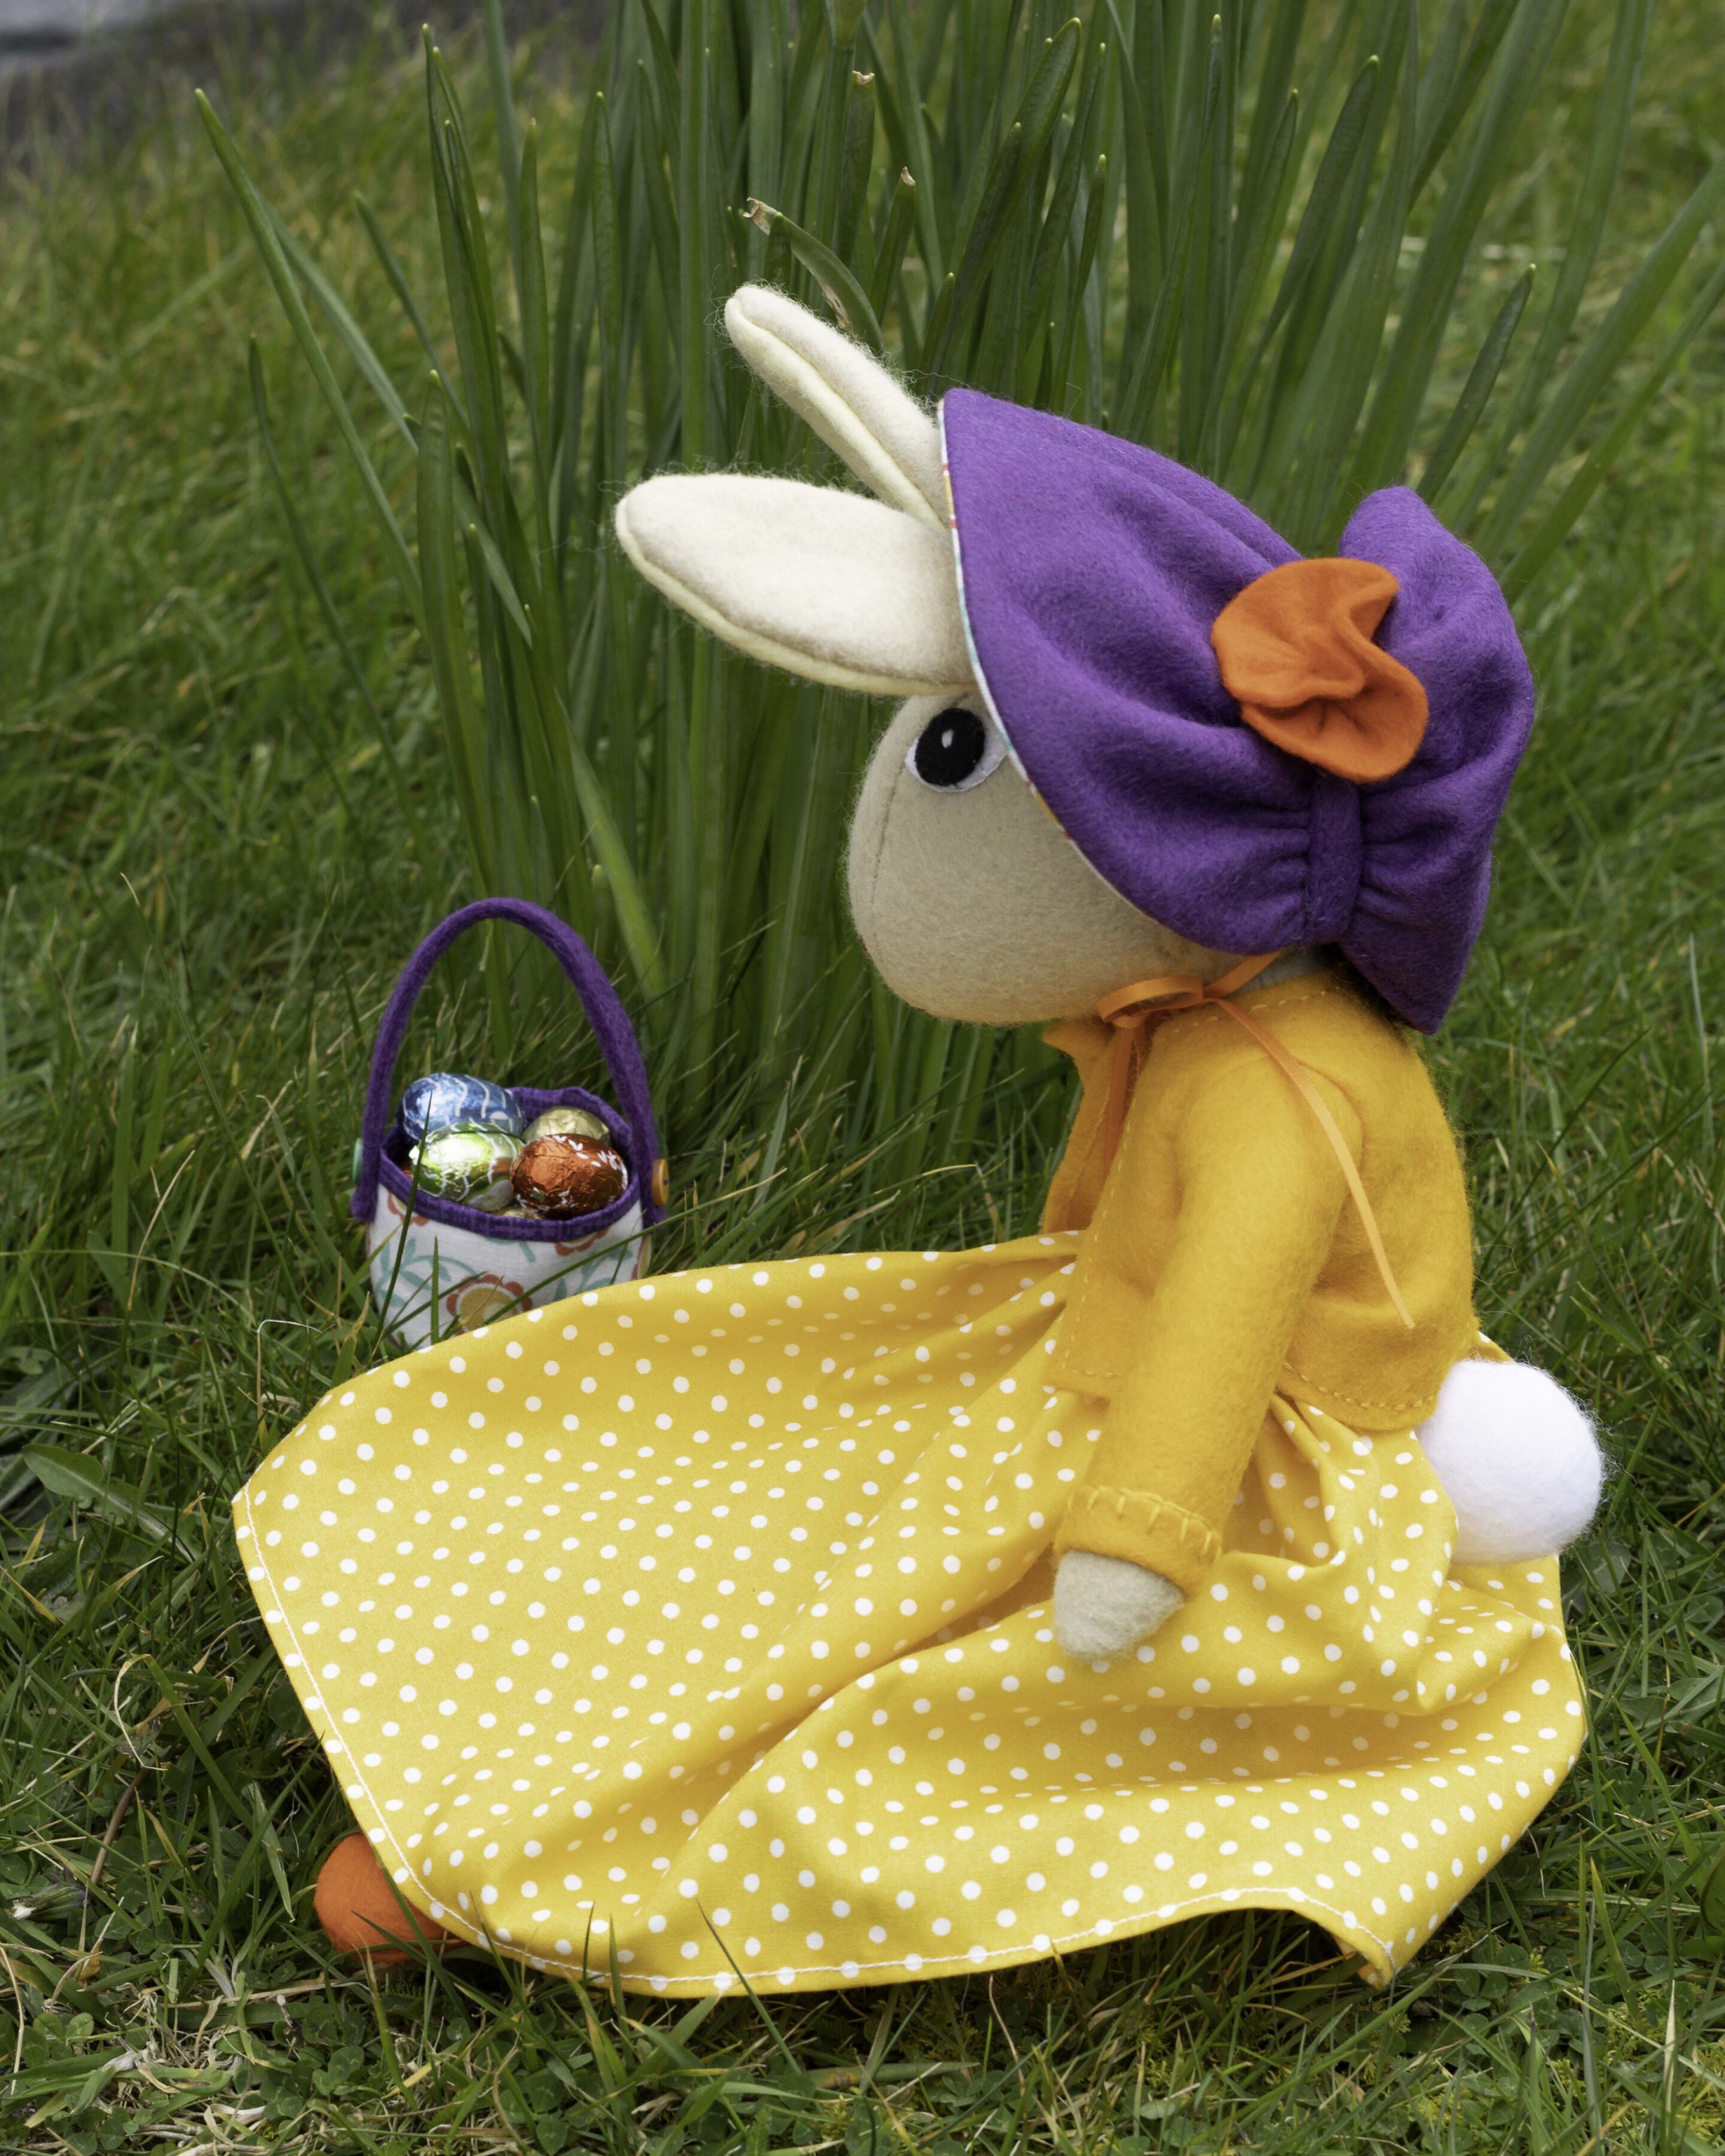
Tabitha Rabbit becomes an Easter Bunny with the addition of a traditional bonnet trimmed with flowers, and a little fabric basket to fill up with treats when she goes on an Easter egg hunt!
You can find the pattern for Tabitha and her dress, jacket and shoes here. I’ll show you how to make the bonnet and basket below.
I used my sewing machine for the long seams in this project but you can also stitch it all by hand.

Making the Basket
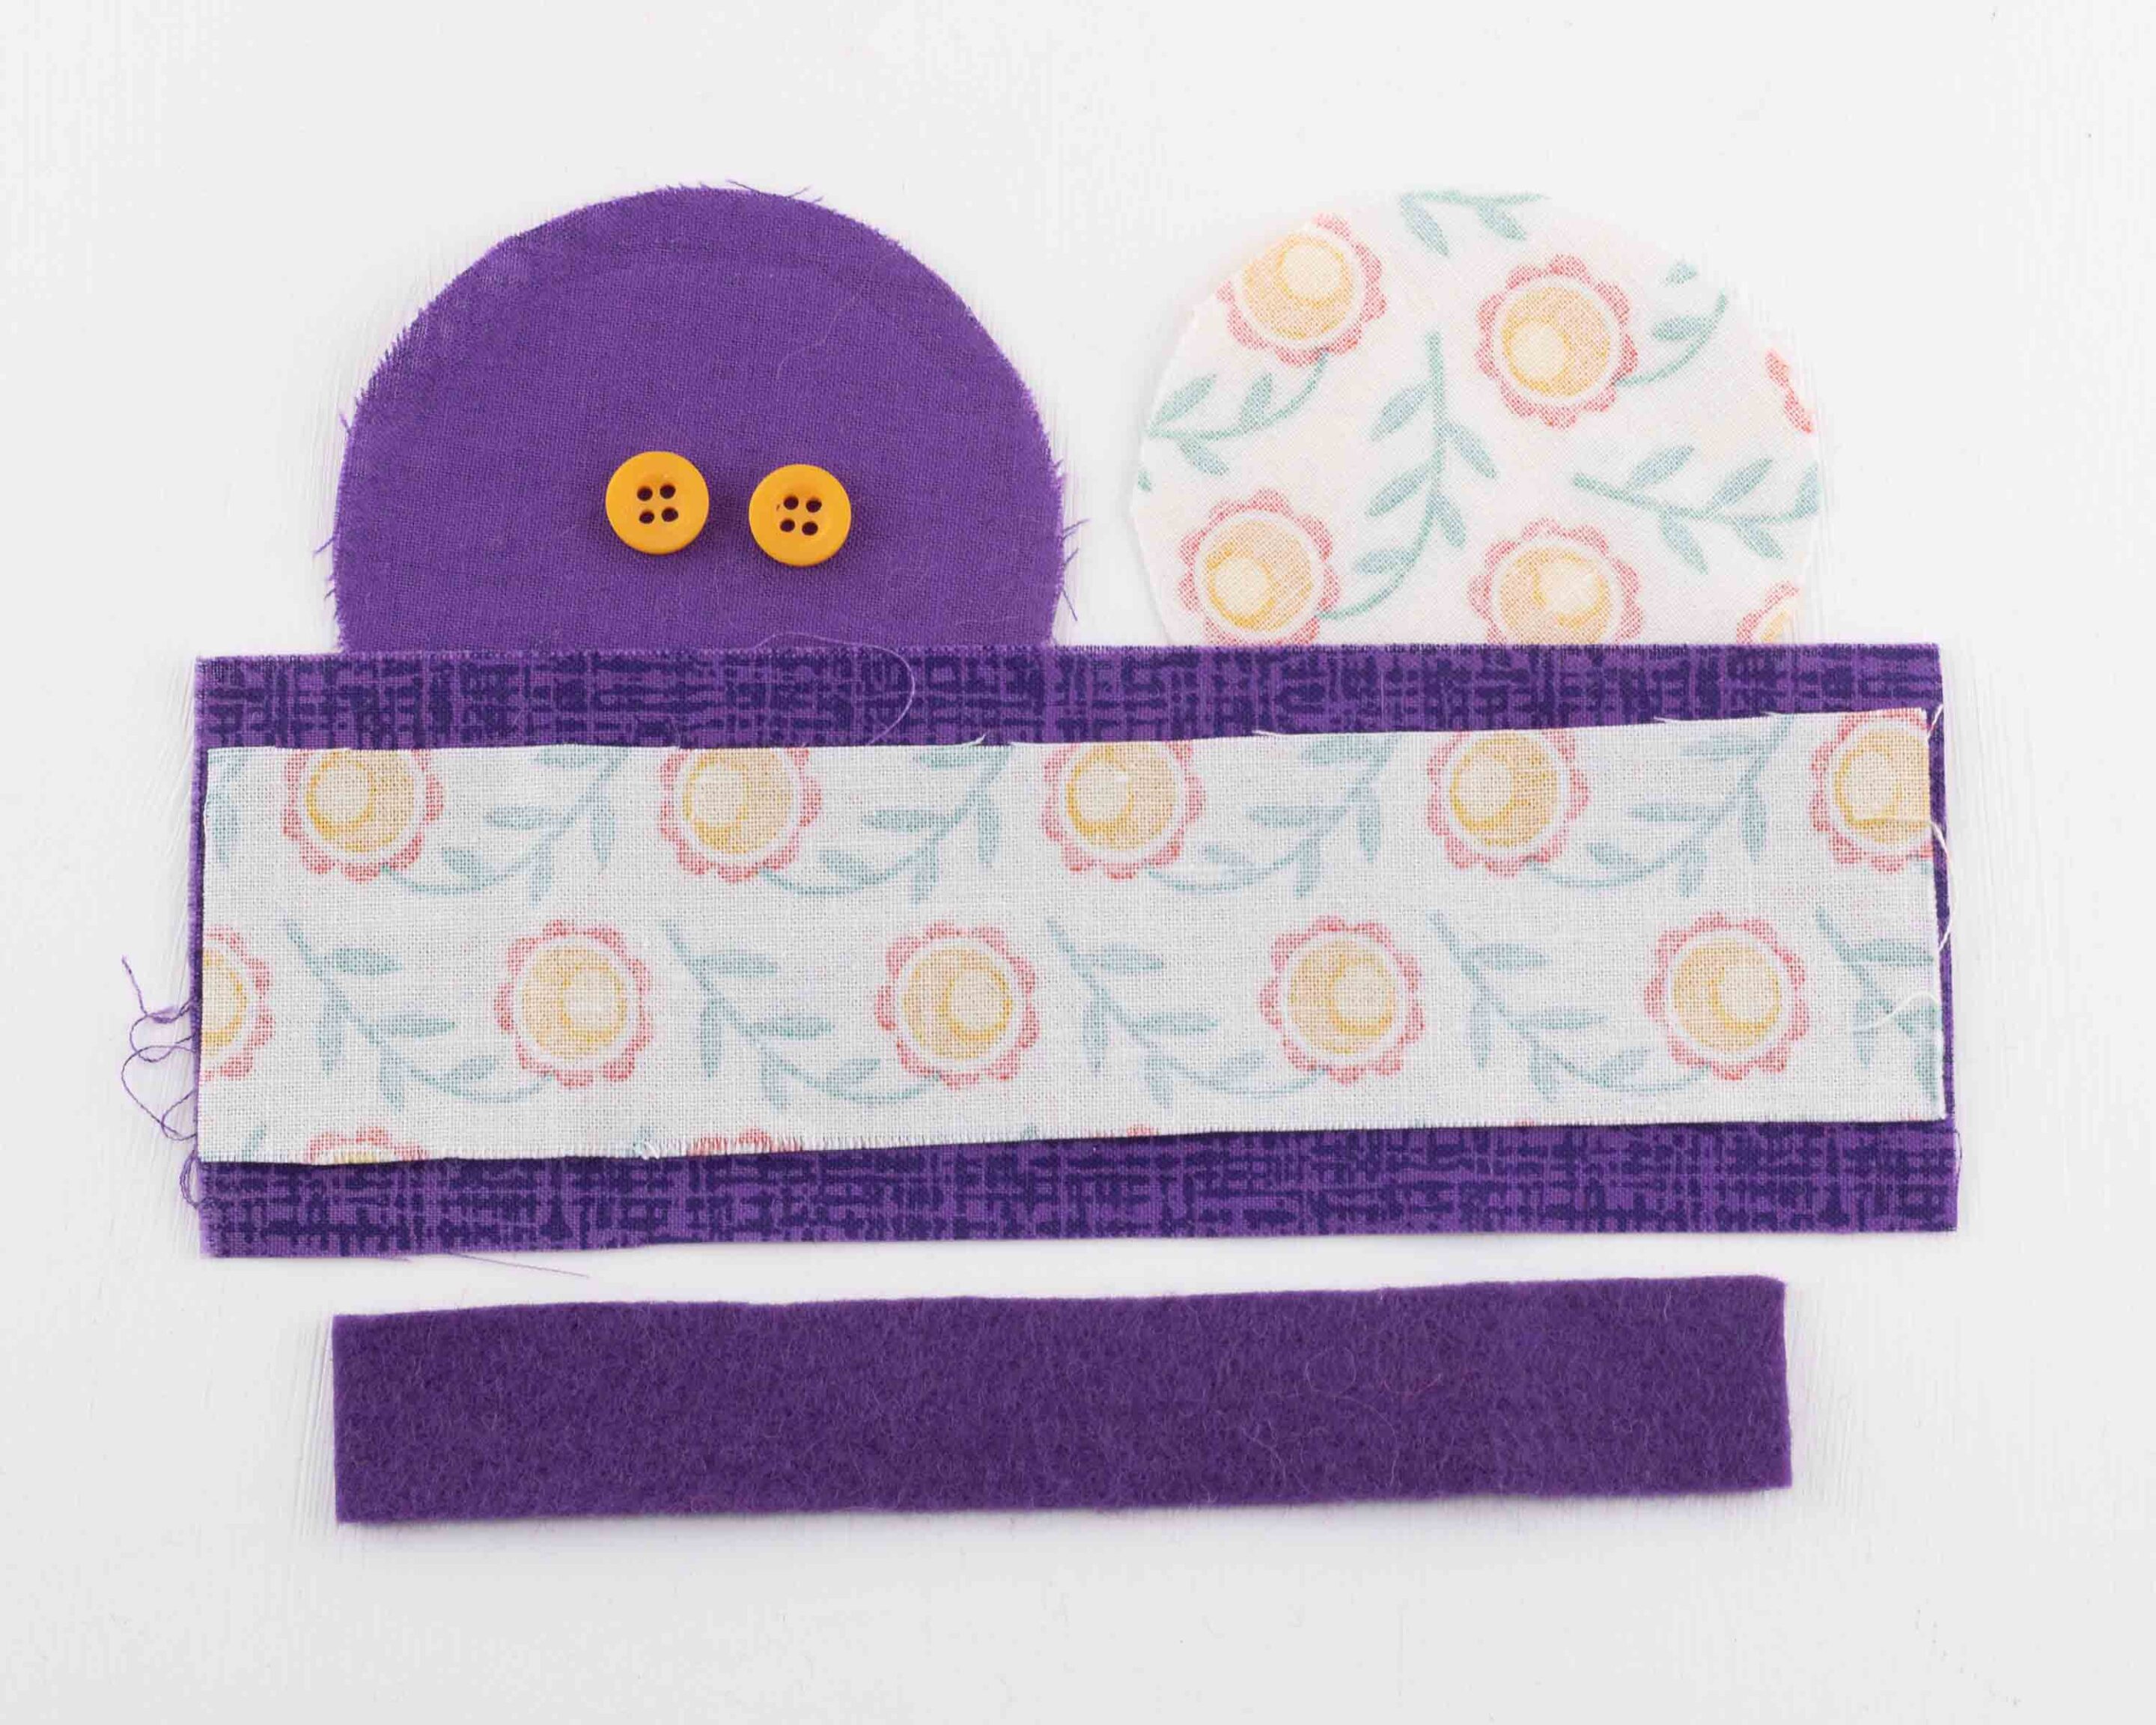
You’ll need the following materials;
Cotton print fabric 17 x 4 cm ( 6.3/4 x 1.1/2 inch) and a circle 7cm (2 3/4 inch) in diameter
Cotton print for lining 17 x 6cm (6.3/4 x 2 3/8 inch) and a circle 6cm (2 3/8 inch) in diameter
A circle of card 5cm (2 inch) in diameter
14 x 2cm (5 1/2 x 3/4 inch) felt for the strap
2 x 10mm (3/8 inch) or similar size buttons
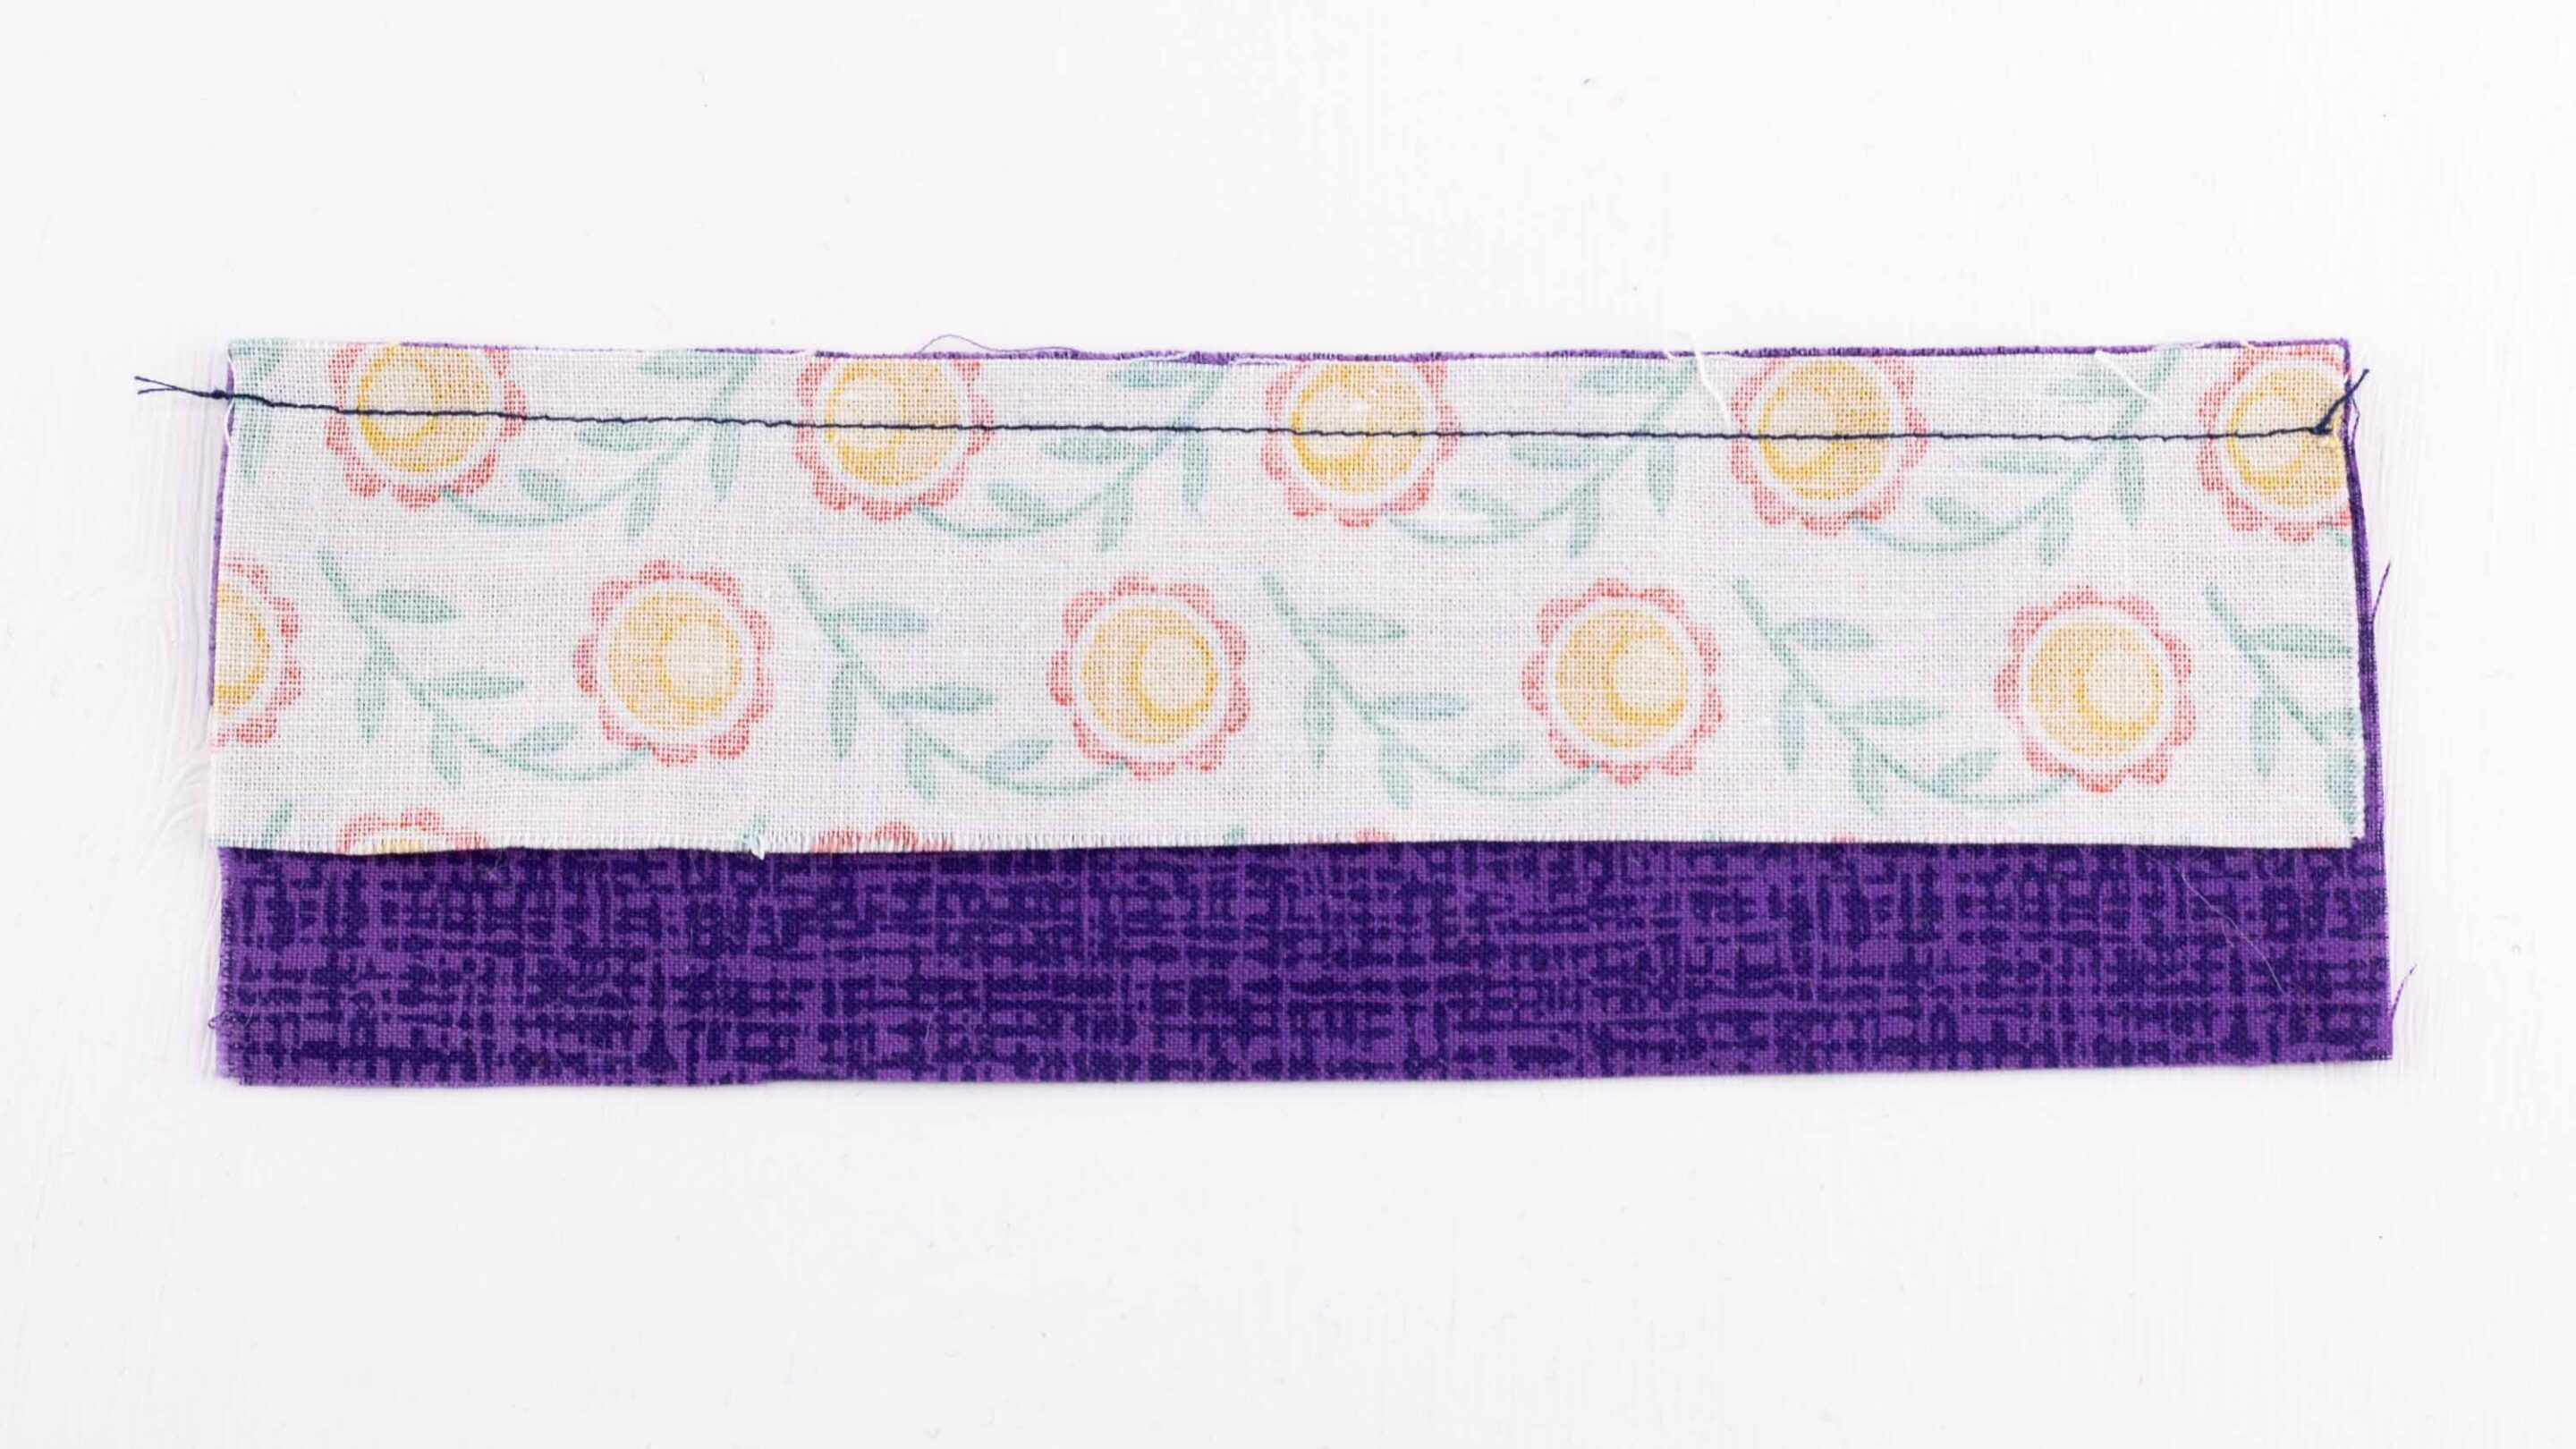

Place the two pieces of cotton fabric,right sides together, and stitch along one long edge. Trim 5mm (1/4 inch) from the seam.
Turn right side out, folding the lining back over the seam allowance to make a border along the top edge, then press. Trim off any excess lining along the lower edge.
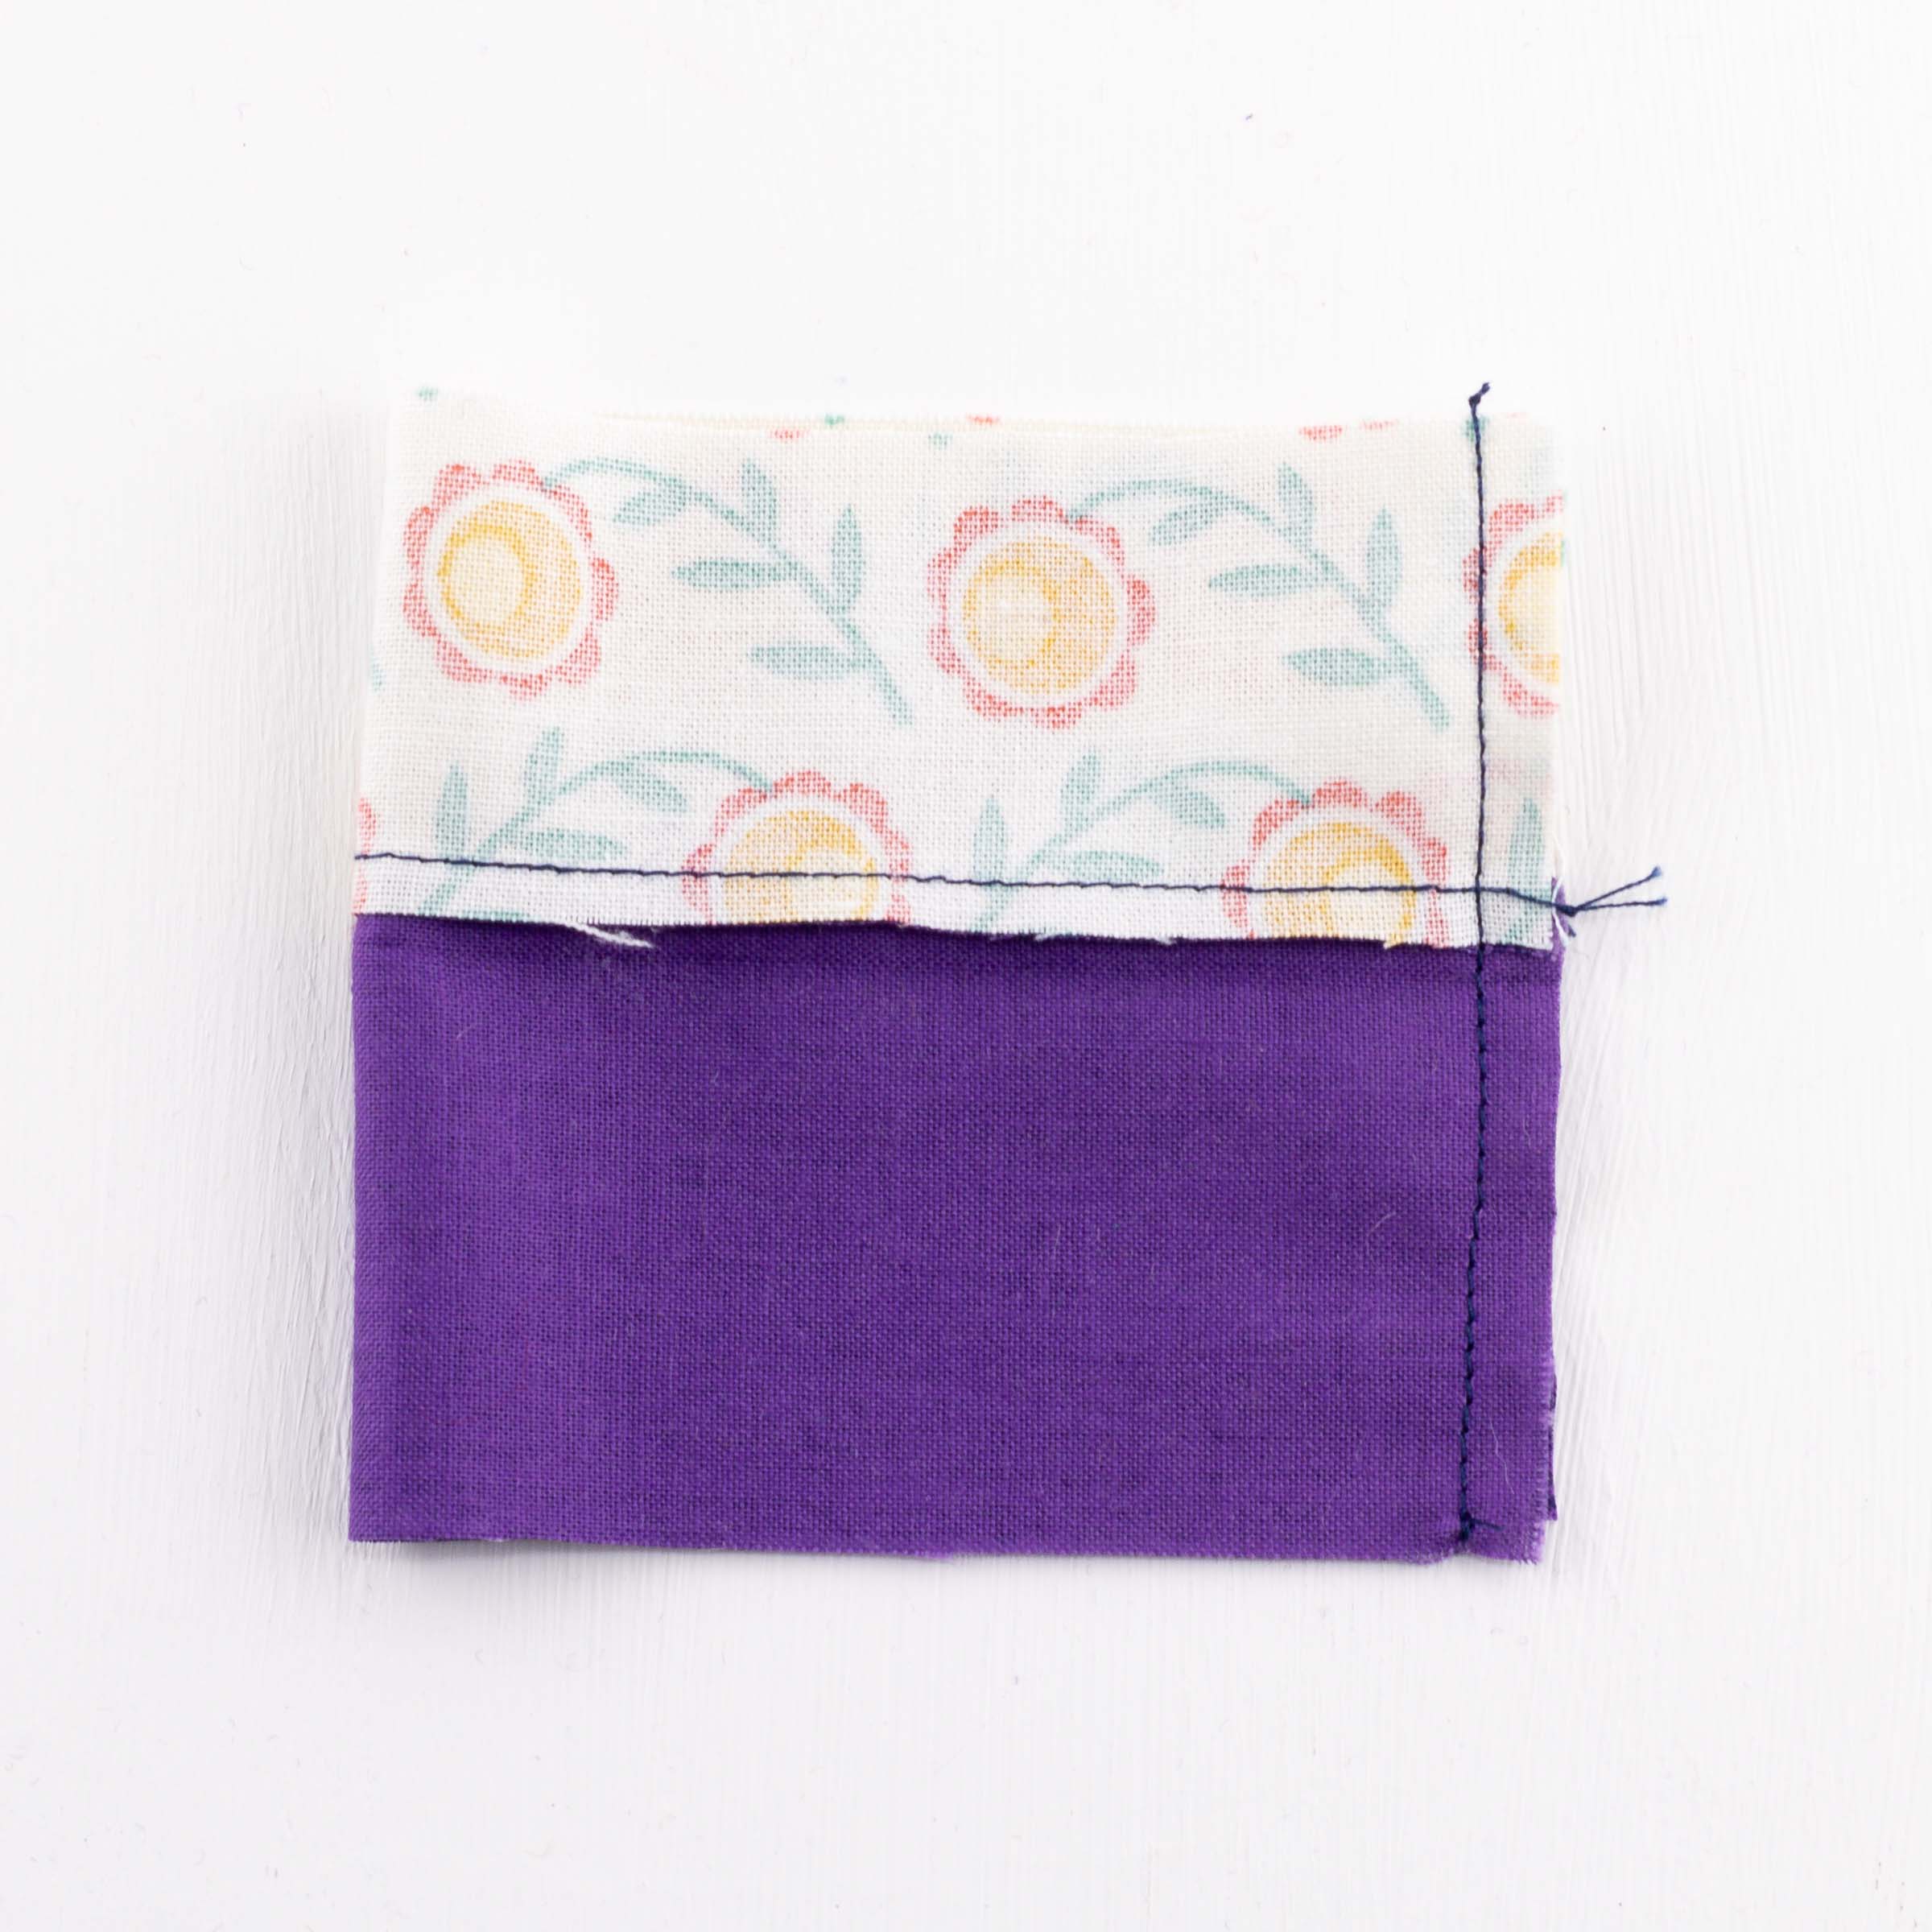
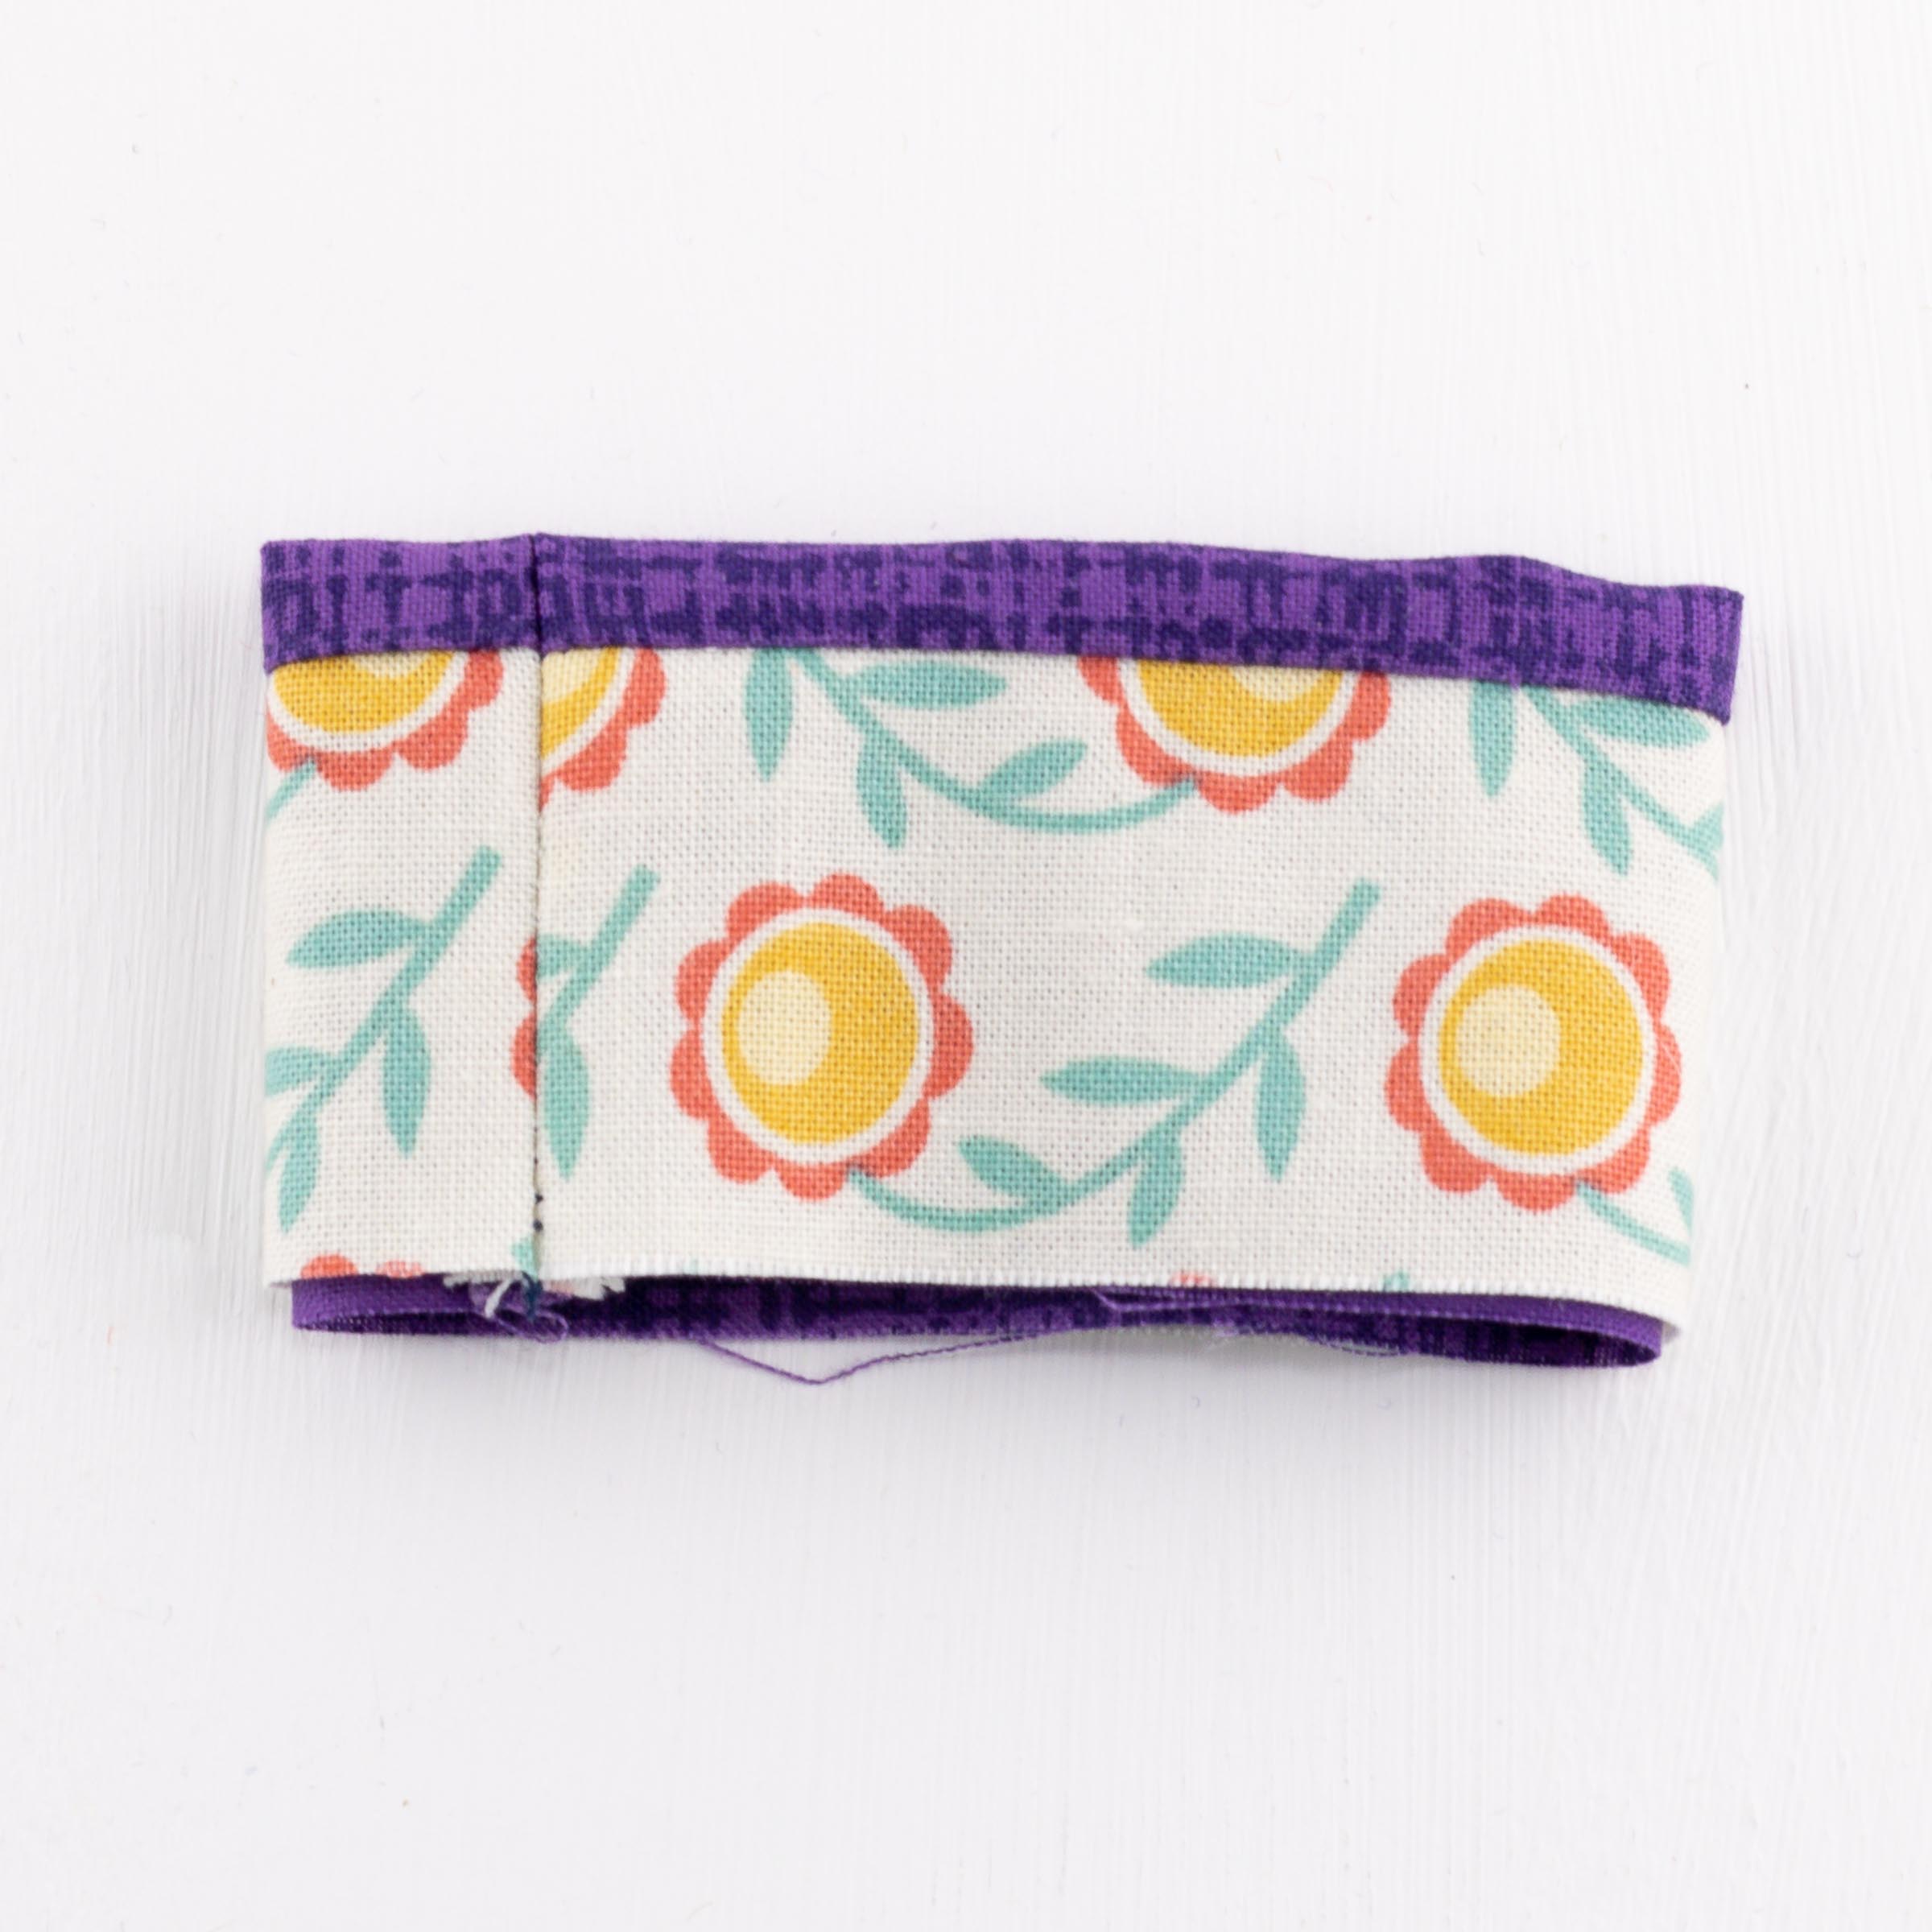

Open the pieces out and fold in half, right sides together again. Stitch along the short edge.
Fold the outer and lining back together
Turn the basket so the outer fabric is on the inside, and pin the outer fabric circle to the lower raw edge, easing it to fit. Make sure the back of the fabric faces outwards.. Stitch in place by hand and turn the basket right side out.
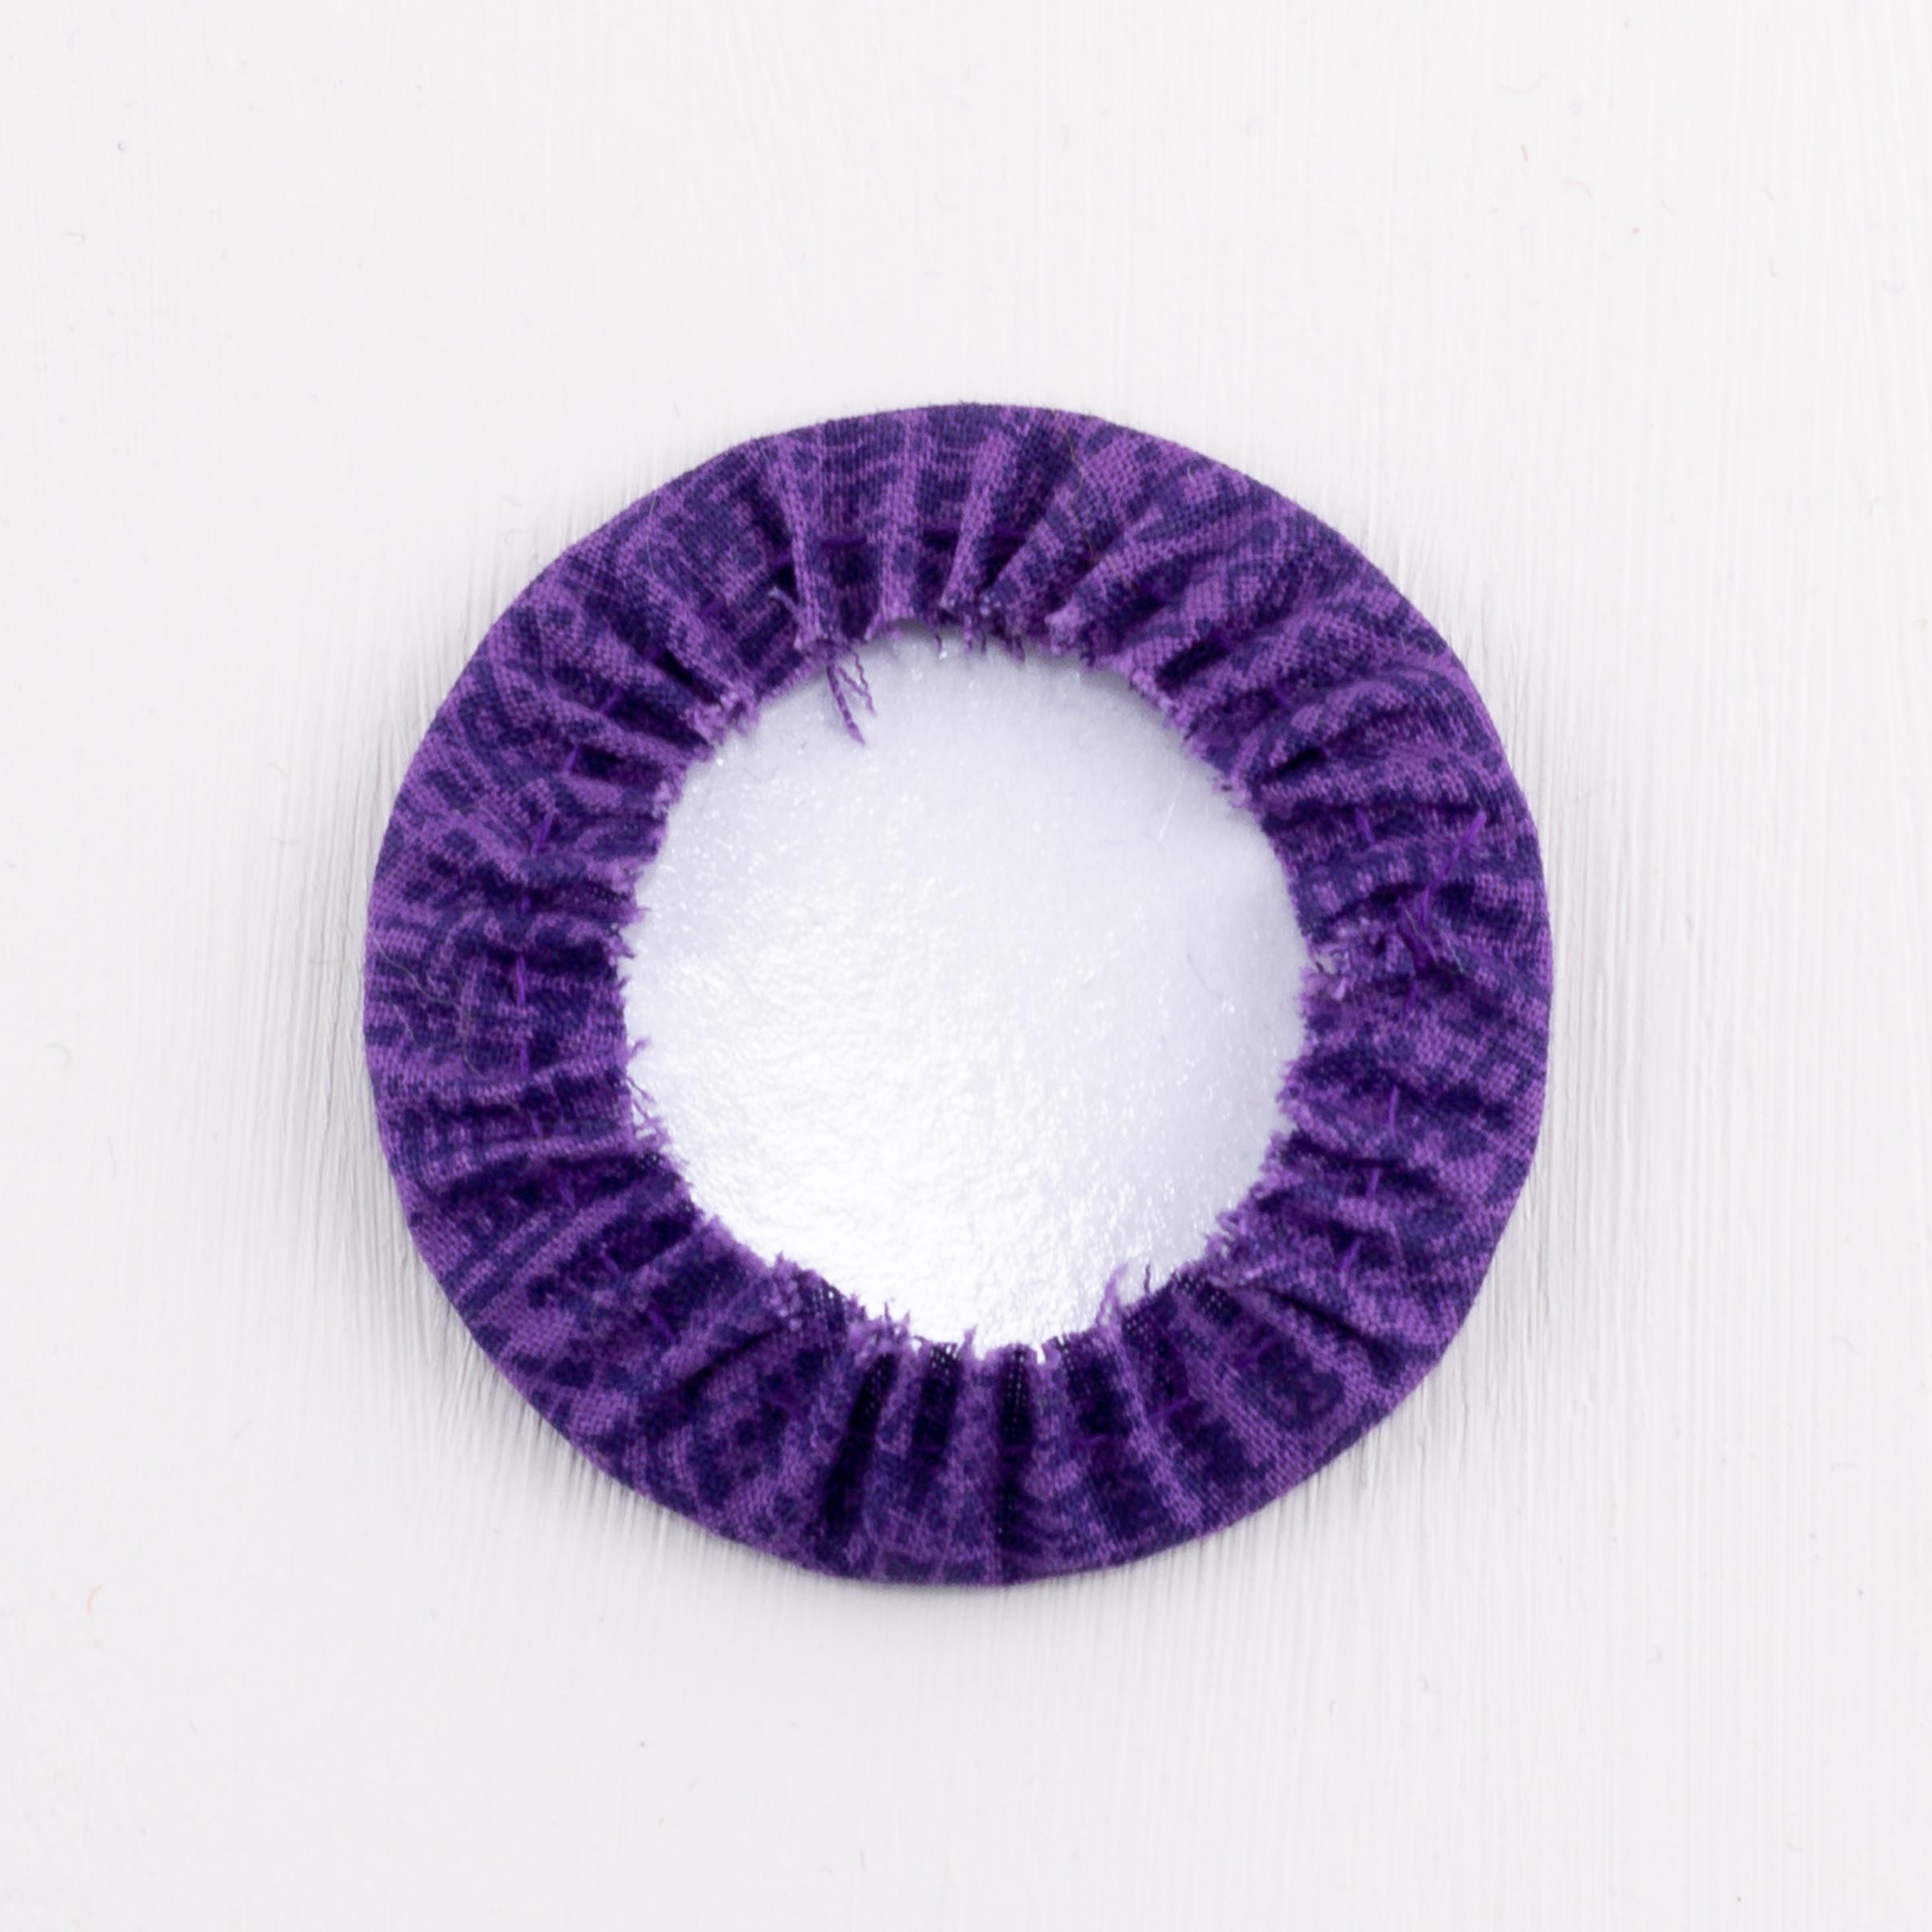
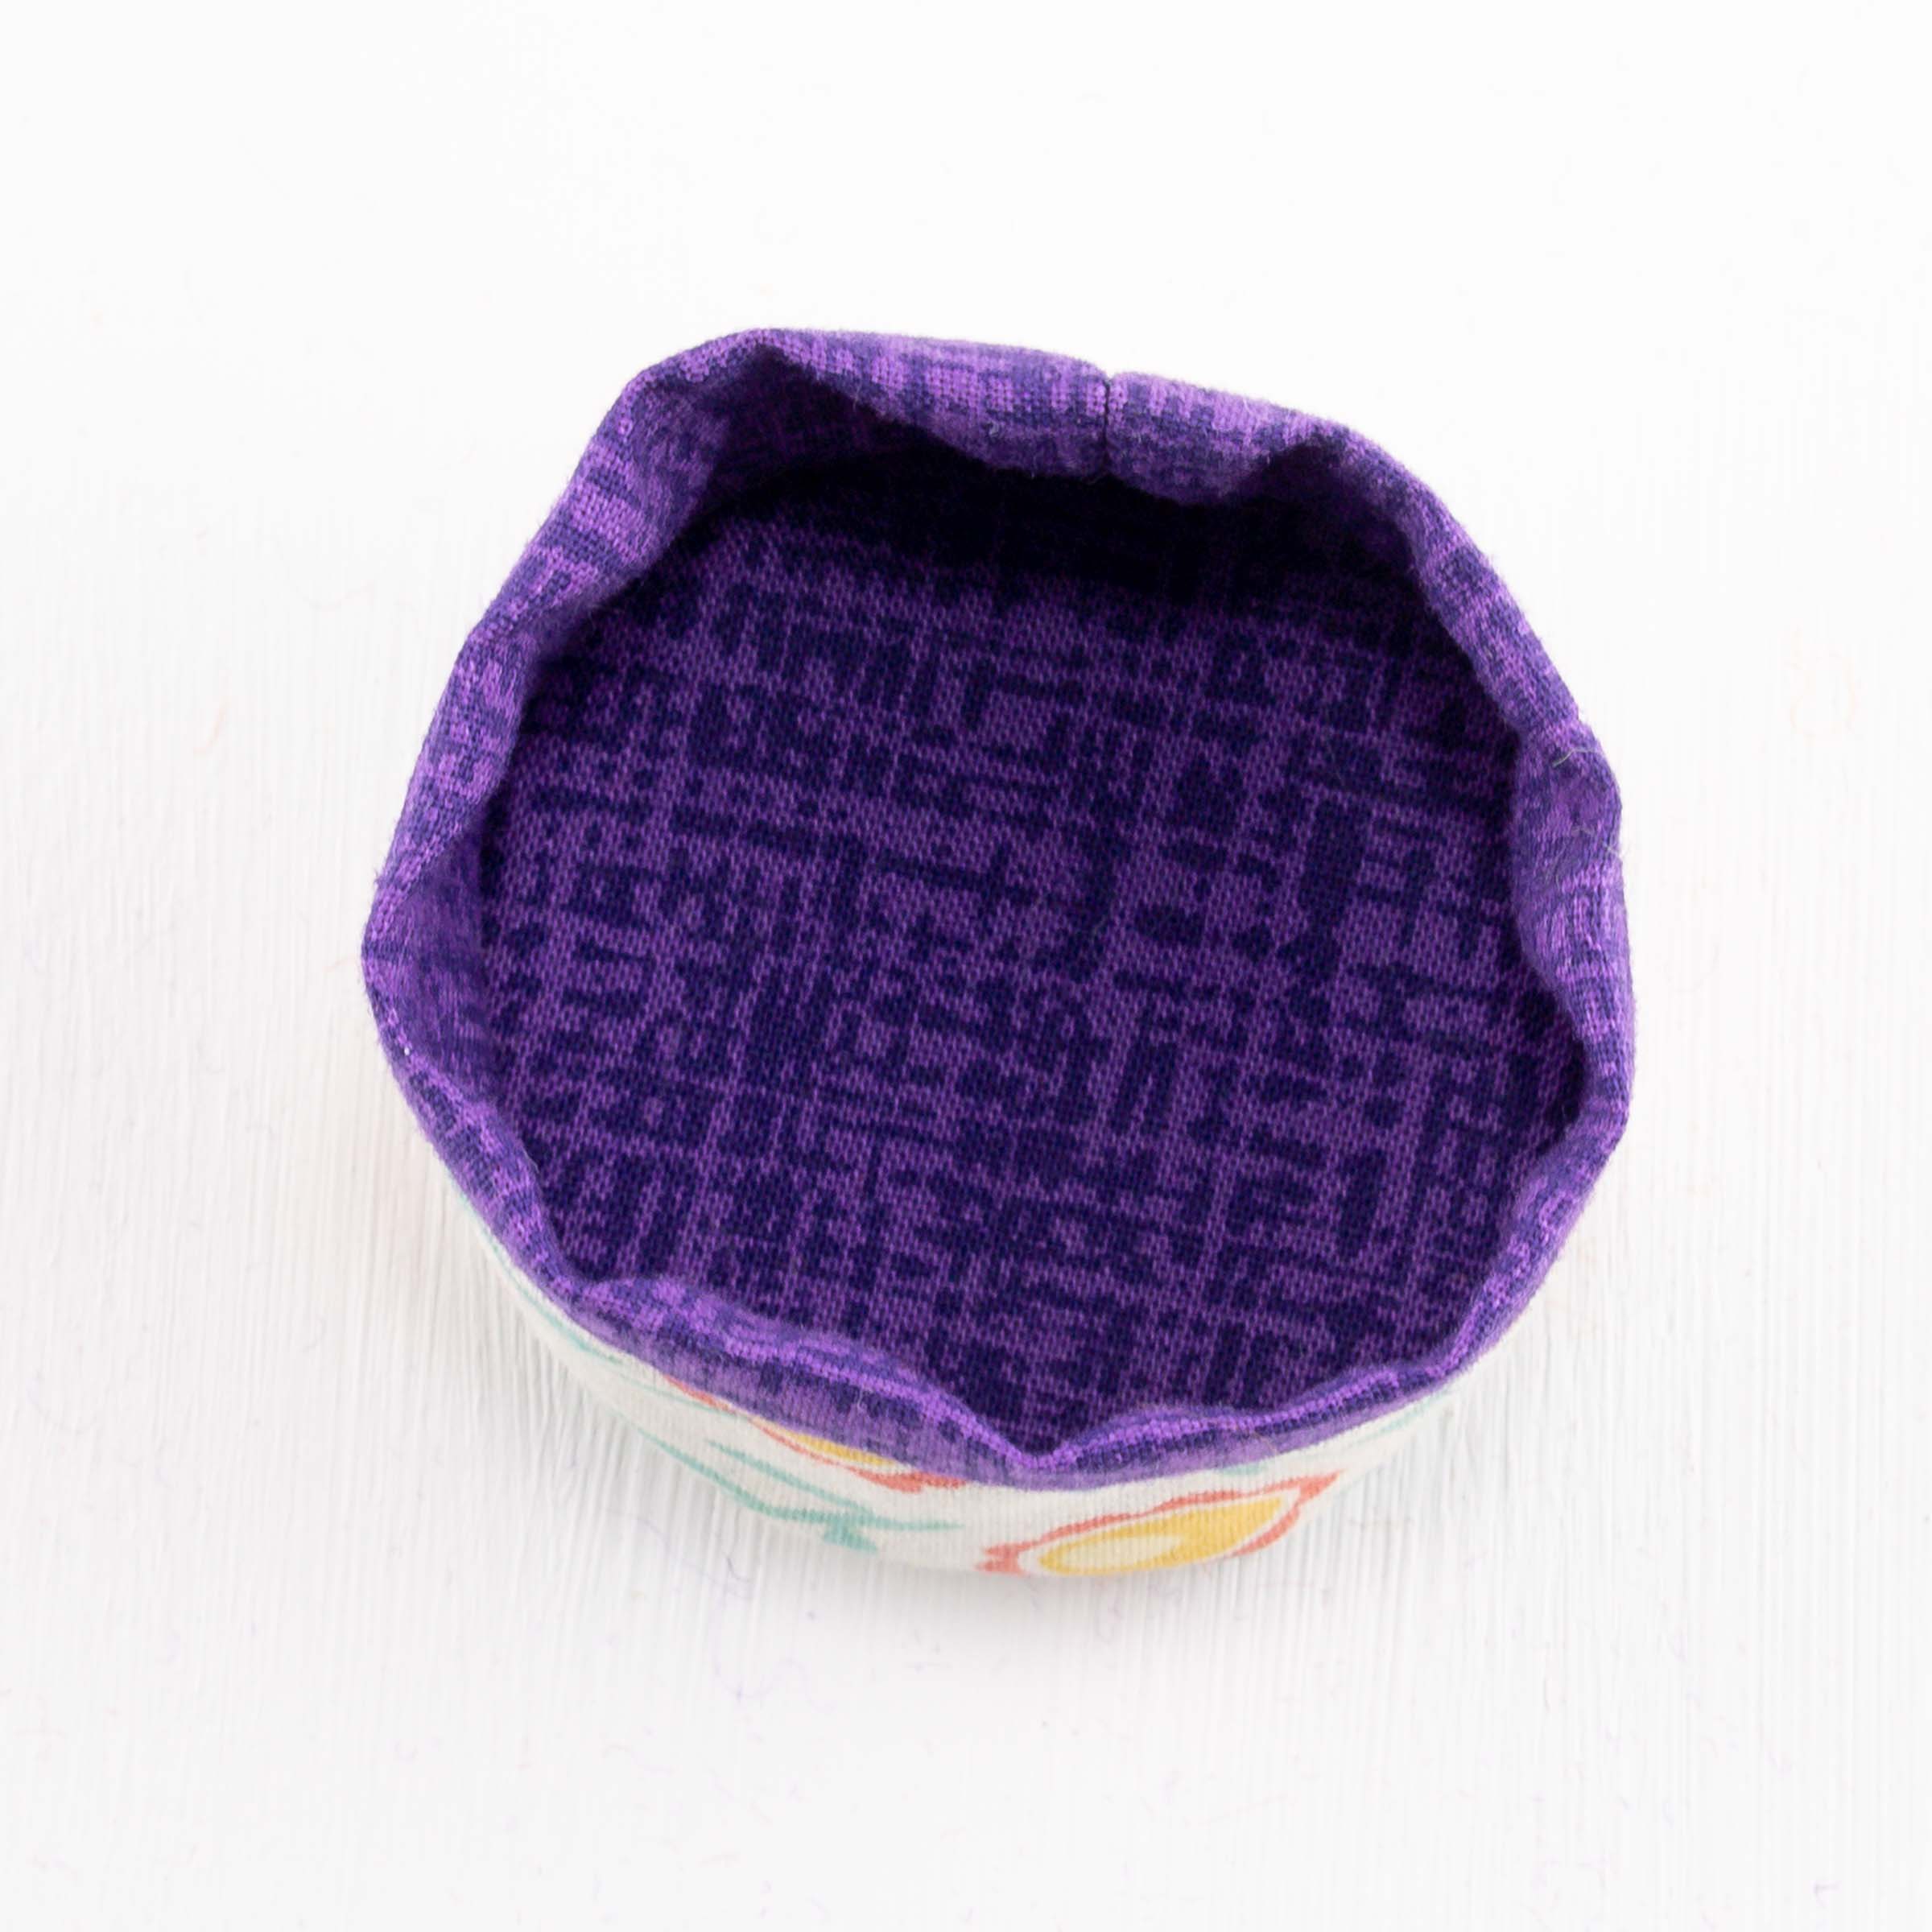
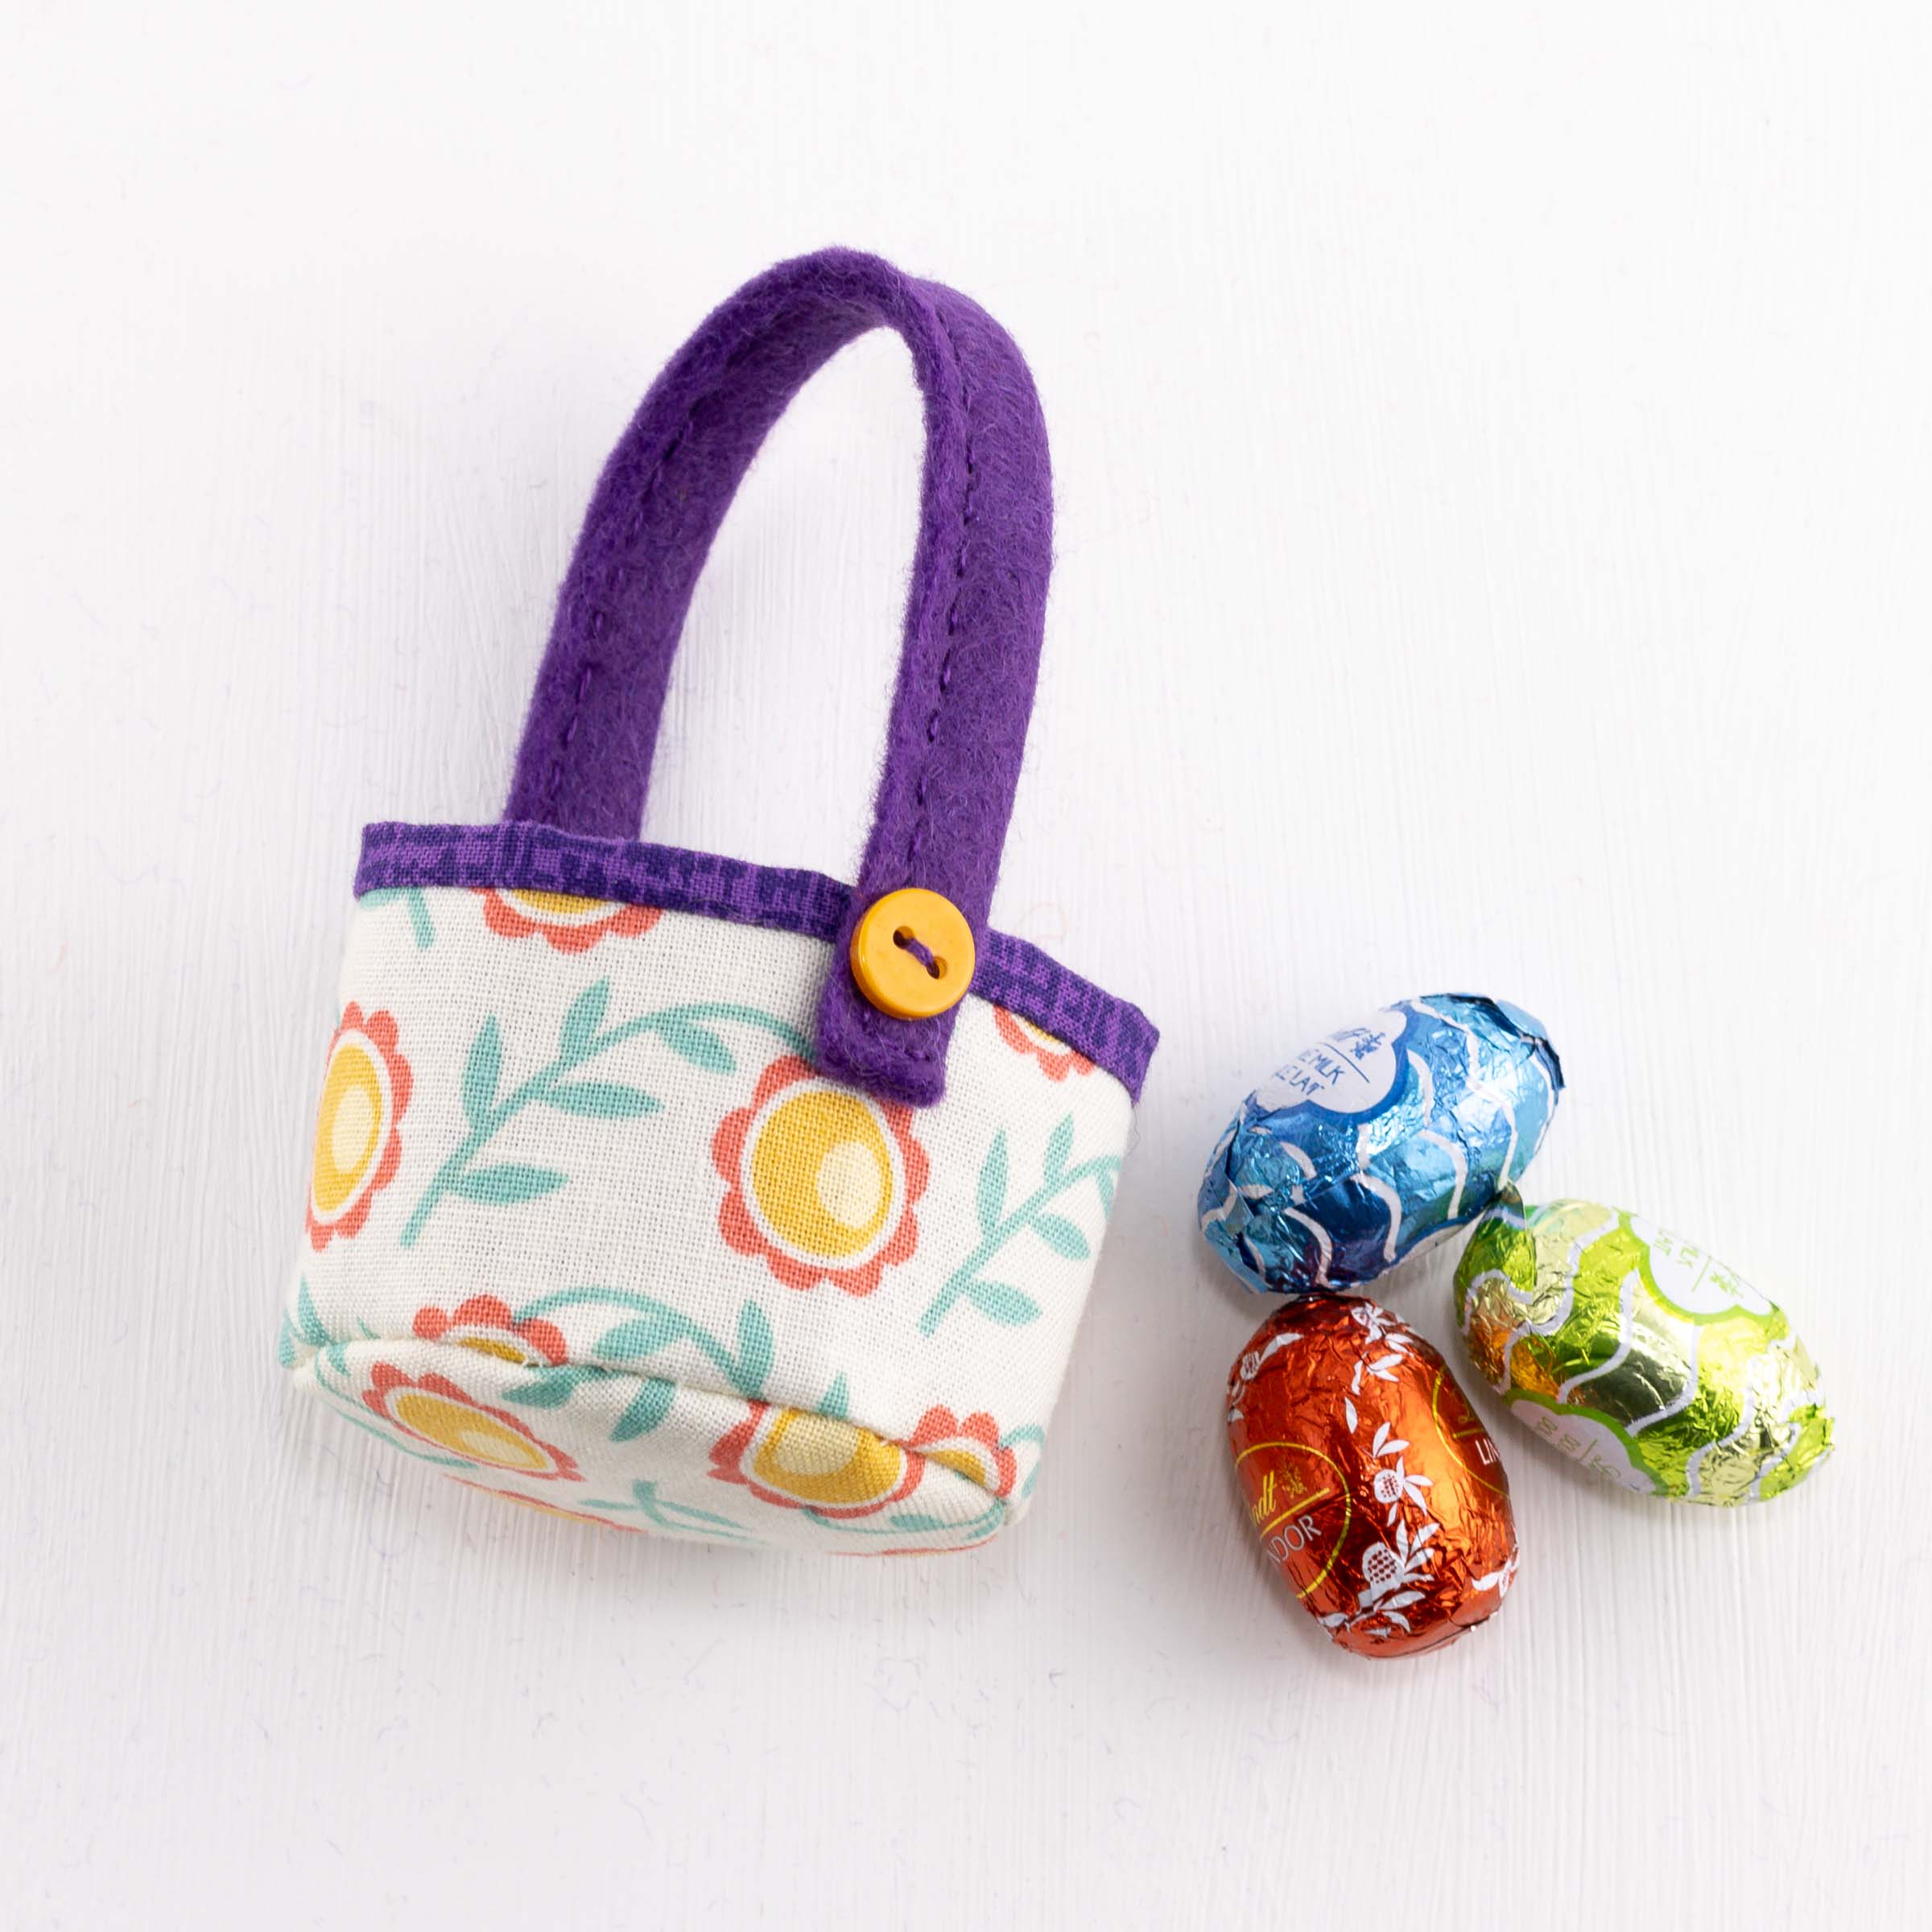
Make a running stitch round the edge of the lining fabric circle, place the card circle in the centre, pull up the gathers and fasten off. Turn the circle over and push it into the base of the basket.
Fold the felt handle lengthways , stitch along it and trim the cut edges next to the stitching. Sew the ends on opposite sides of the basket and add a button on each side.
Making the Bonnet
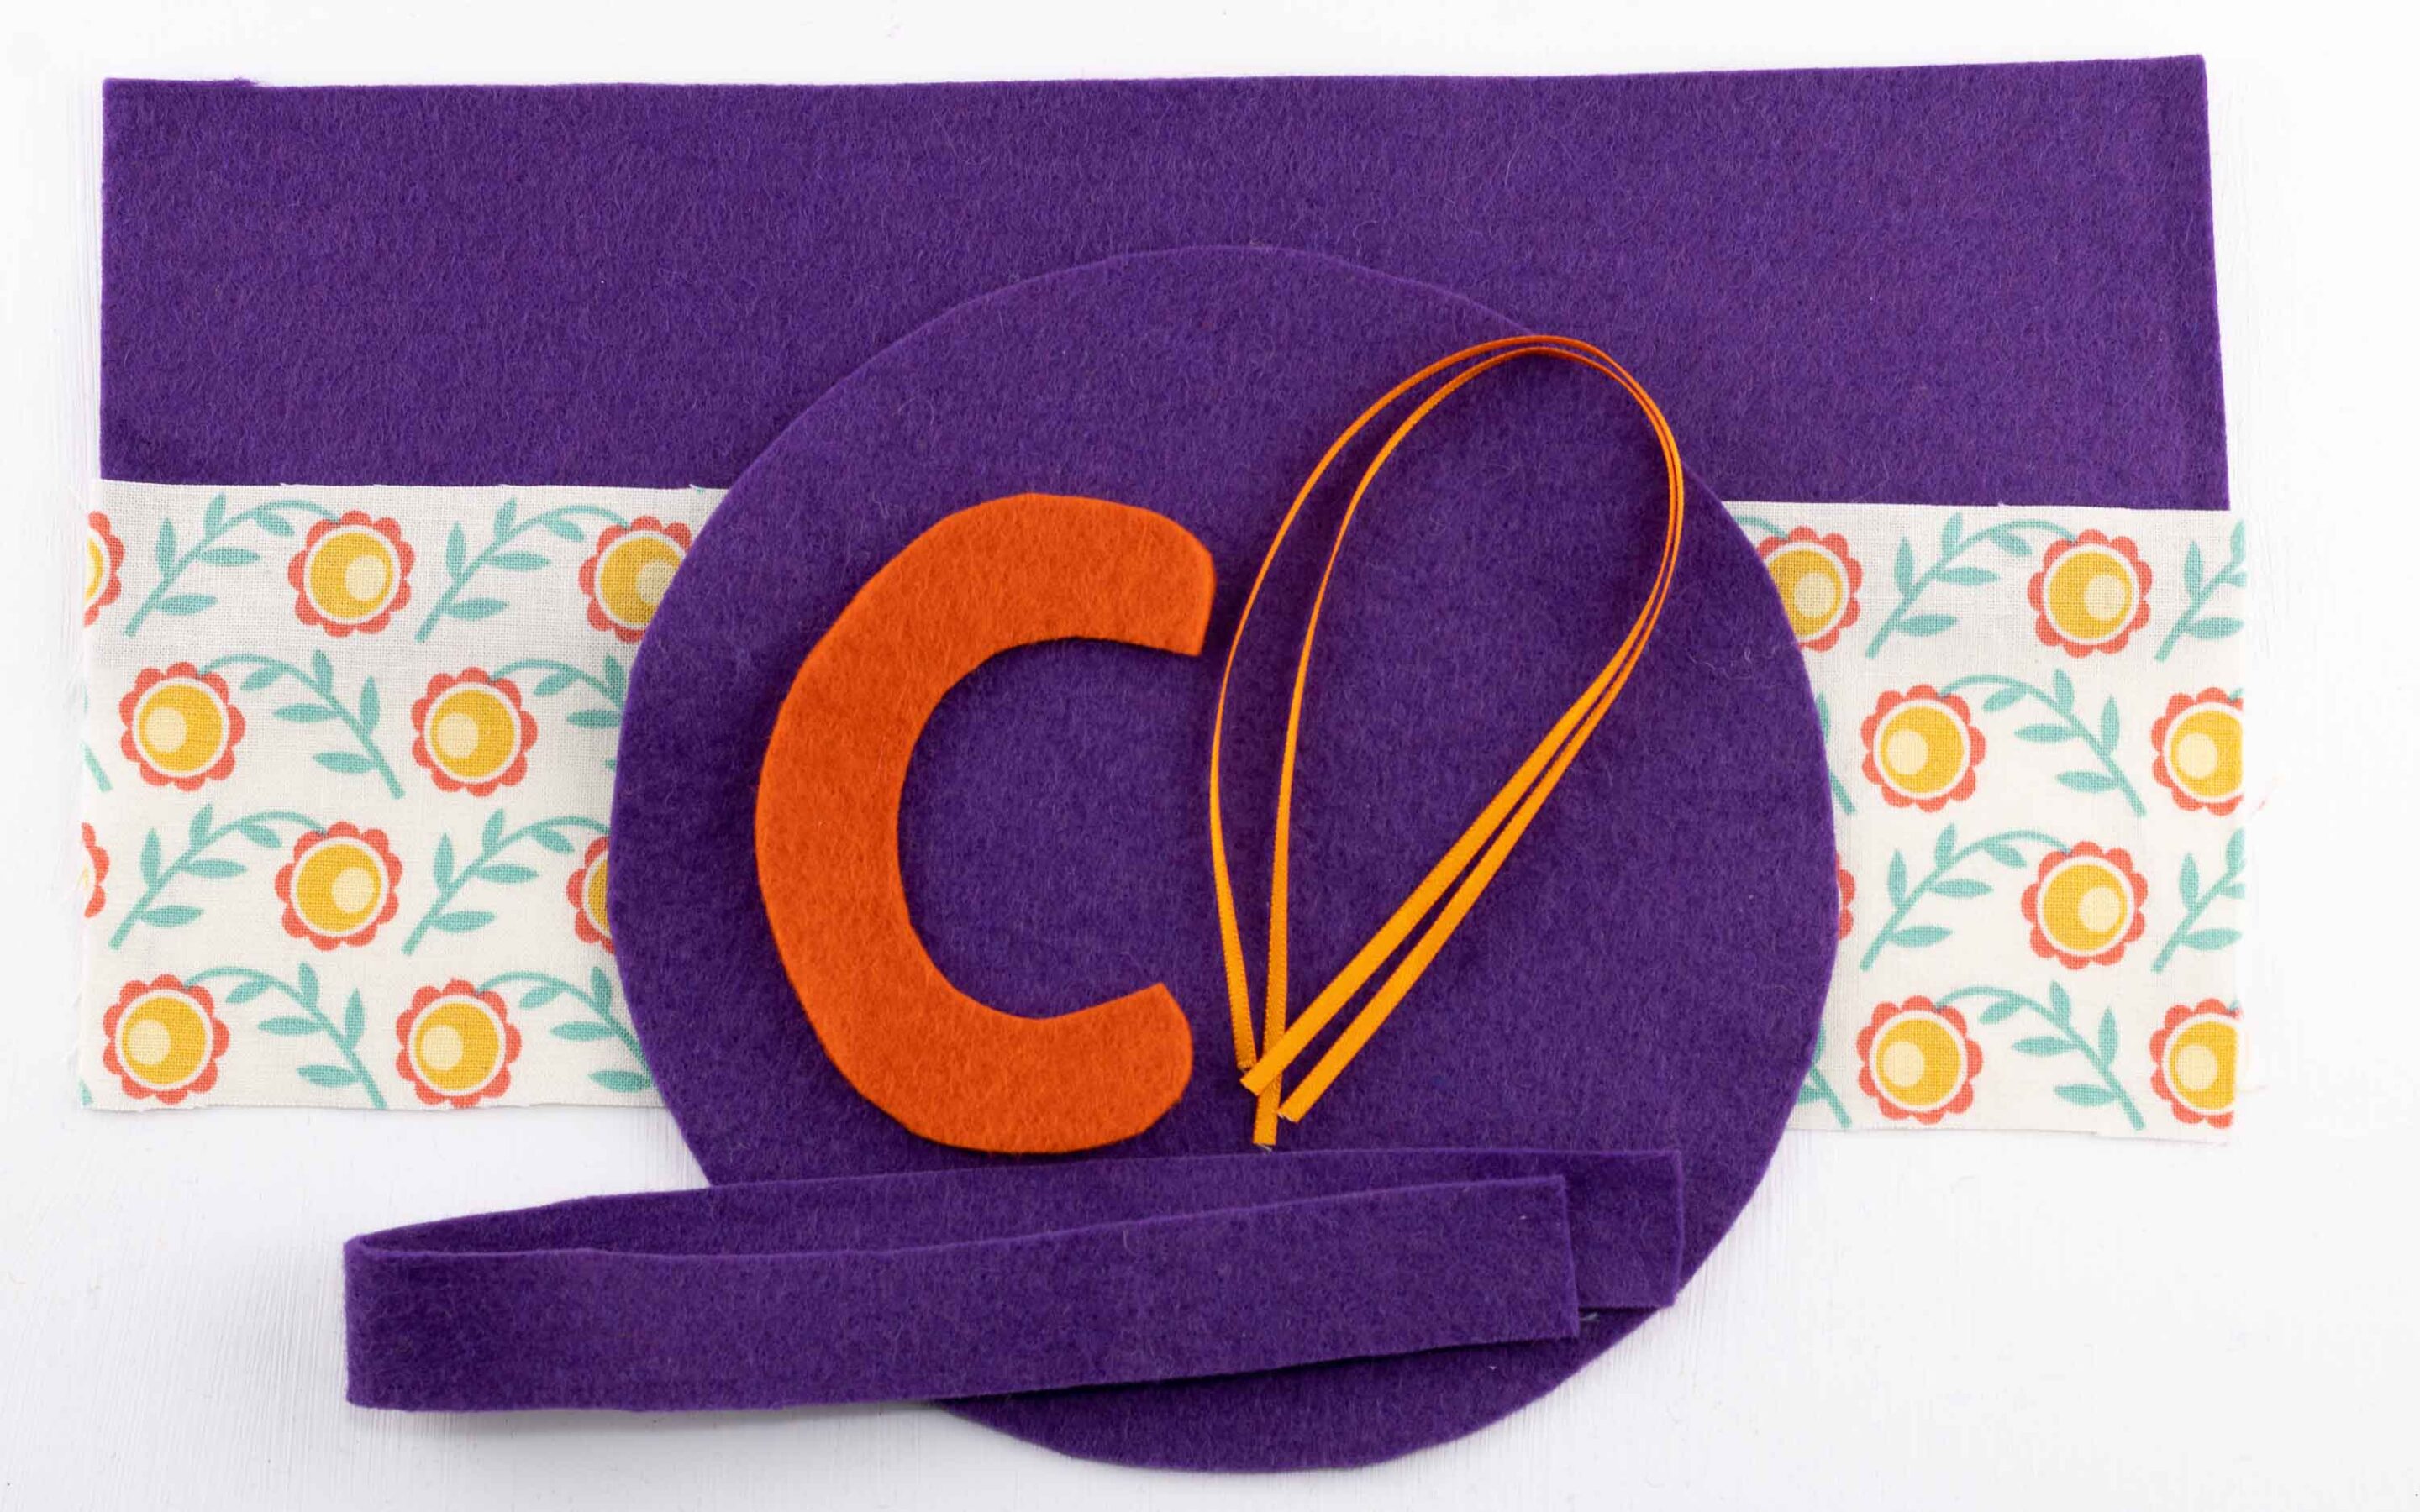
You’ll need the following materials;
28 x 8cm (11 x 3 1/8 inch) felt
28 x 8cm (11 x 3 1/8 inch) cotton print fabric
32 x 2 cm (13 x 3/4 inch) strip of felt
Circle of felt 16cm (6 1/4 inches) in diameter
2 x 23cm (9 inch) lengths of ribbon
9 x 6cm (3 1/2 x 2 1/2 inches) contrasting felt for flower
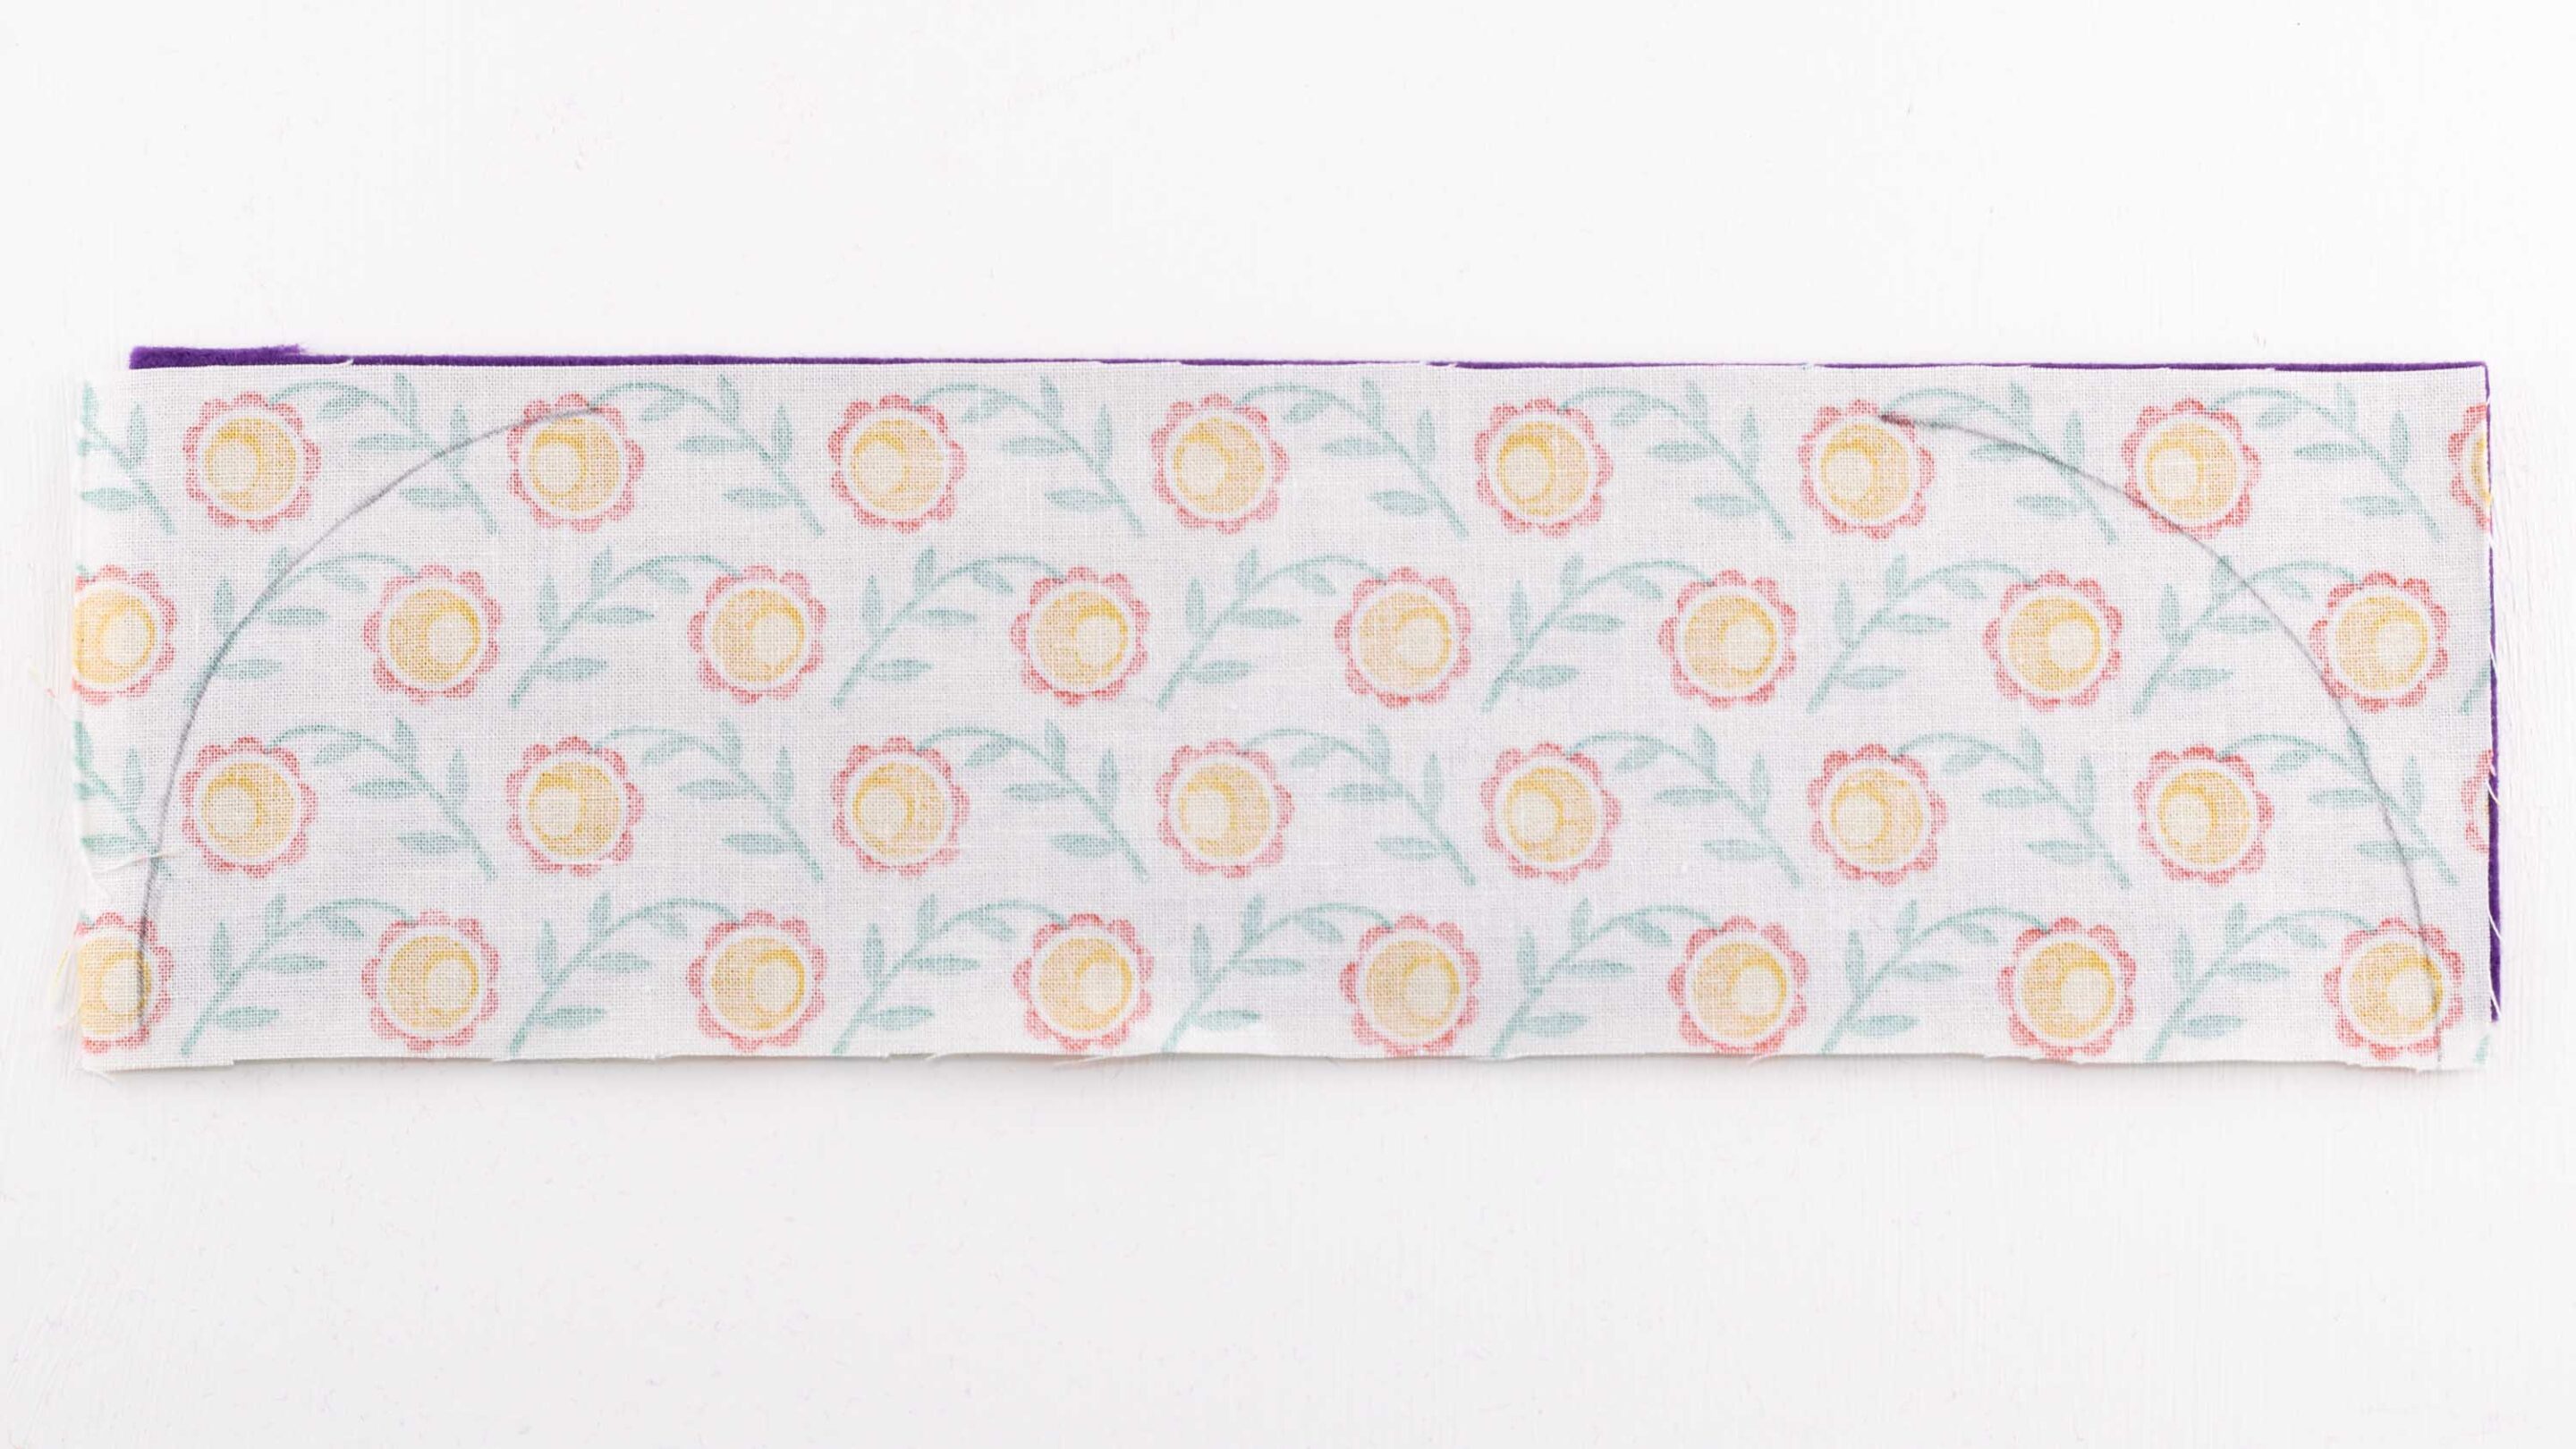
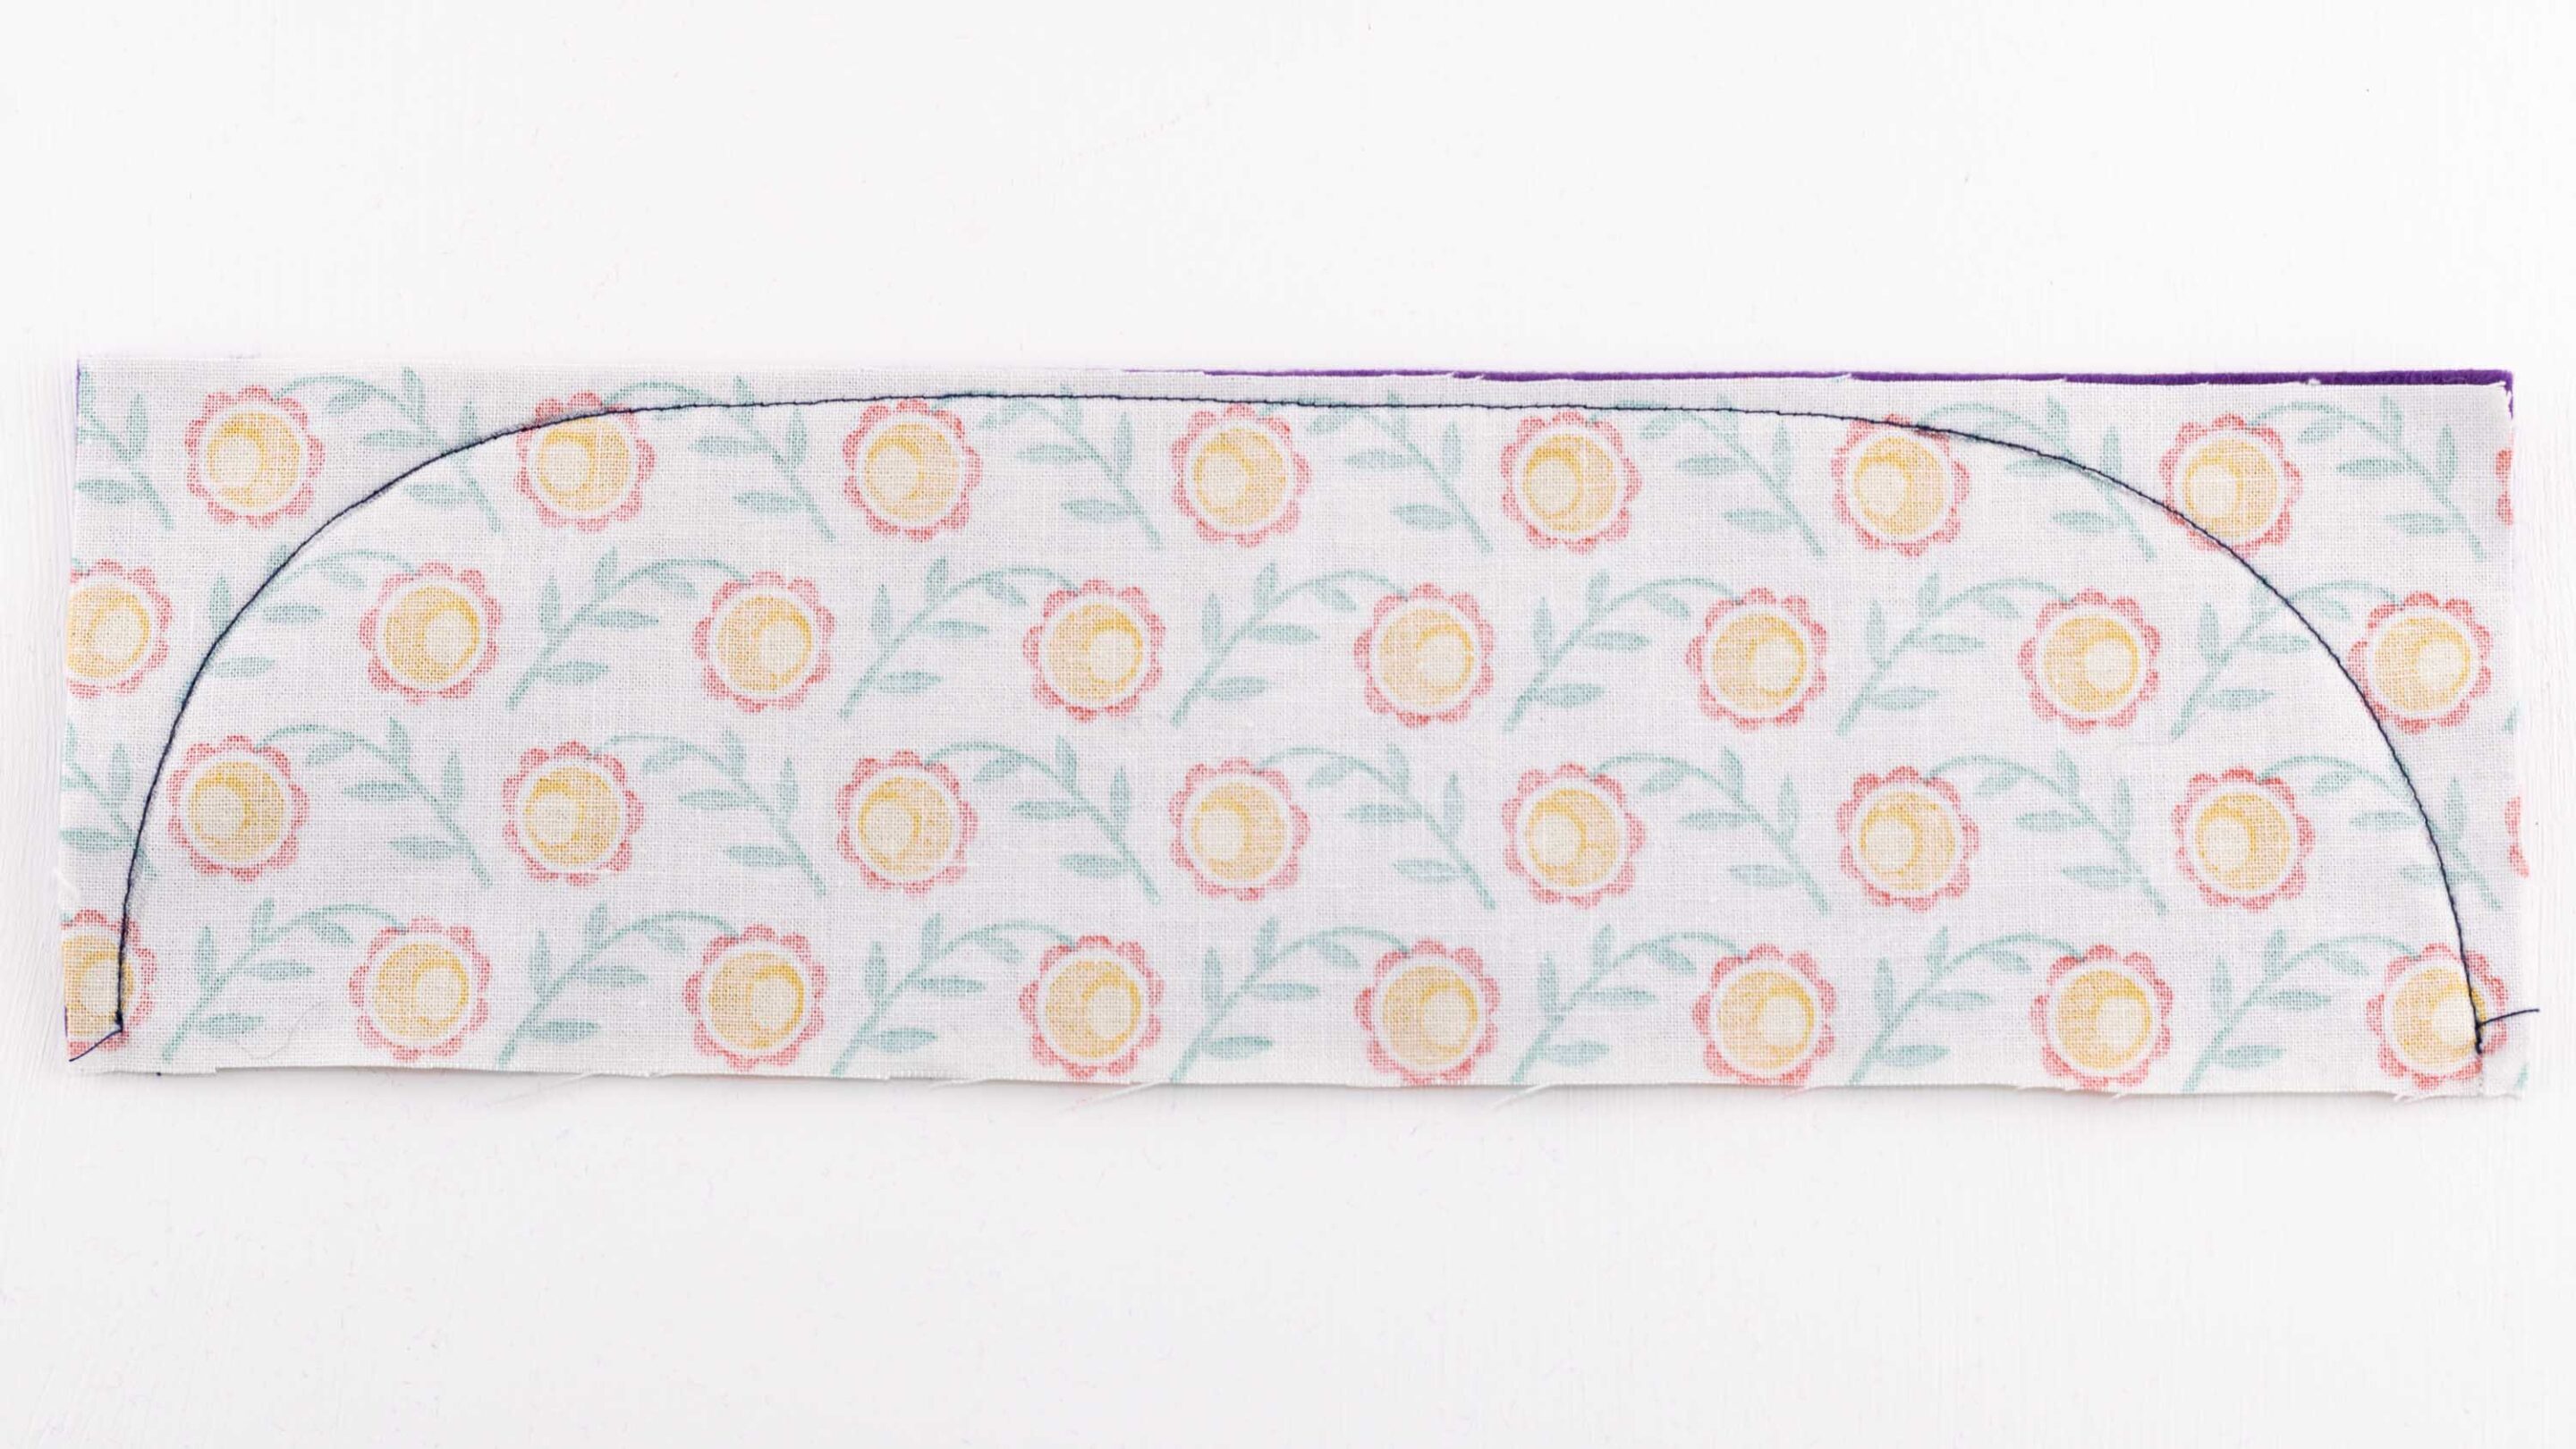
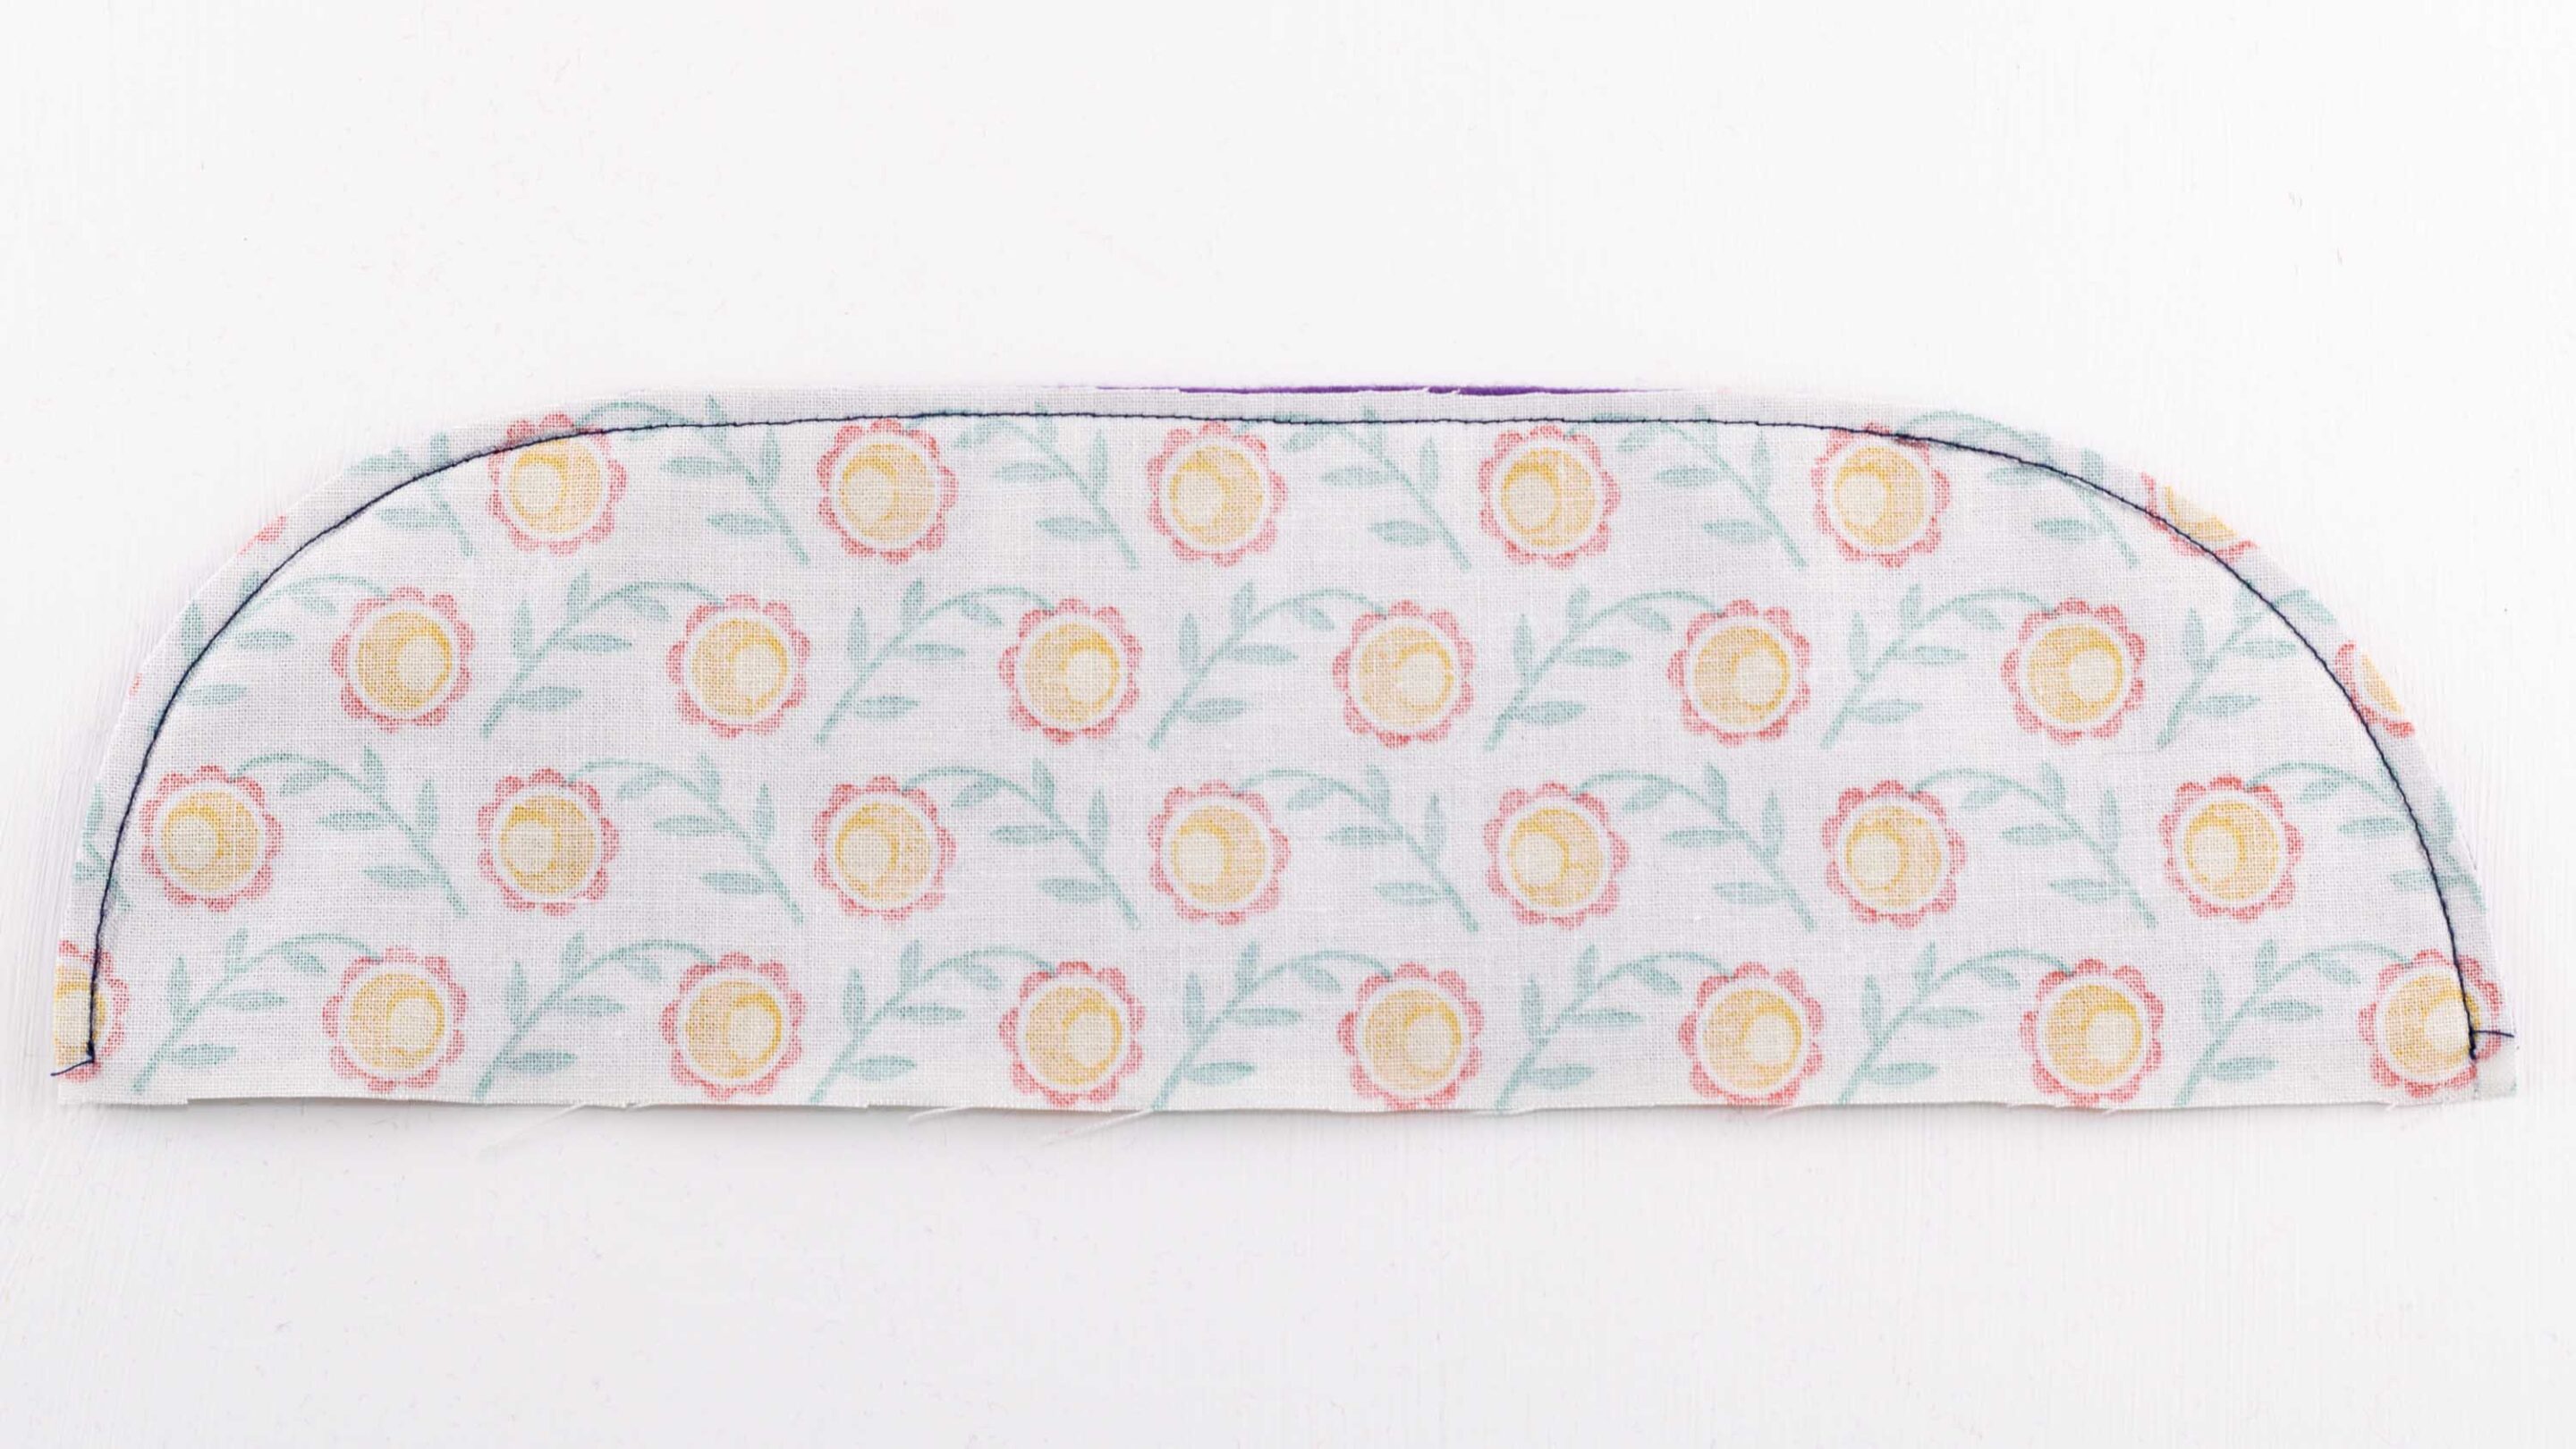
Place the fabric rectangle on top of the felt one, right side facing down. Draw a curve at each end as shown.
Stitch along the curved line.
Trim along the seam.
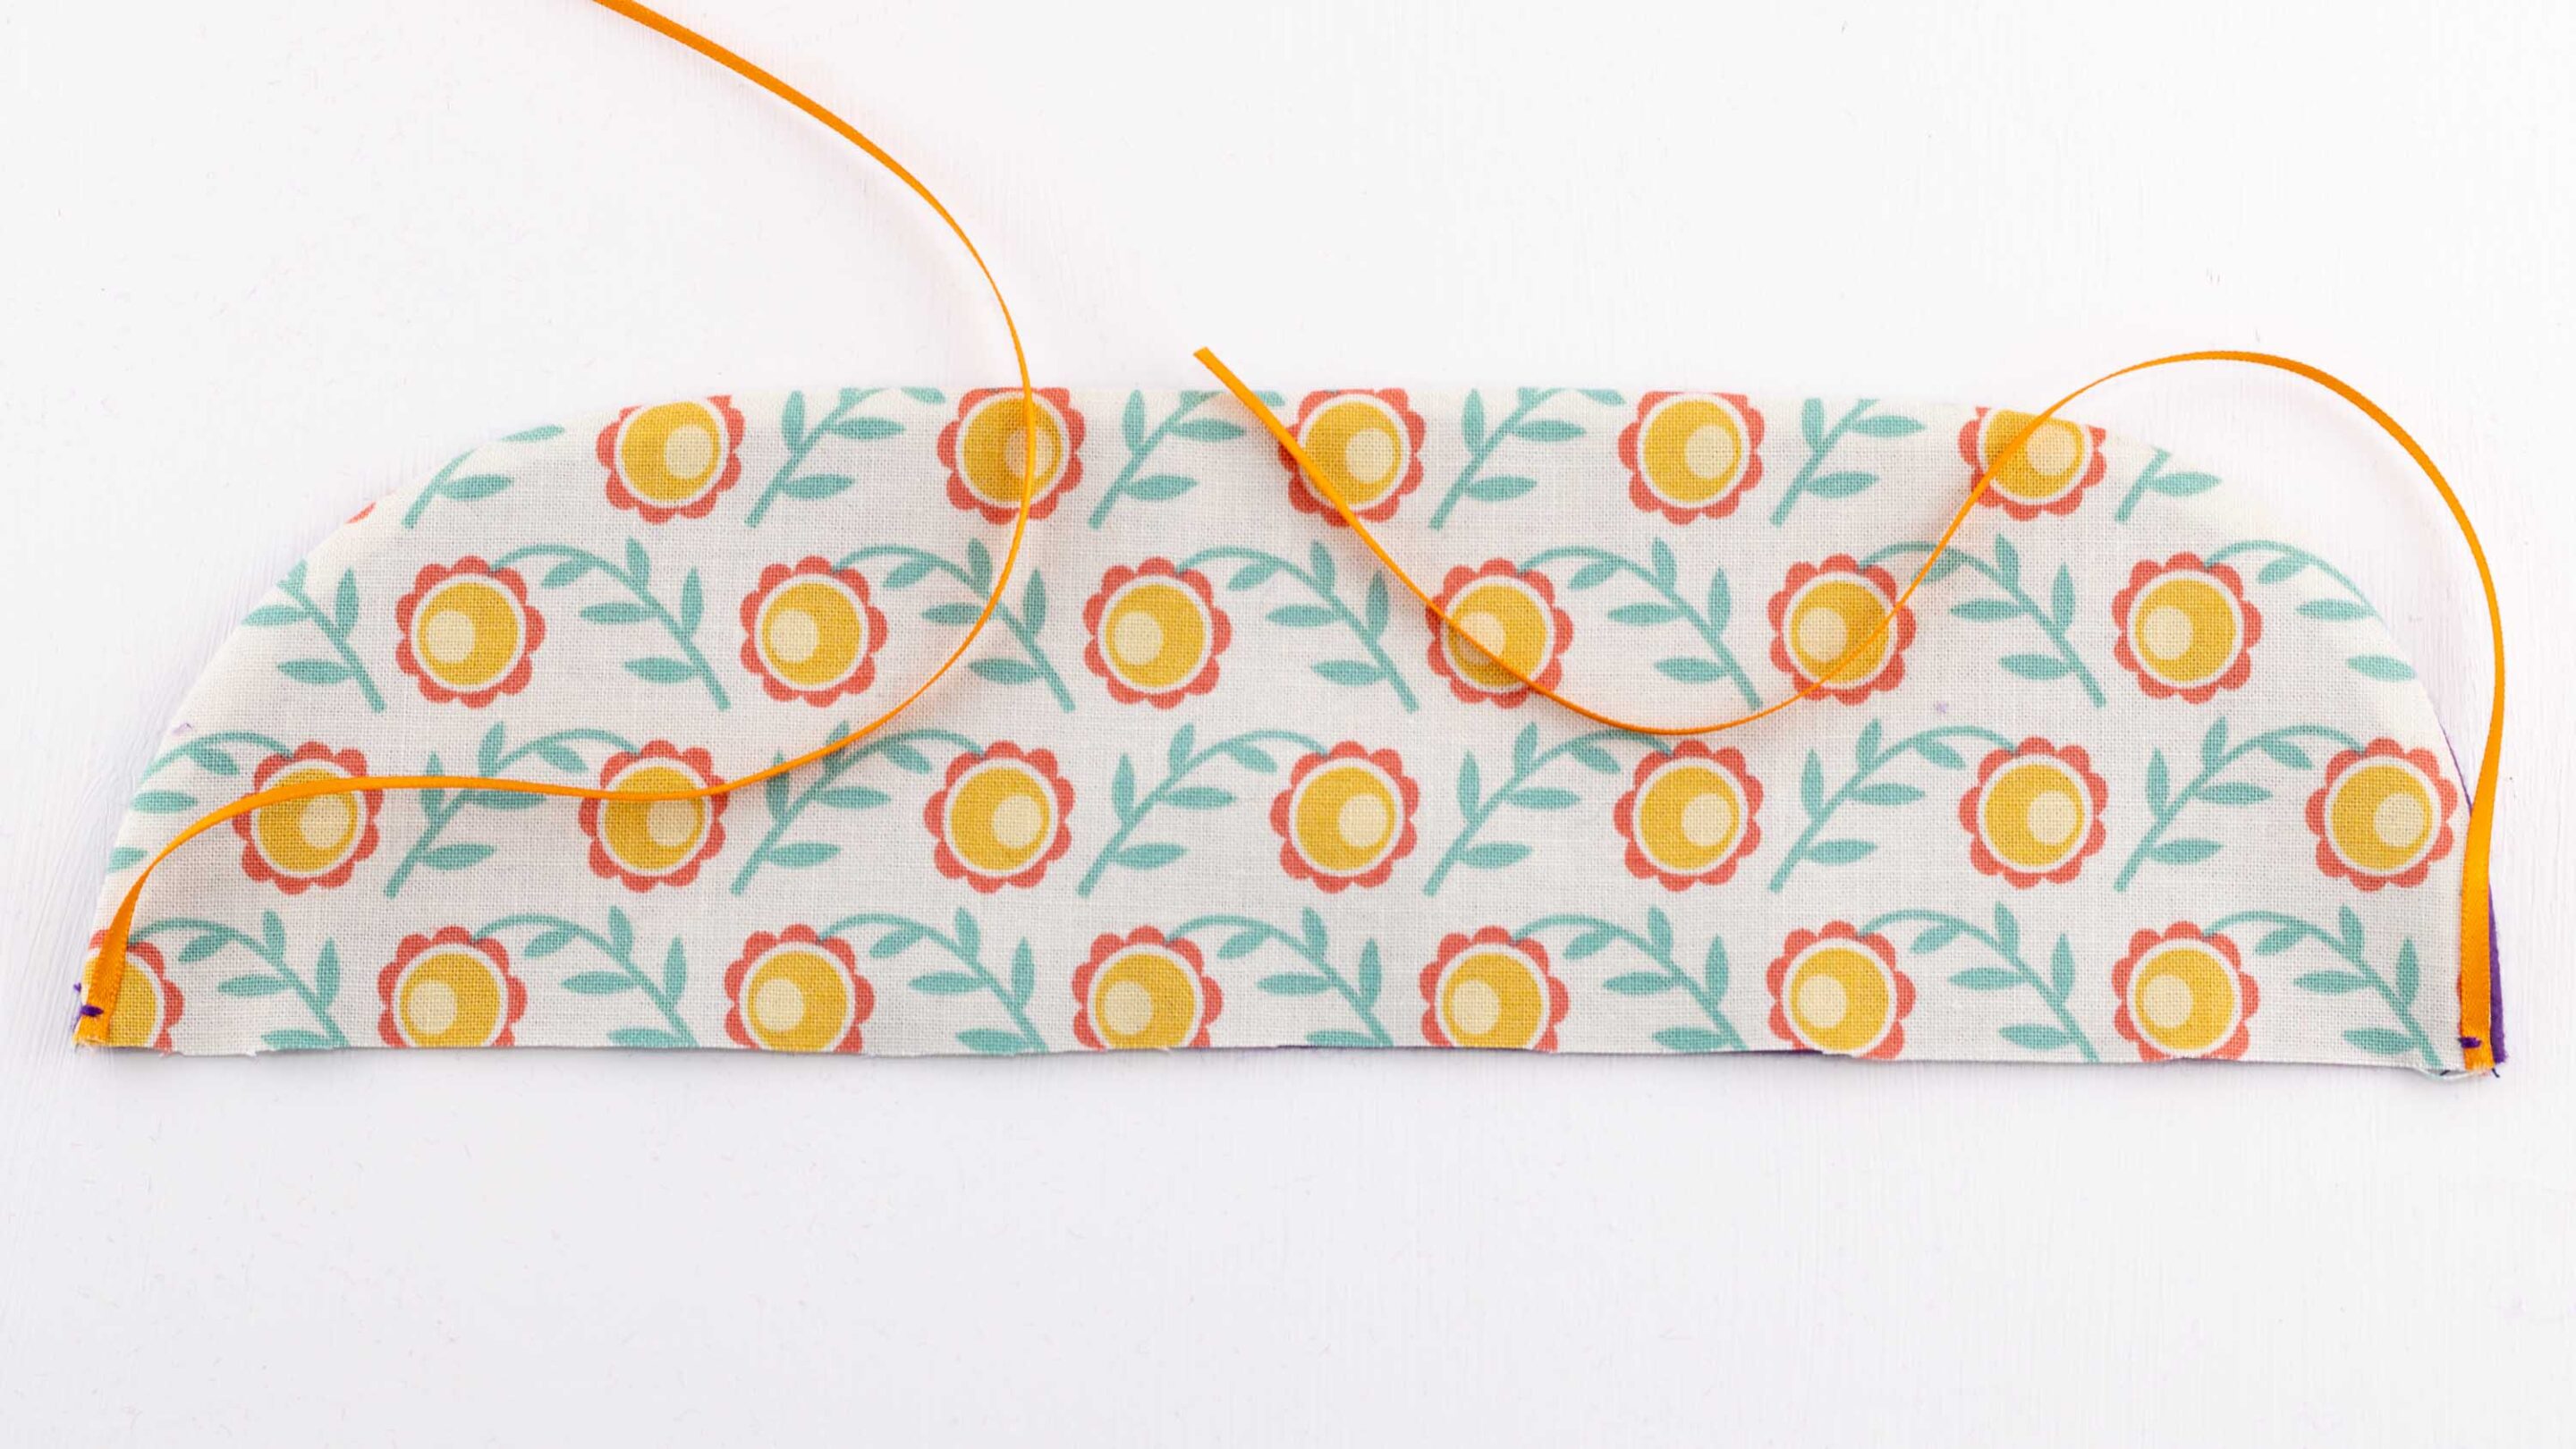
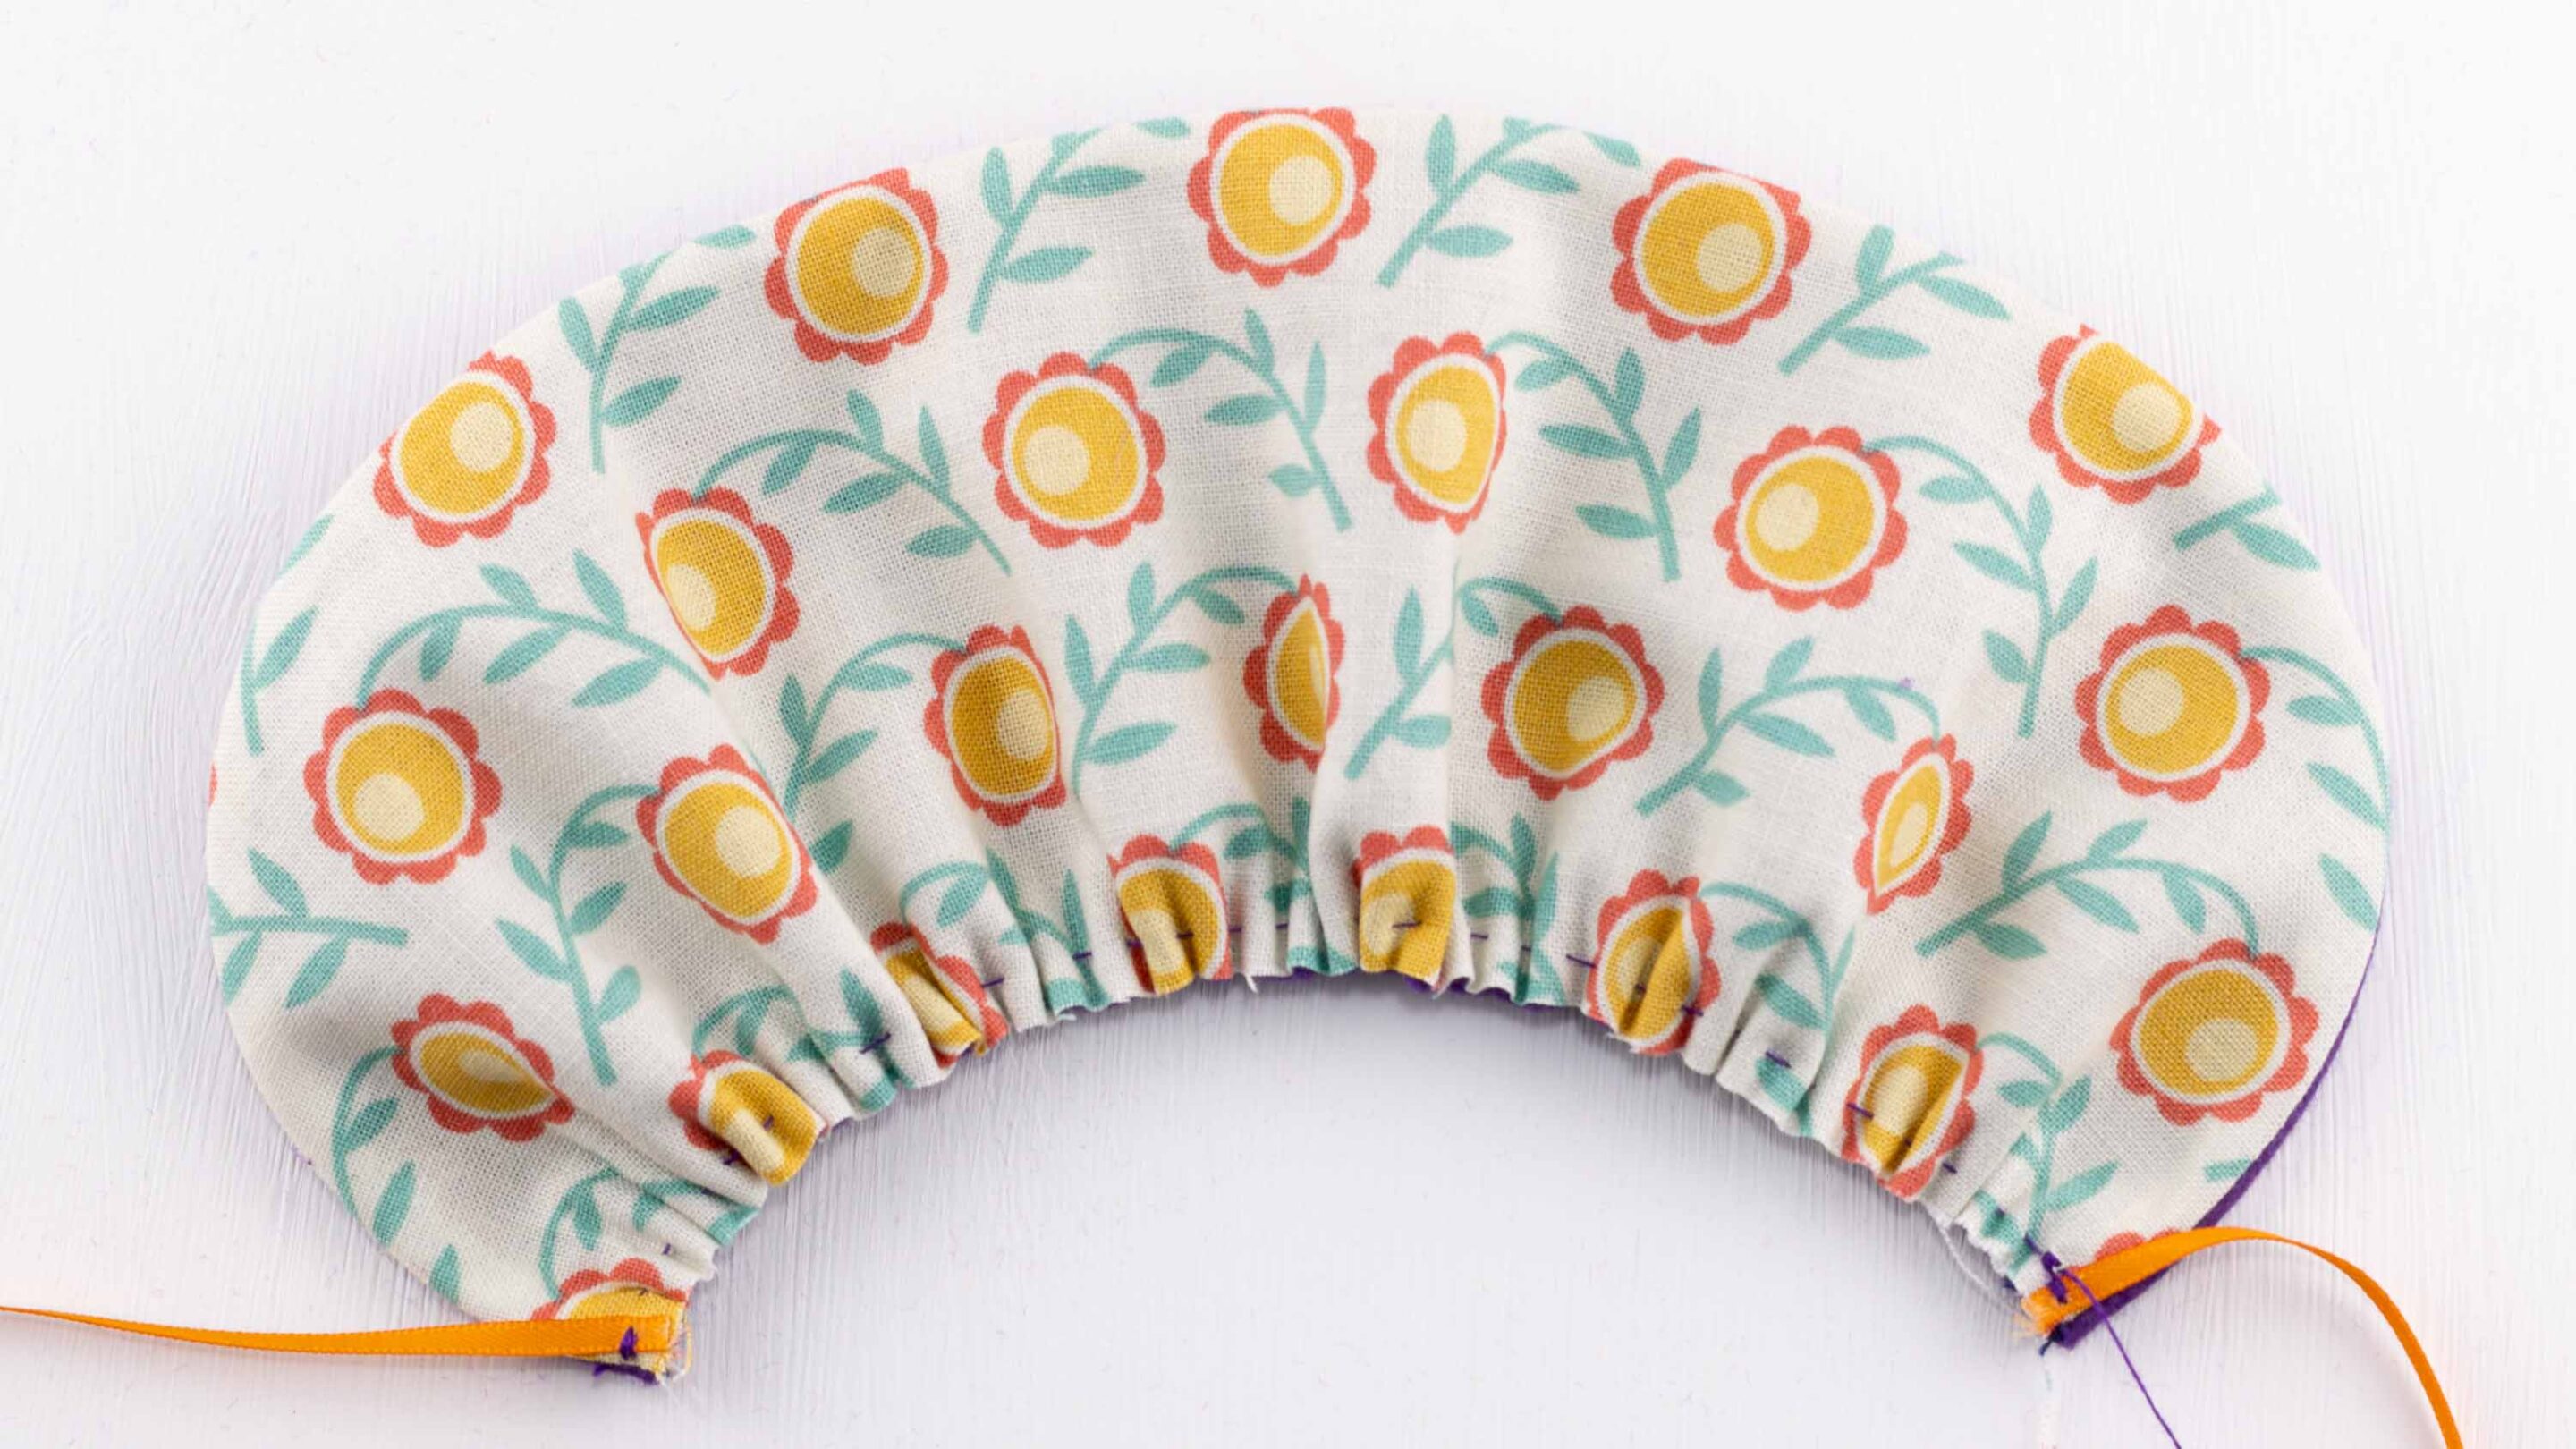
Turn the brim the right way out and press. Stitch a length of ribbon to each corner. I only had 3mm ribbon in the right colour but a wider ribbon would work as well if not better.
Gather the lower edge of the brim until the gathered edge measures 15cm (6 inches).
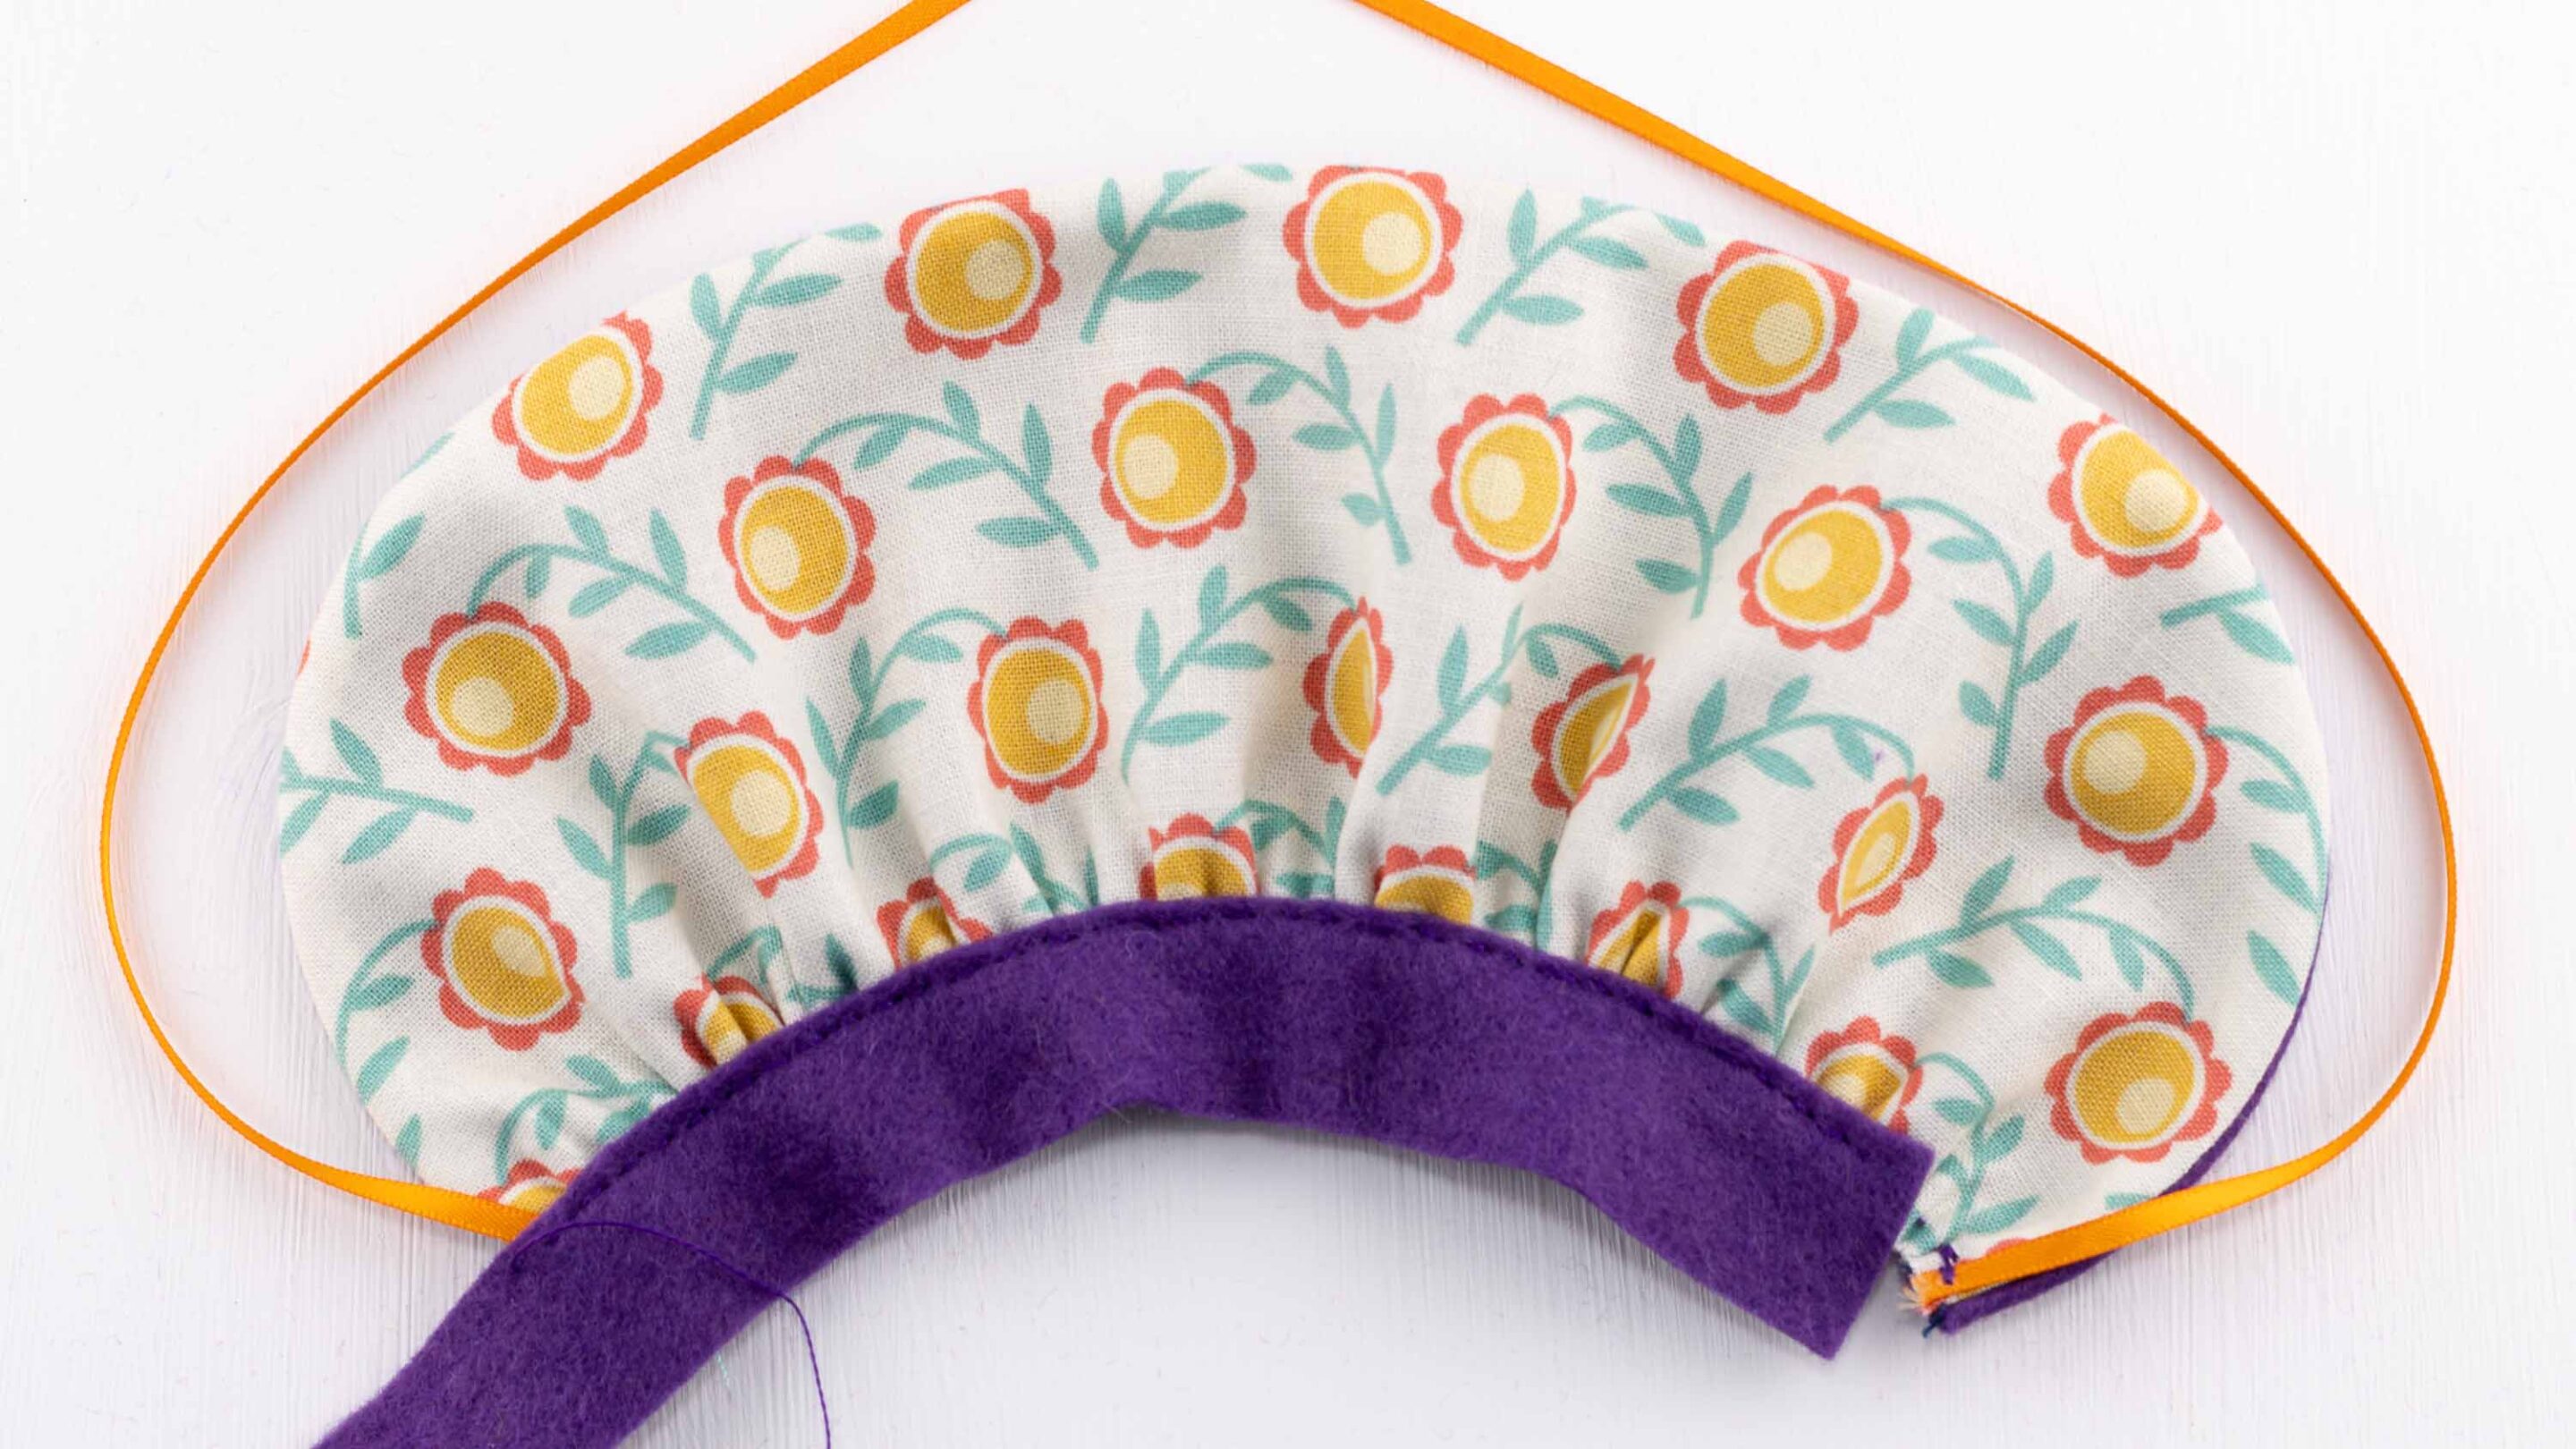
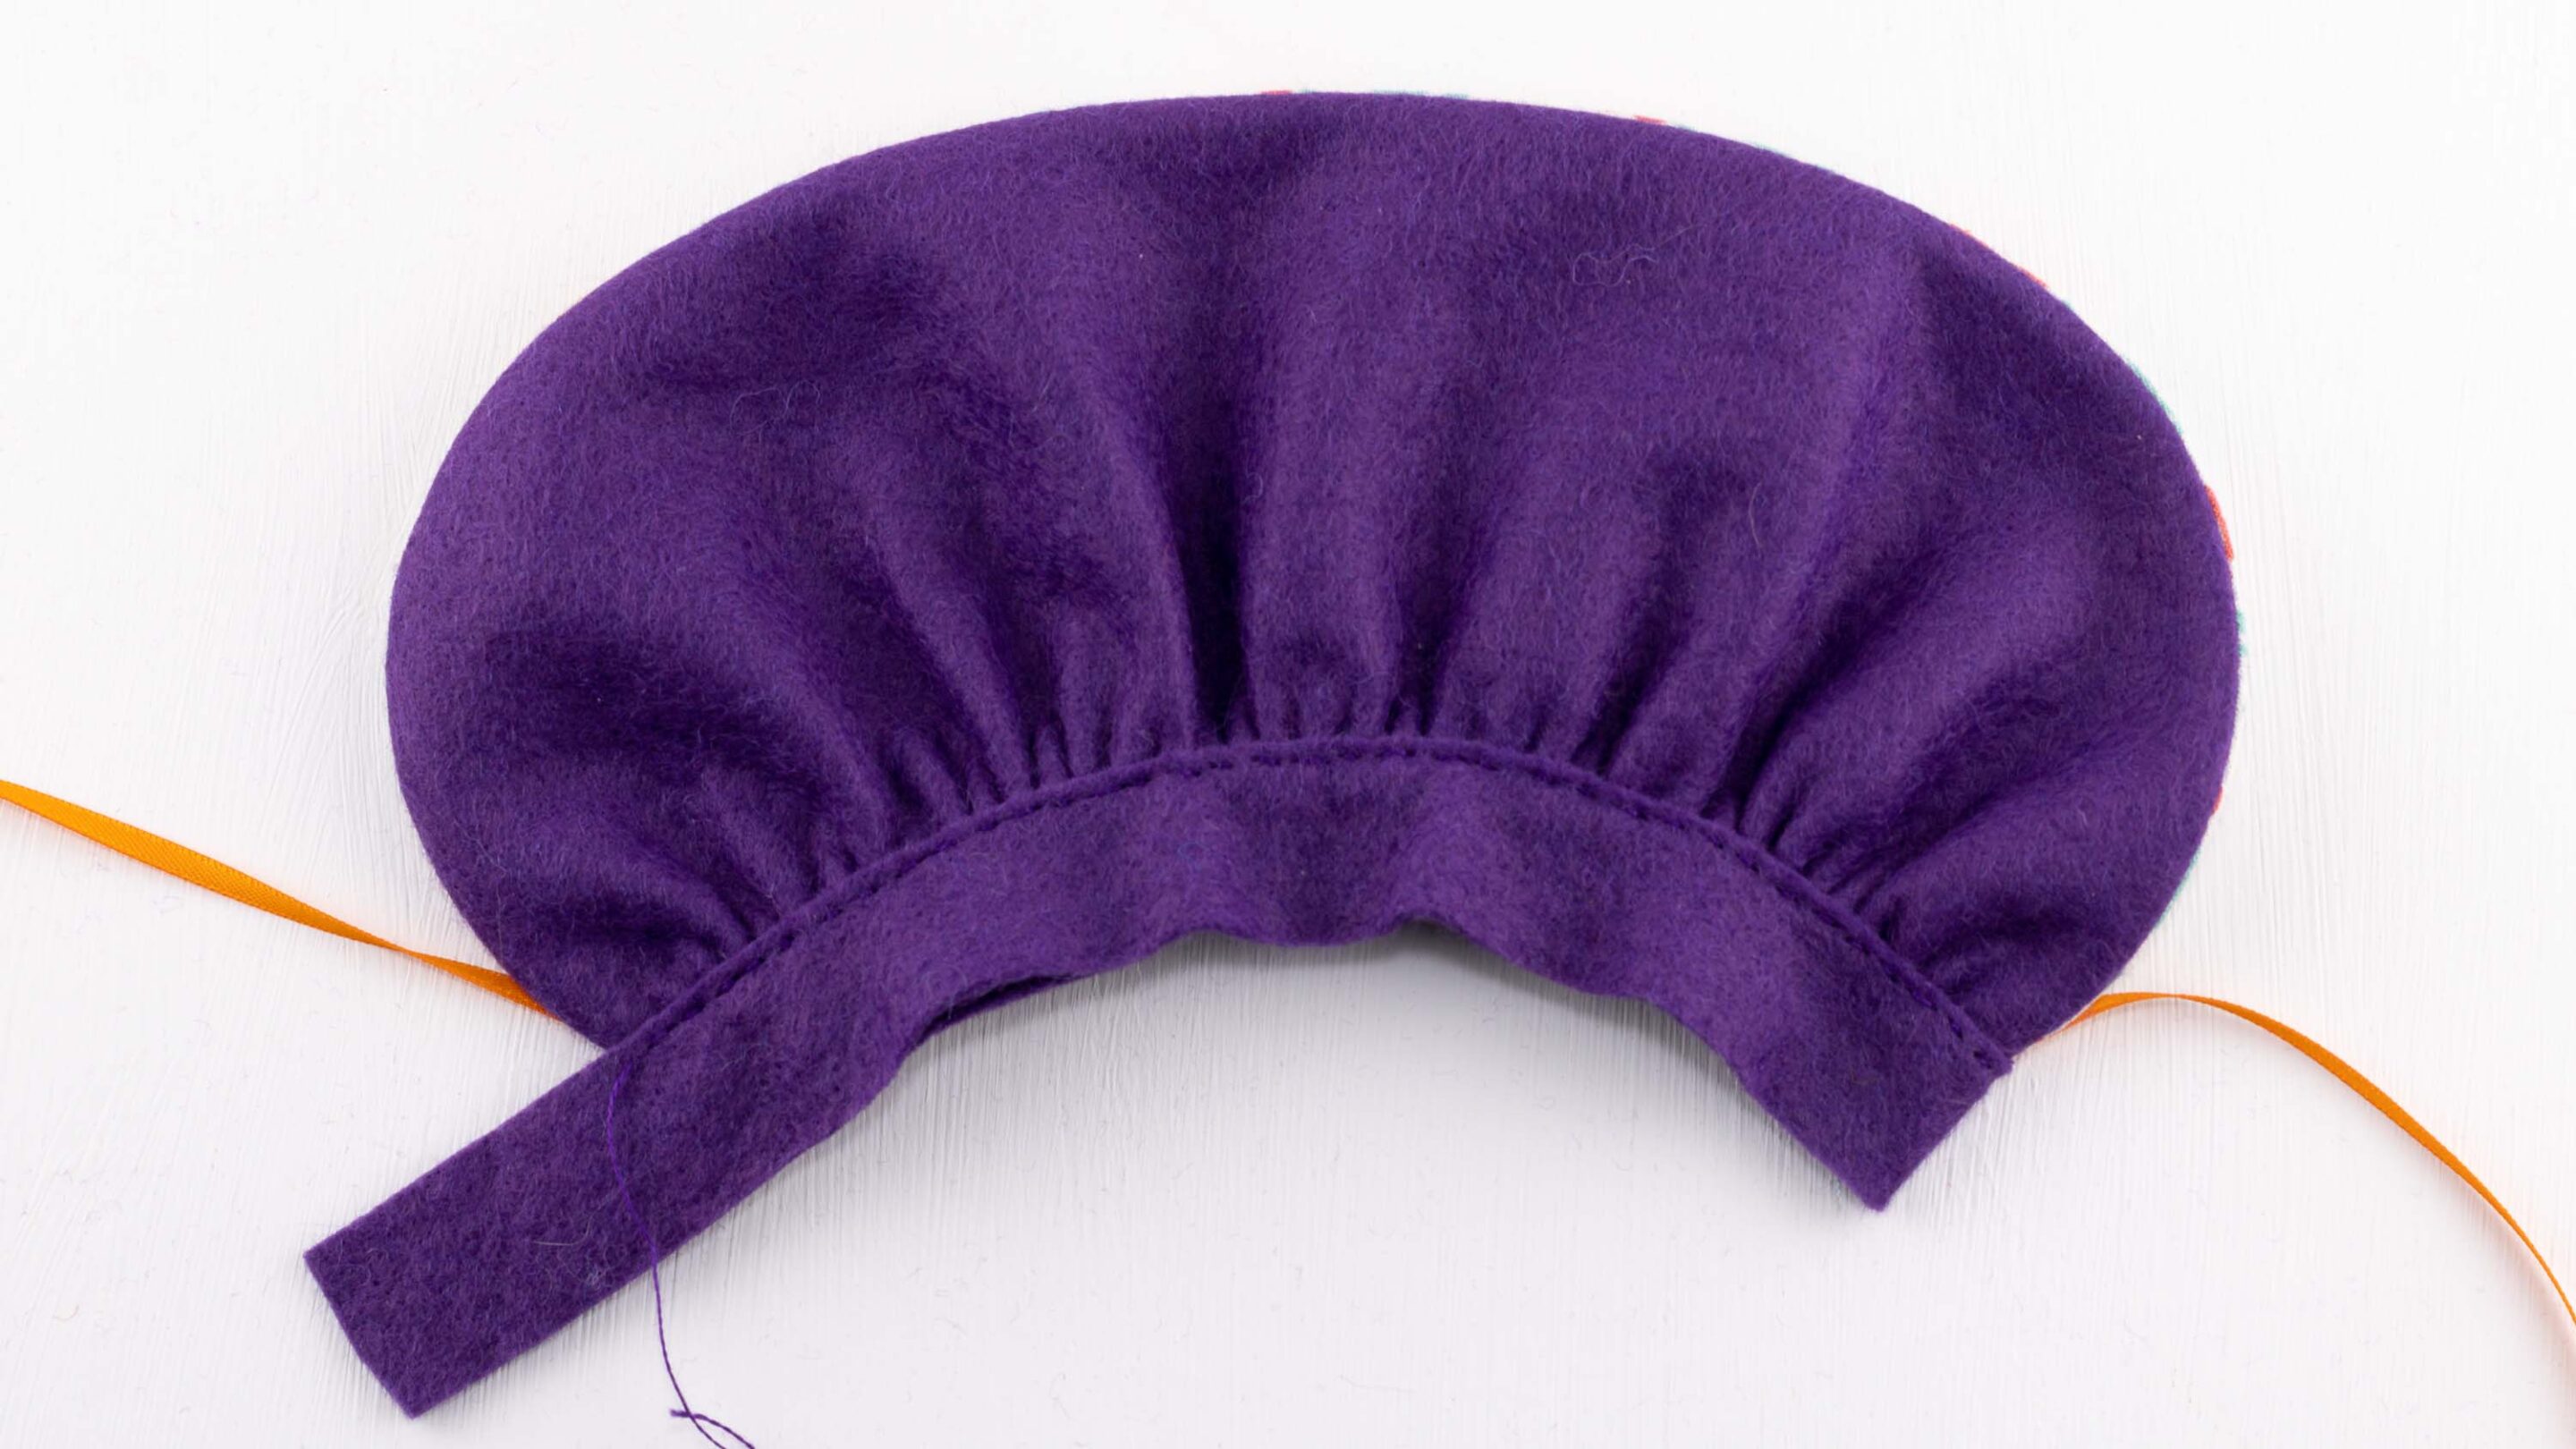
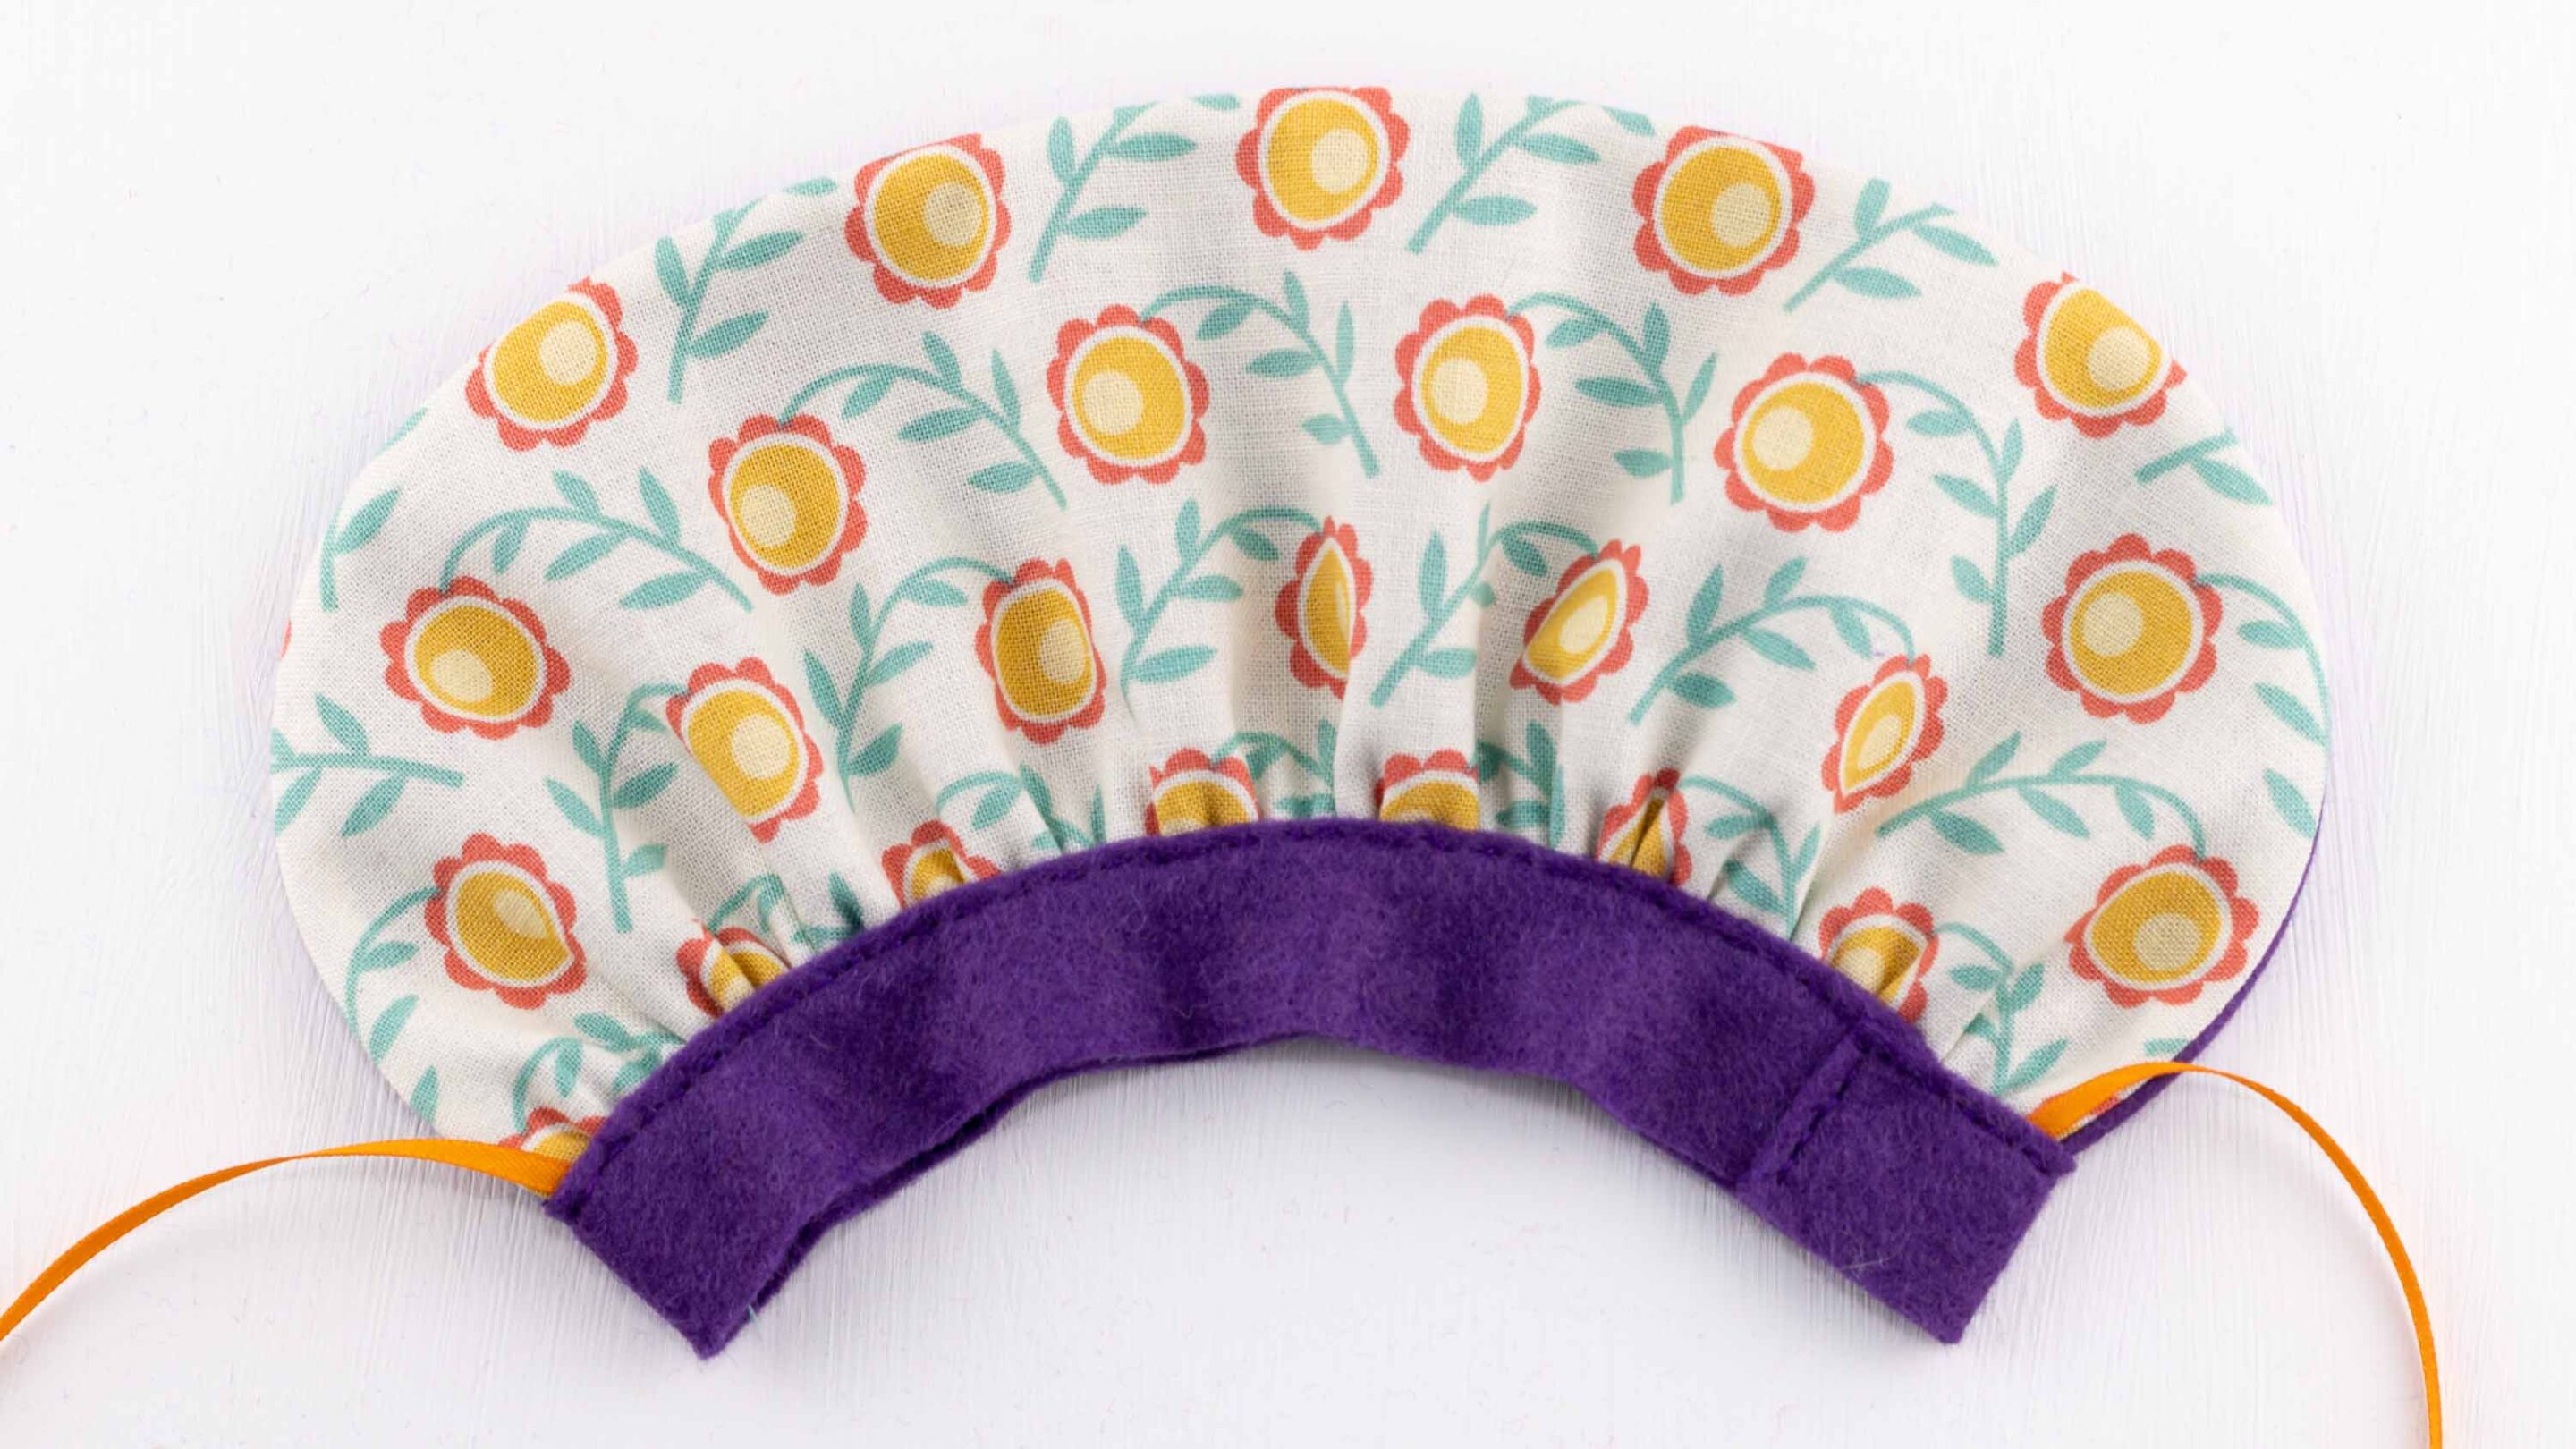
Take the strip of felt and sew the edge over the gathers, starting part way along from one end.
Fold the felt strip round the other end and continue stitching it across the gathers on the felt side.
Fold it round the first end, overlap the edges of the strip and stitch, trimming off any excess length.
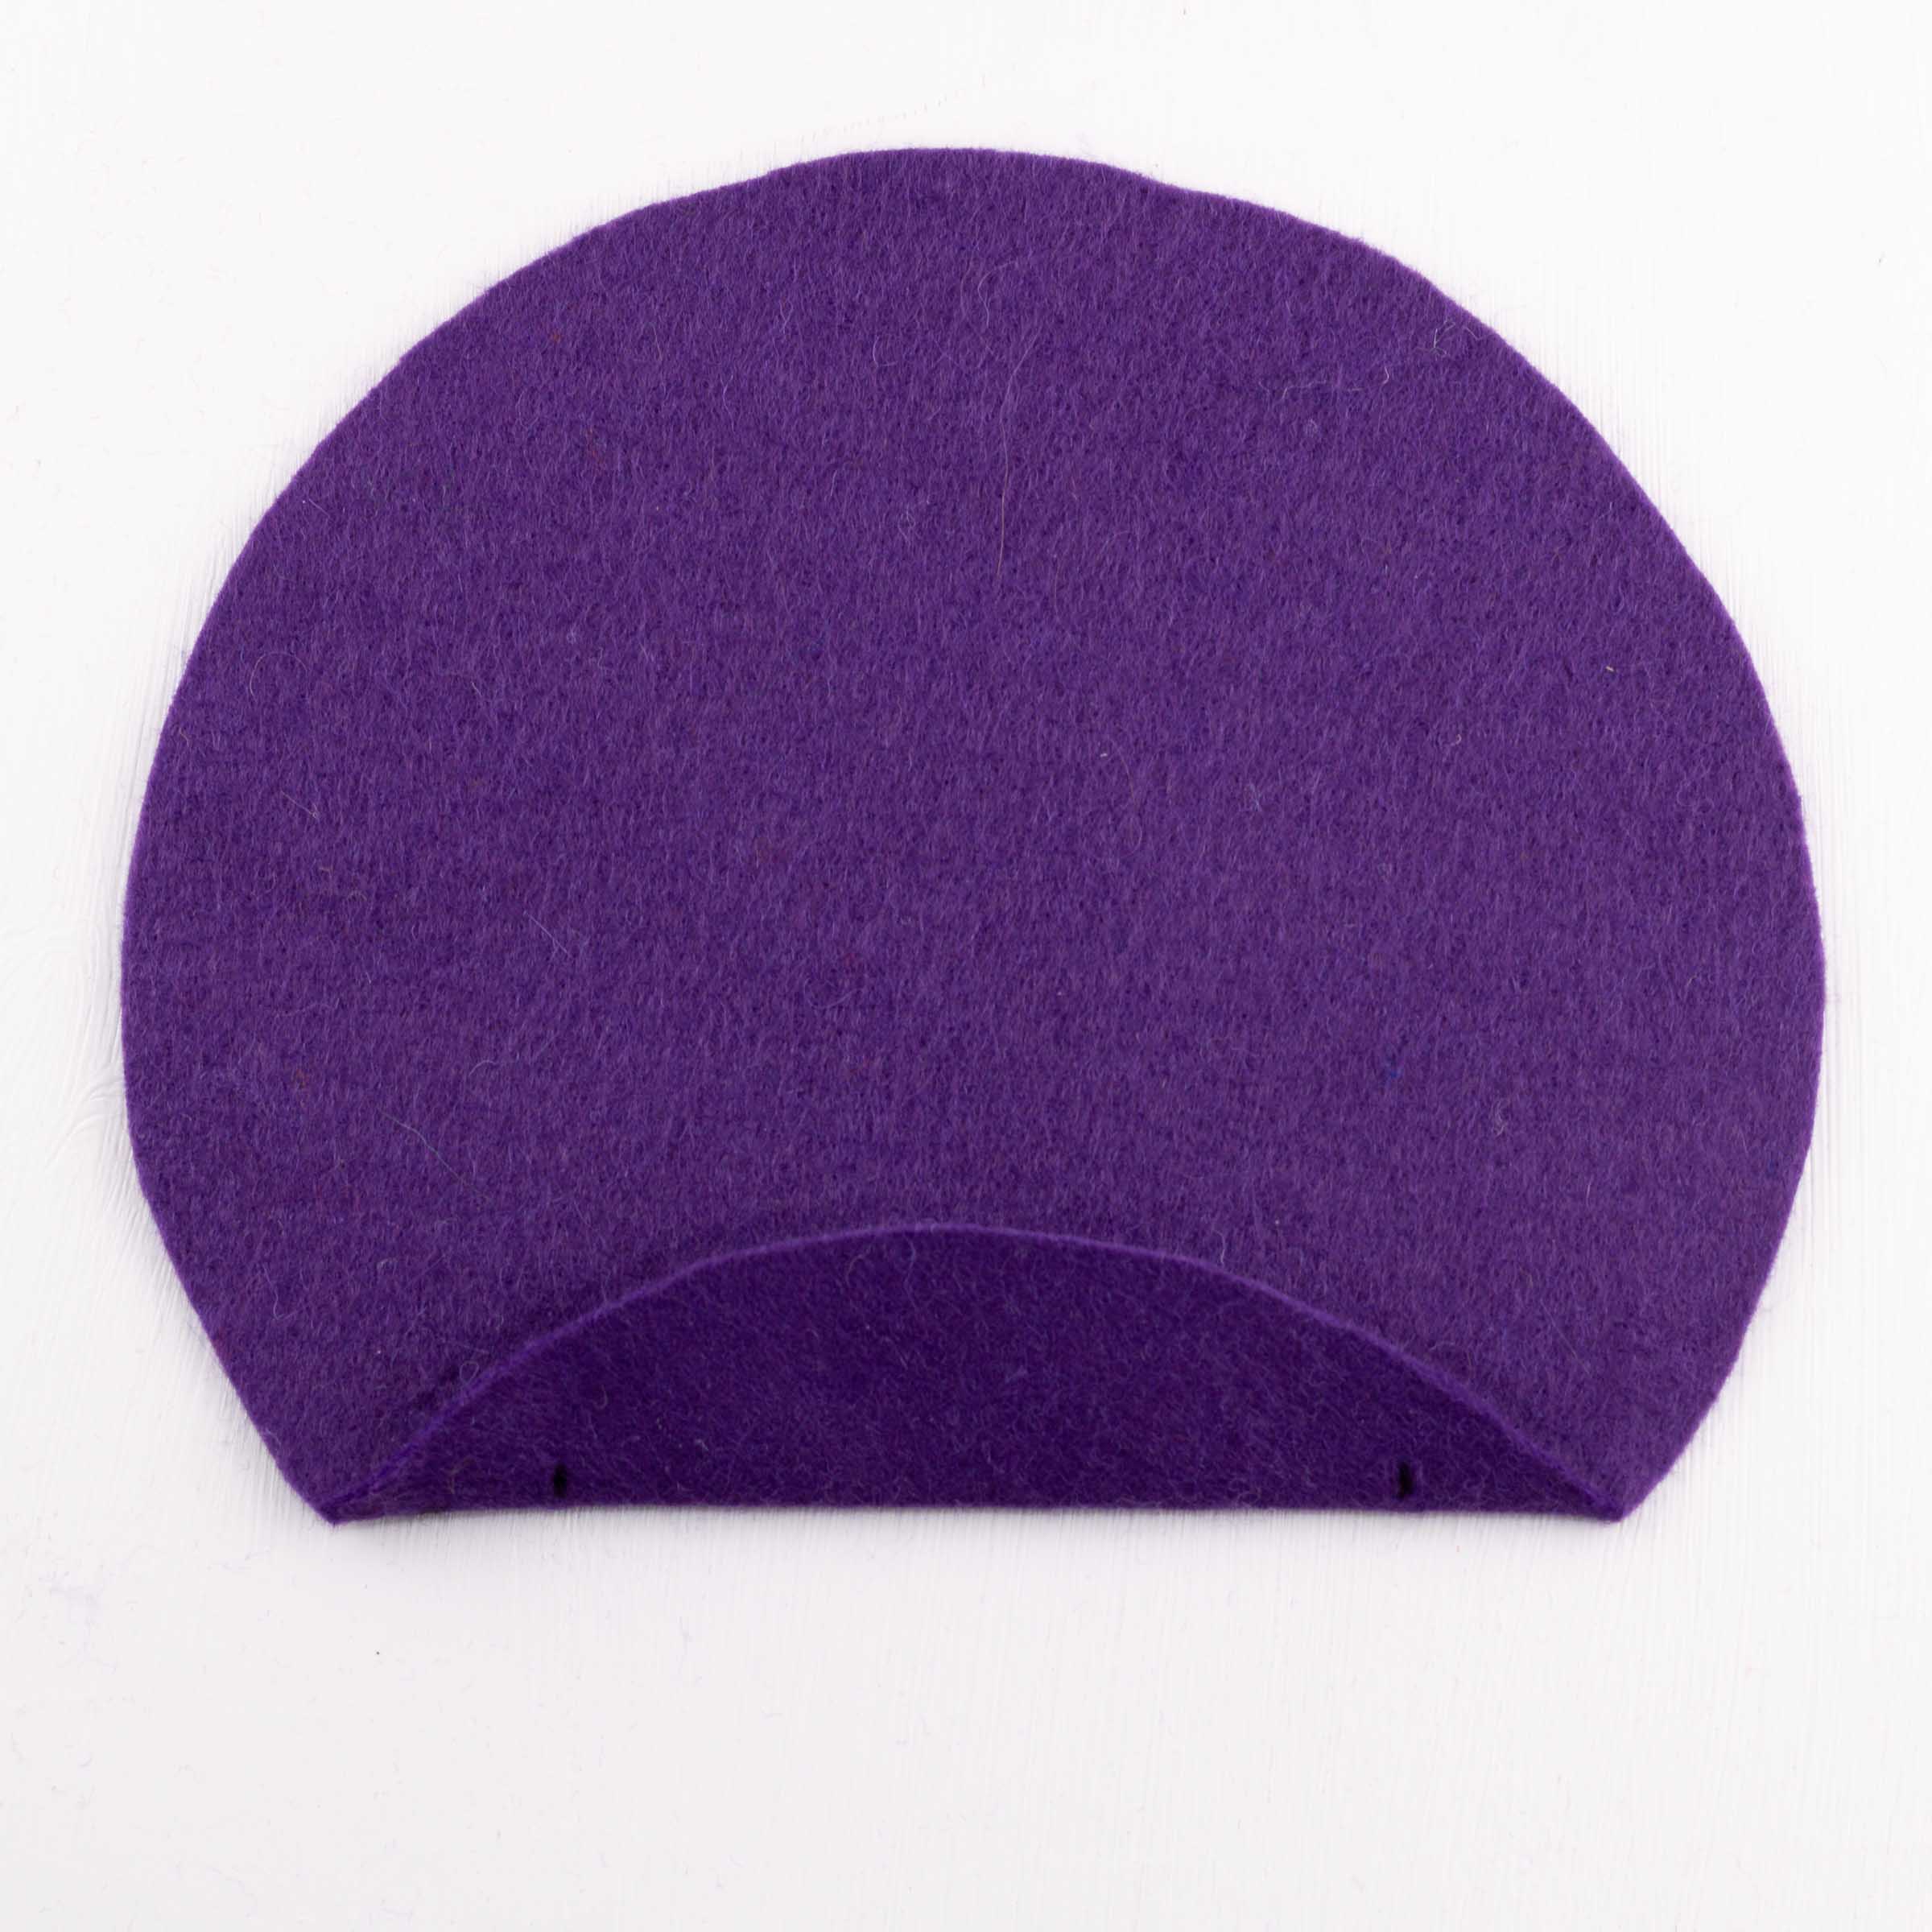

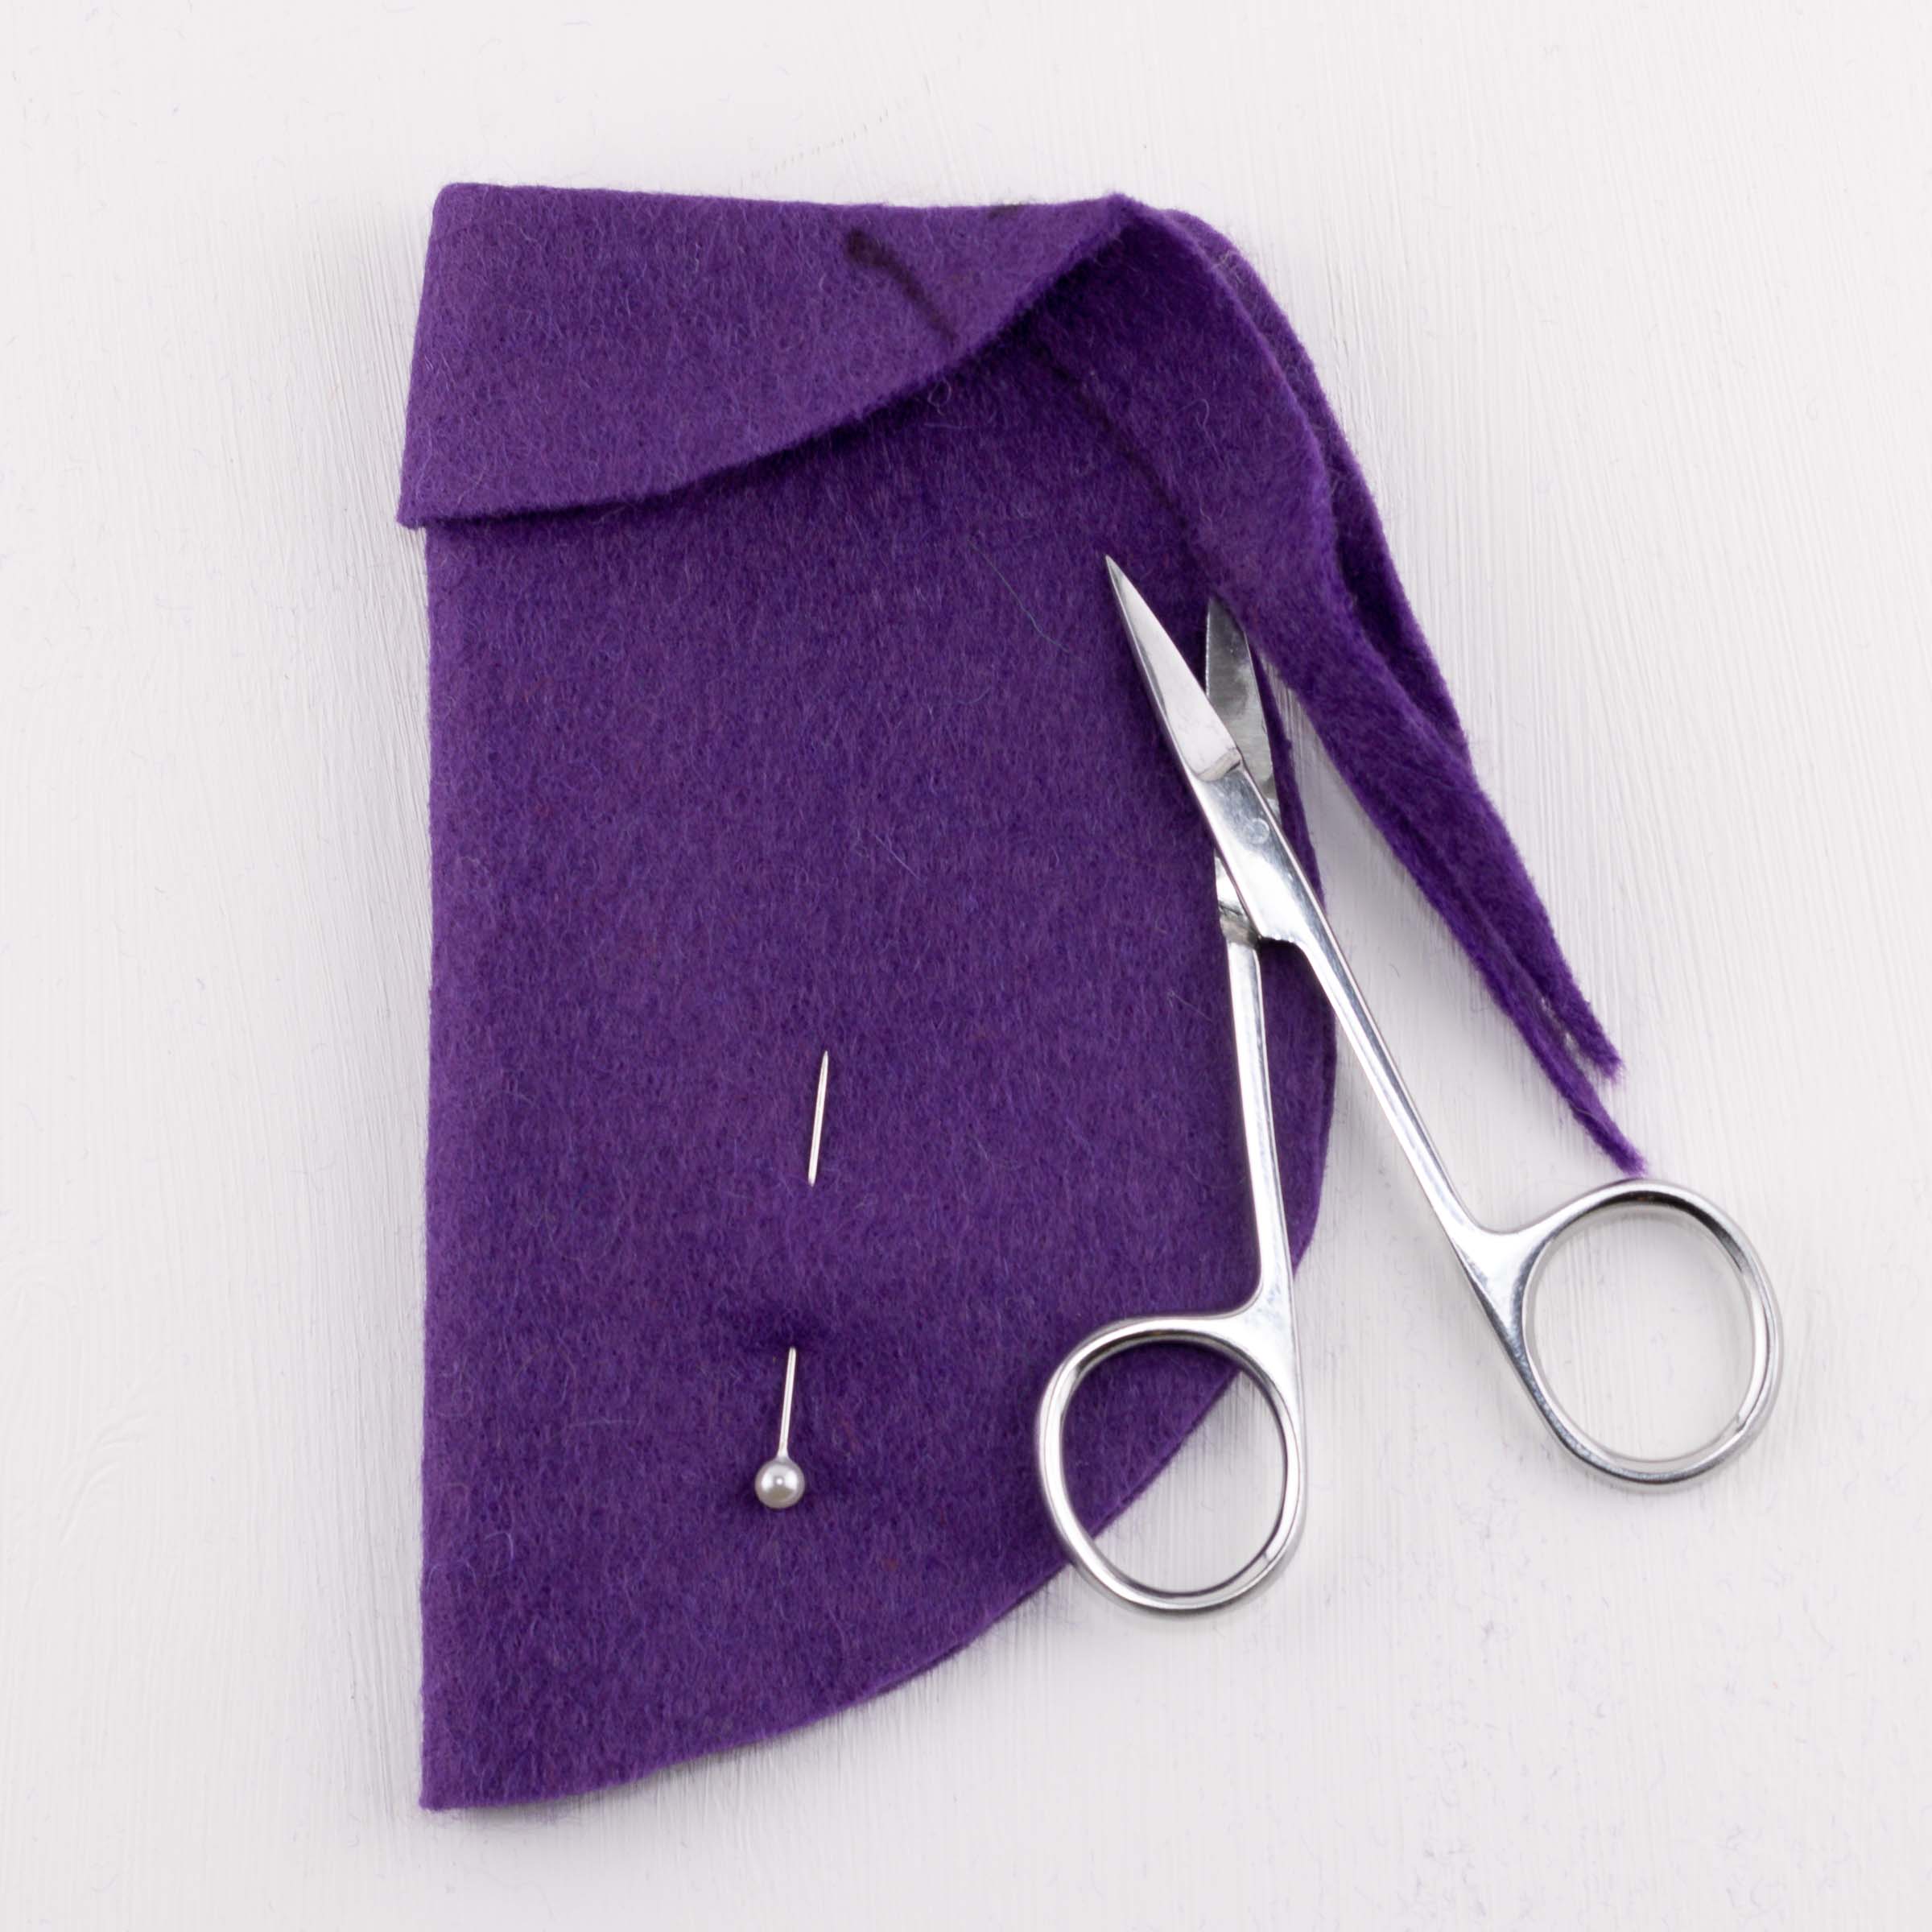
For the crown, take the felt circle and fold the lower section so that the folded edge measures 12cm (4 3/4 inches).
Fold the crown in half and mark 2cm (3/4inch) in from the edge at the base. Draw a curve as shown..
Trim along the curved line then open the crown out flat.
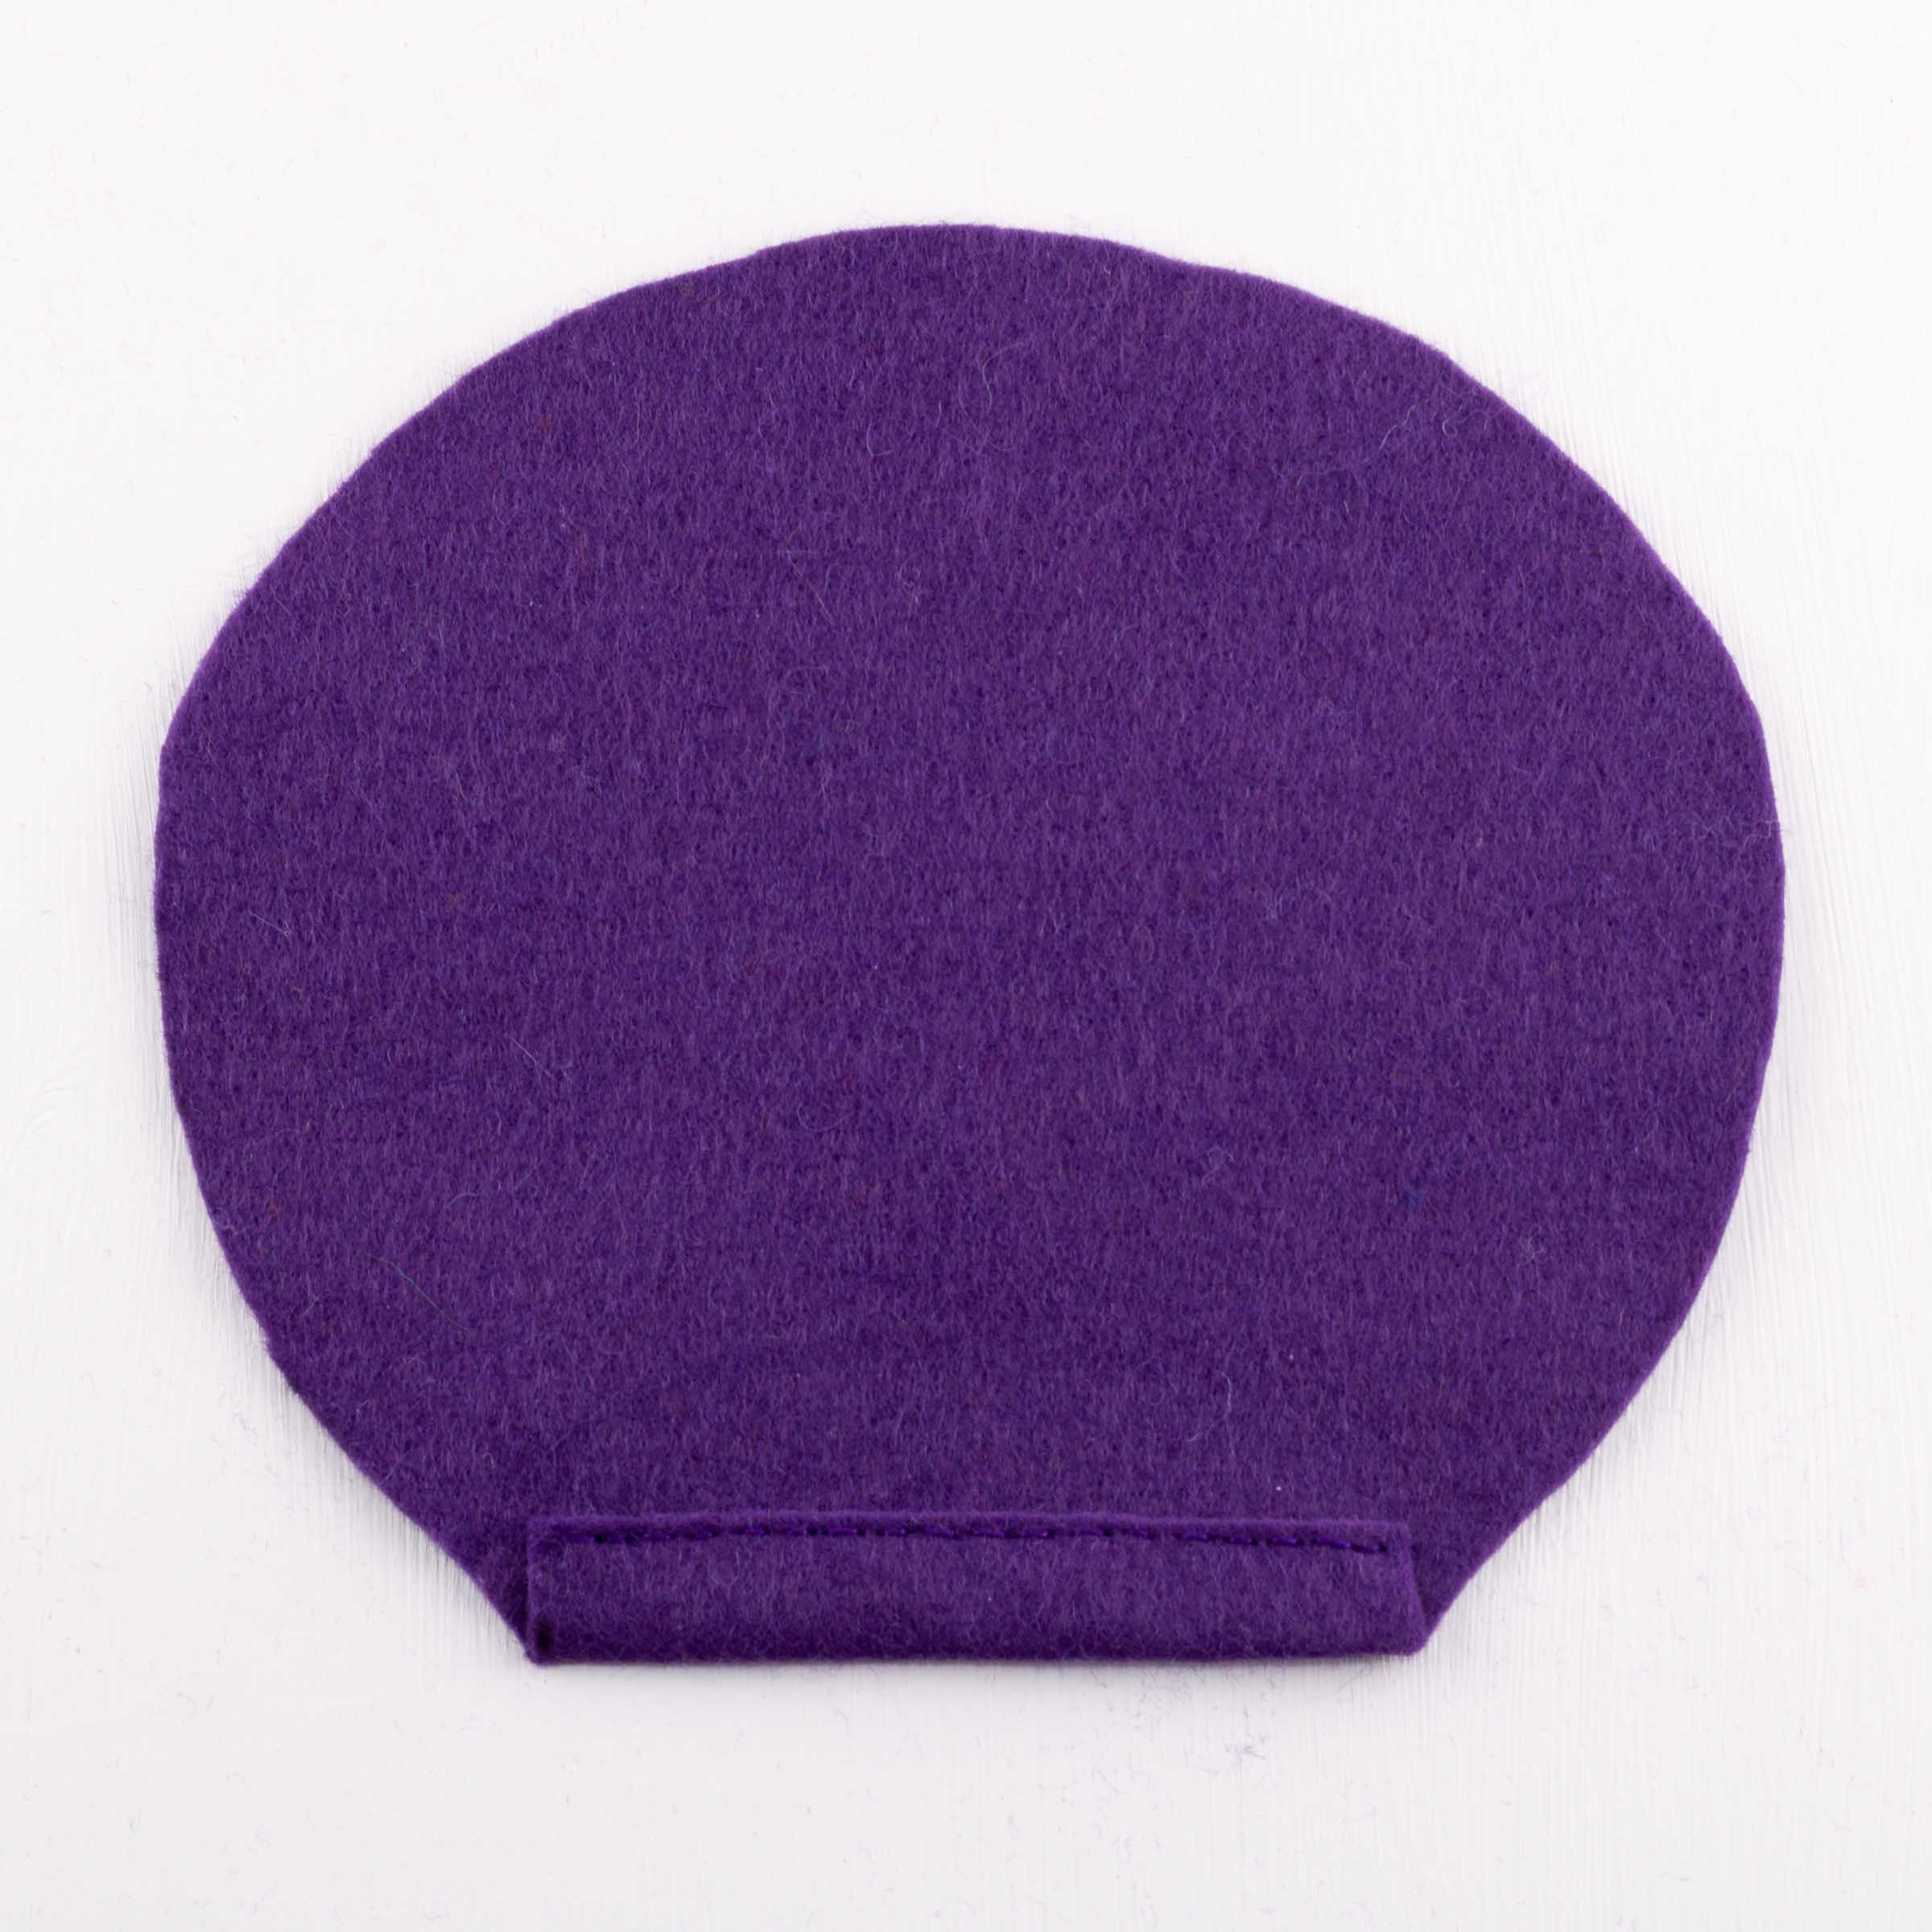

Stitch along the folded edge and trim away the excess felt.
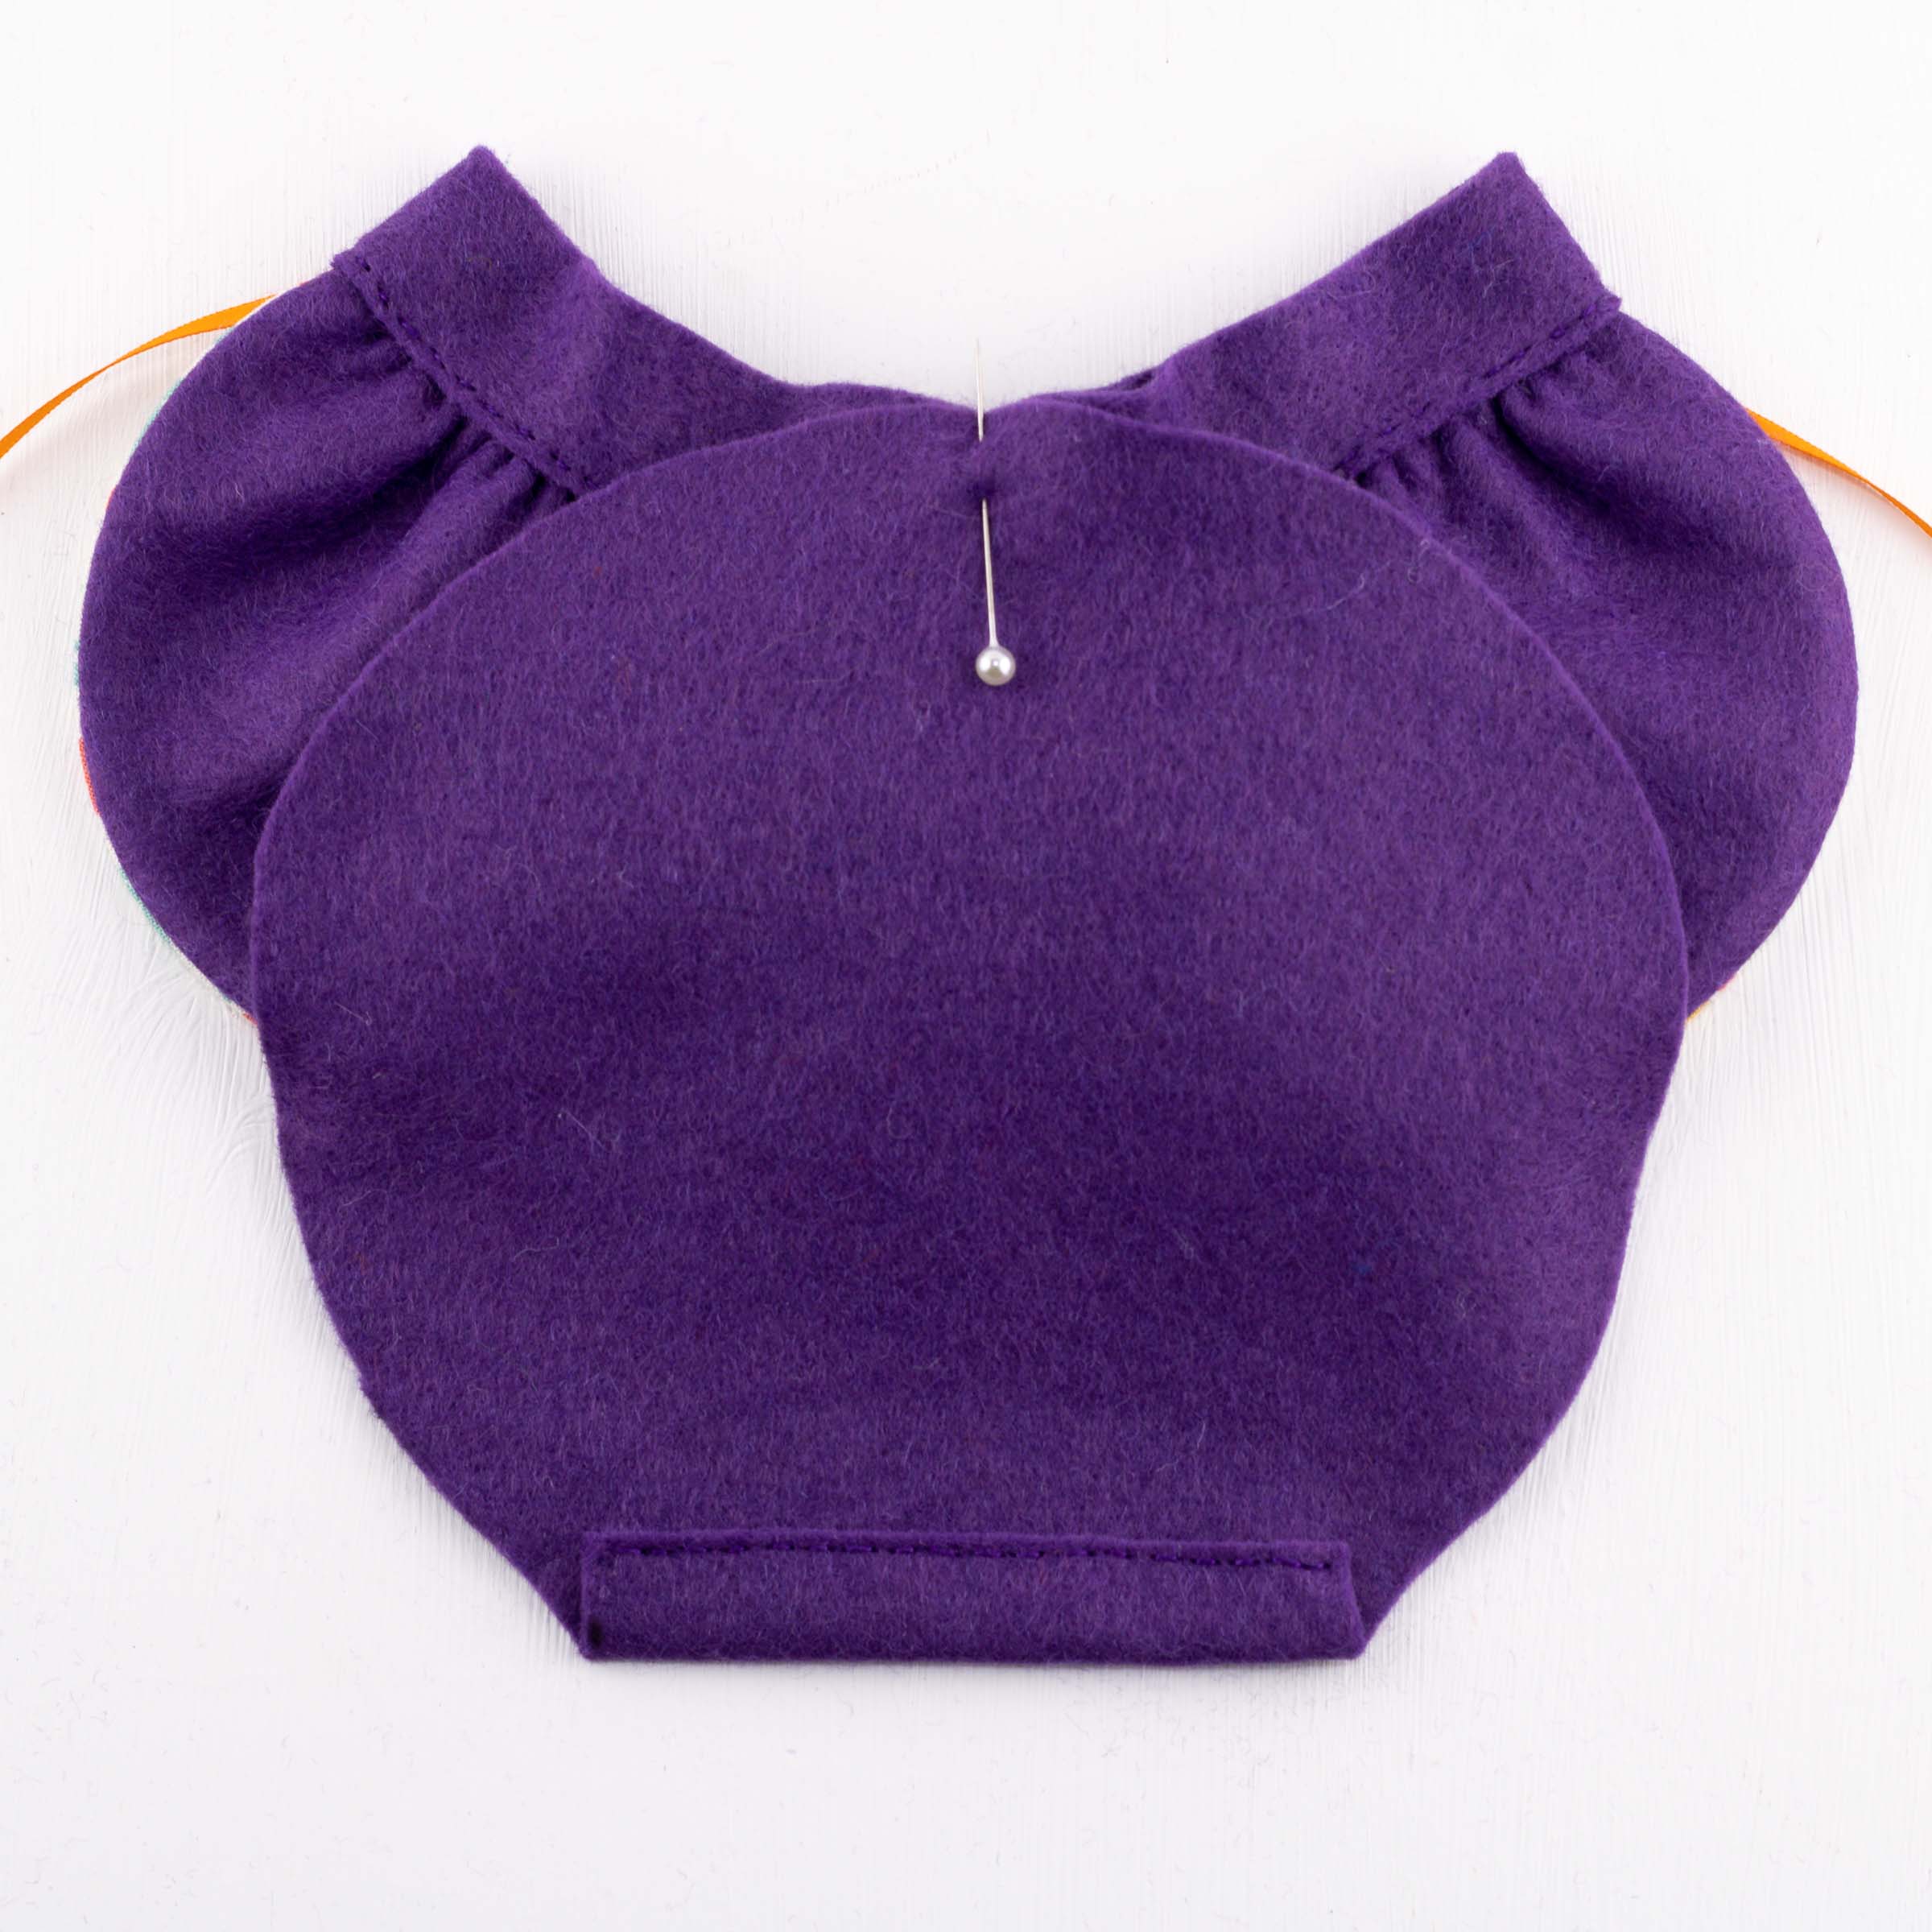
Place the crown on the lower edge of the brim as shown and pin at the centre. Gather all round the curved edge of the crown and pull up the gathers to fit the edge of the brim.
Stitch the gathered edge of the crown to the felt strip along the edge of the brim.
Fold the brim forward.
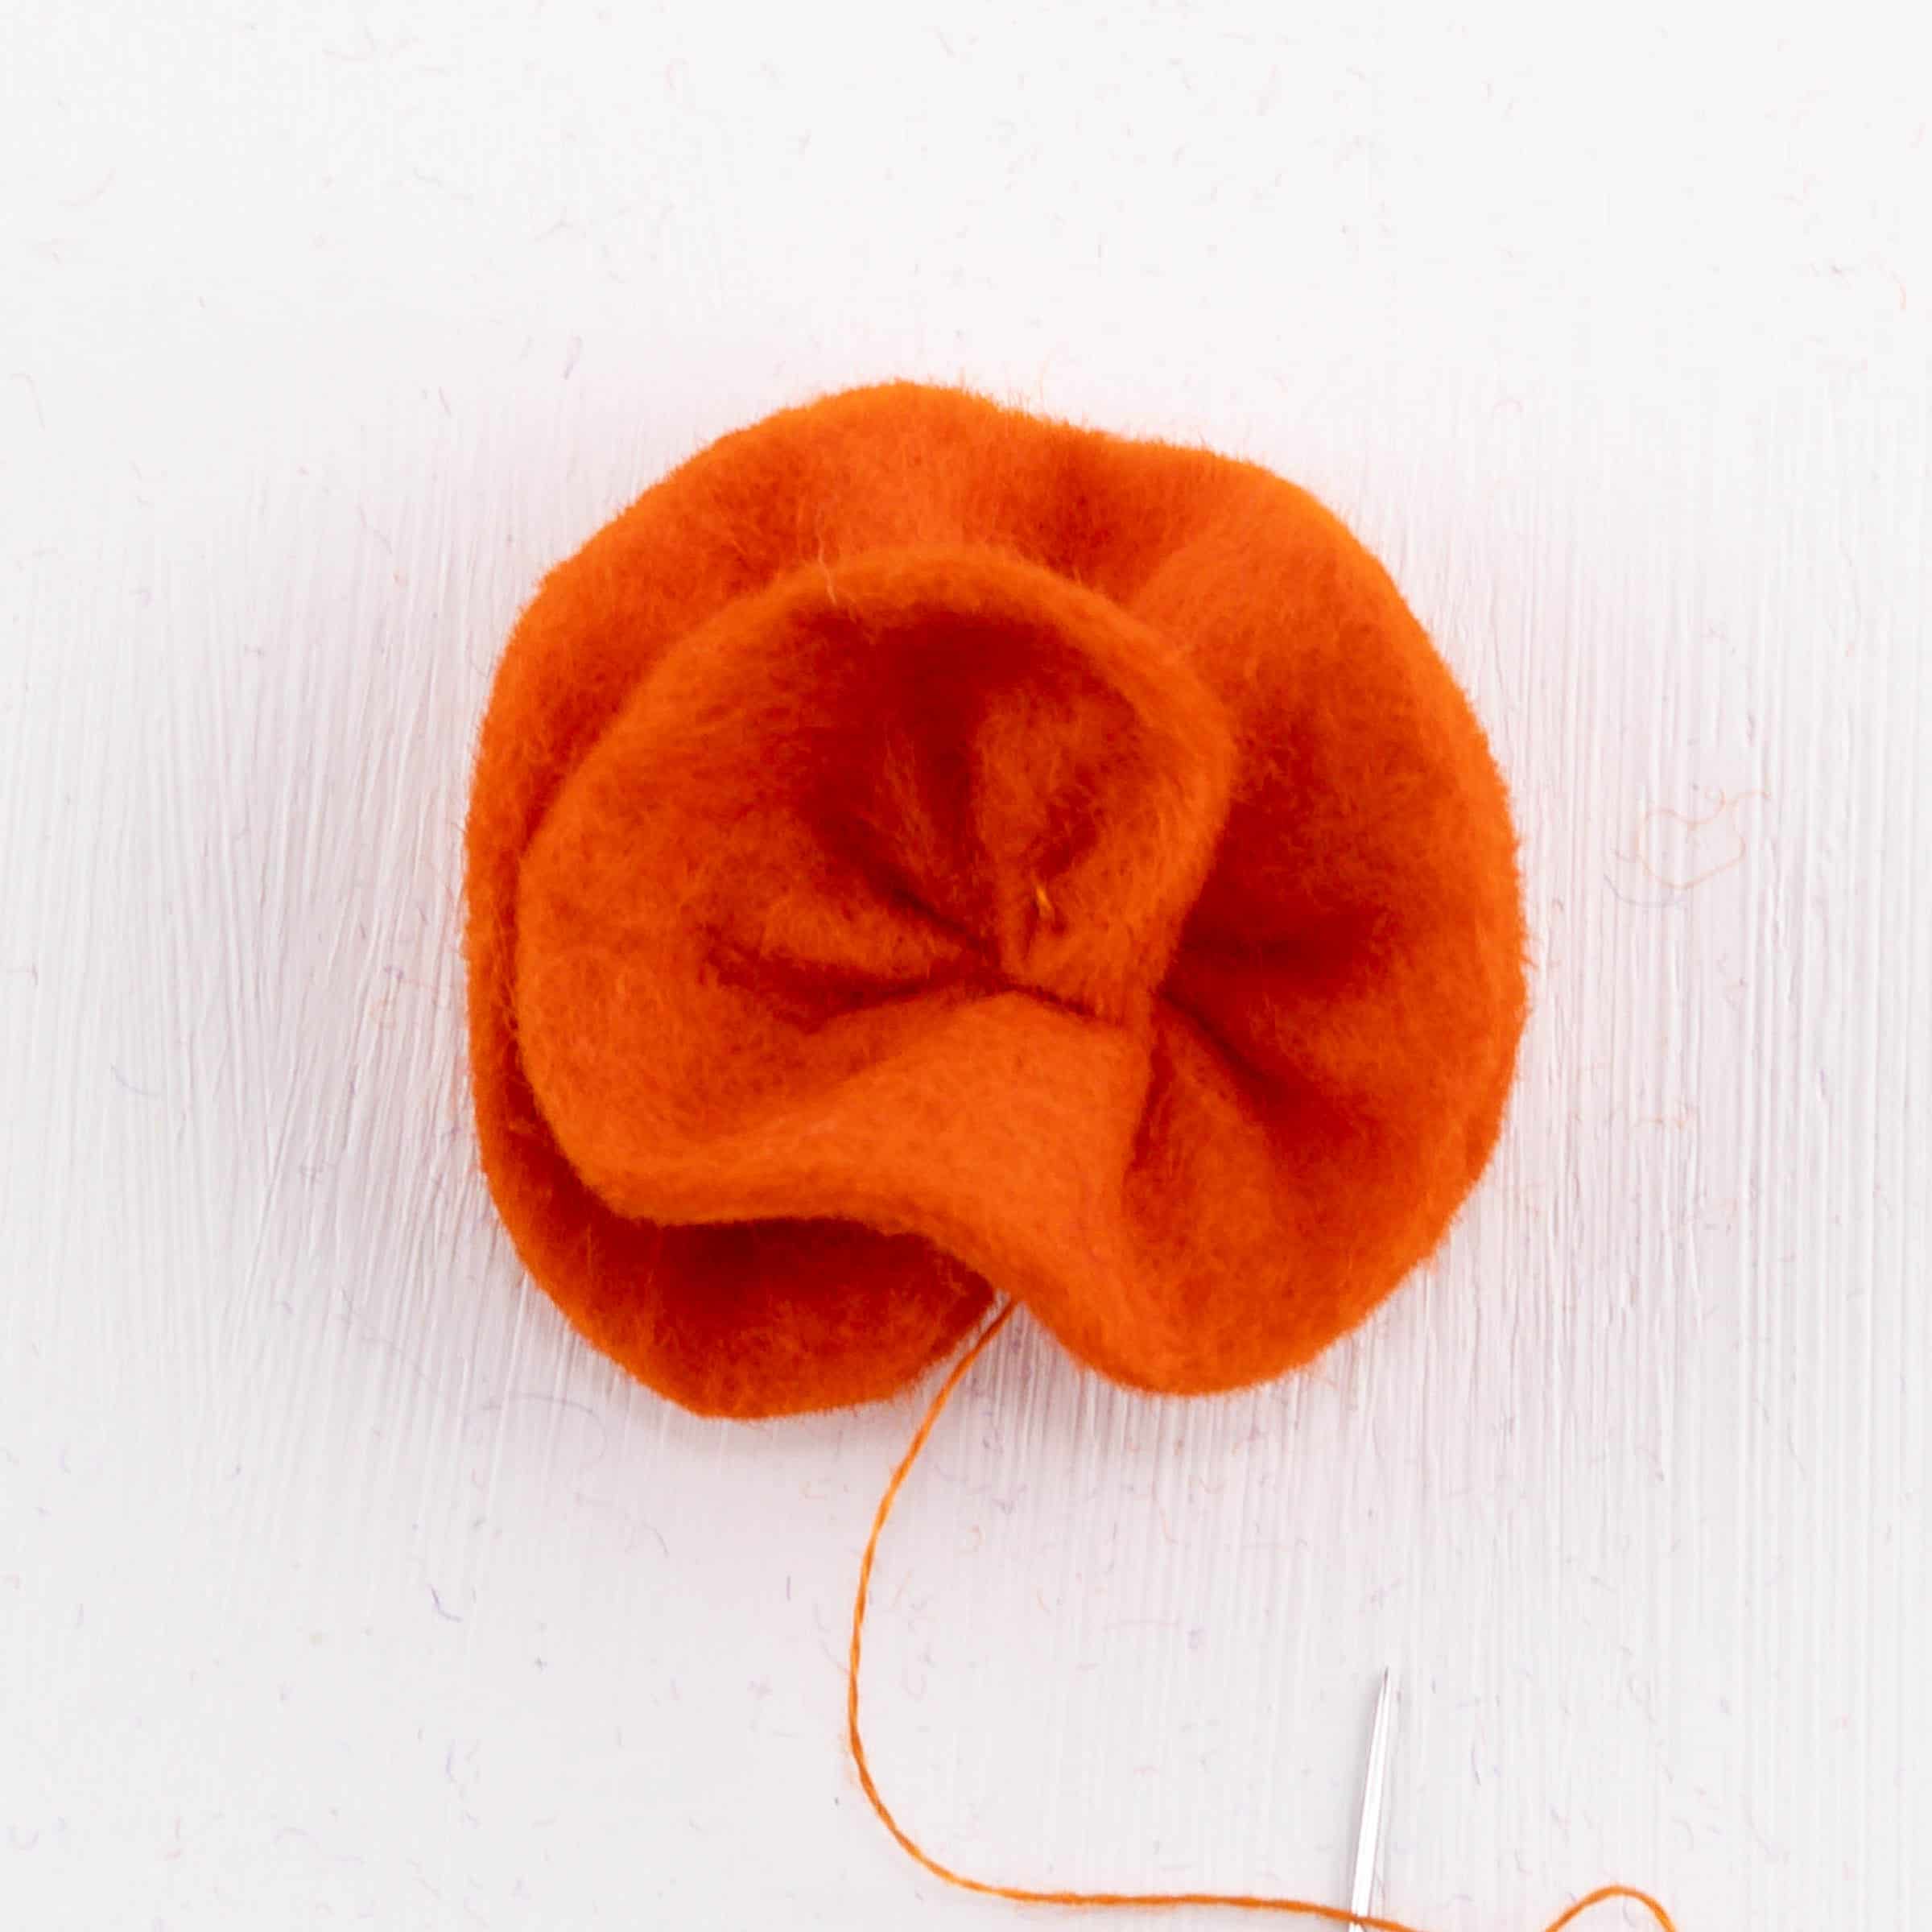
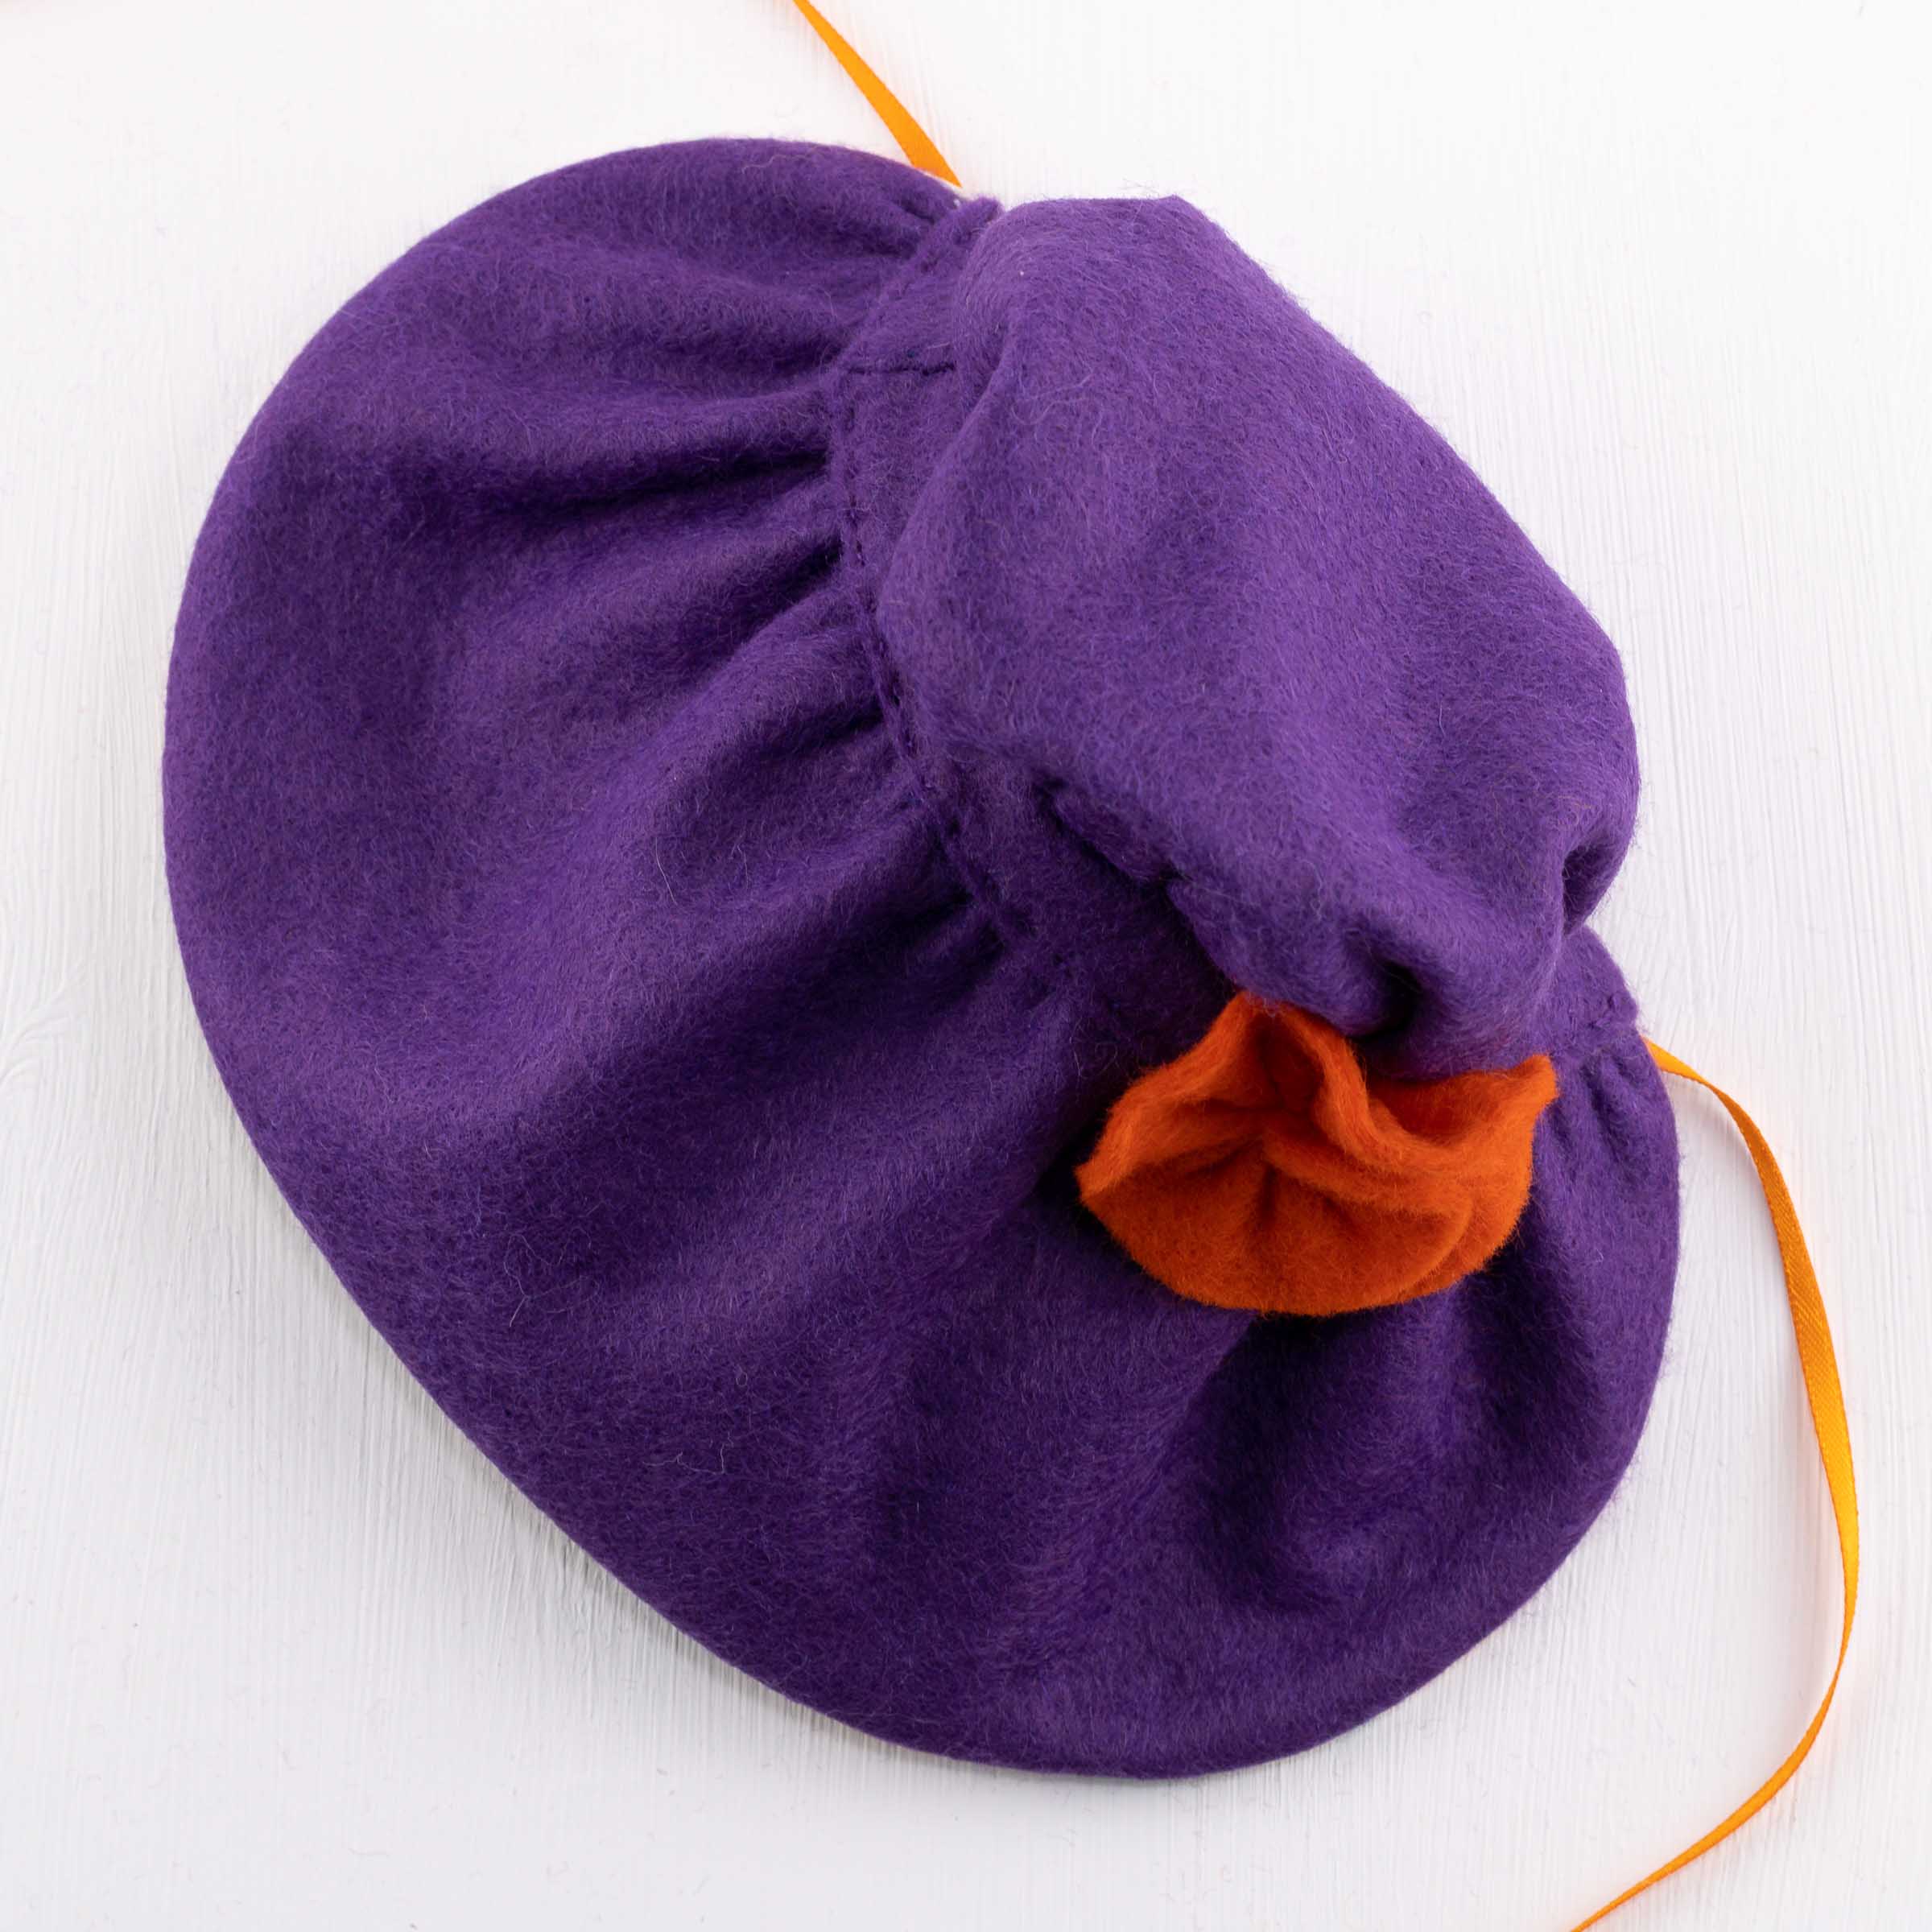
Use the flower template from the Tabitha Rabbit pattern to cut a shape from the contrasting felt, or just draw and cut out a “C” shape. Gather the inner edge, let it form a spiral, and secure the base with a few stitches.
Sew the flower to the strip between the brim and crown. You can add as many flowers as you like, and some leaves would look nice too!
I made Tabitha a new dress and jacket in a sunny orange-yellow and used purple for the bonnet and basket, inspired by the colours of Spring crocuses. The outfit would look lovely in any bright or pastel colours so have fun dressing Tabitha up for Easter, and don’t forget you’ll need some chocolate eggs to complete the project!

This is a beautiful addition to Tabitha, she looks gorgeous. Does she fit 12” doll clothes?
Hi Catherine,
Tabitha and the other Tilly and Puffin dolls would be a bit too big for 12″ doll clothes. They are around 16″ tall so most patterns or clothes for dolls that size should fit.