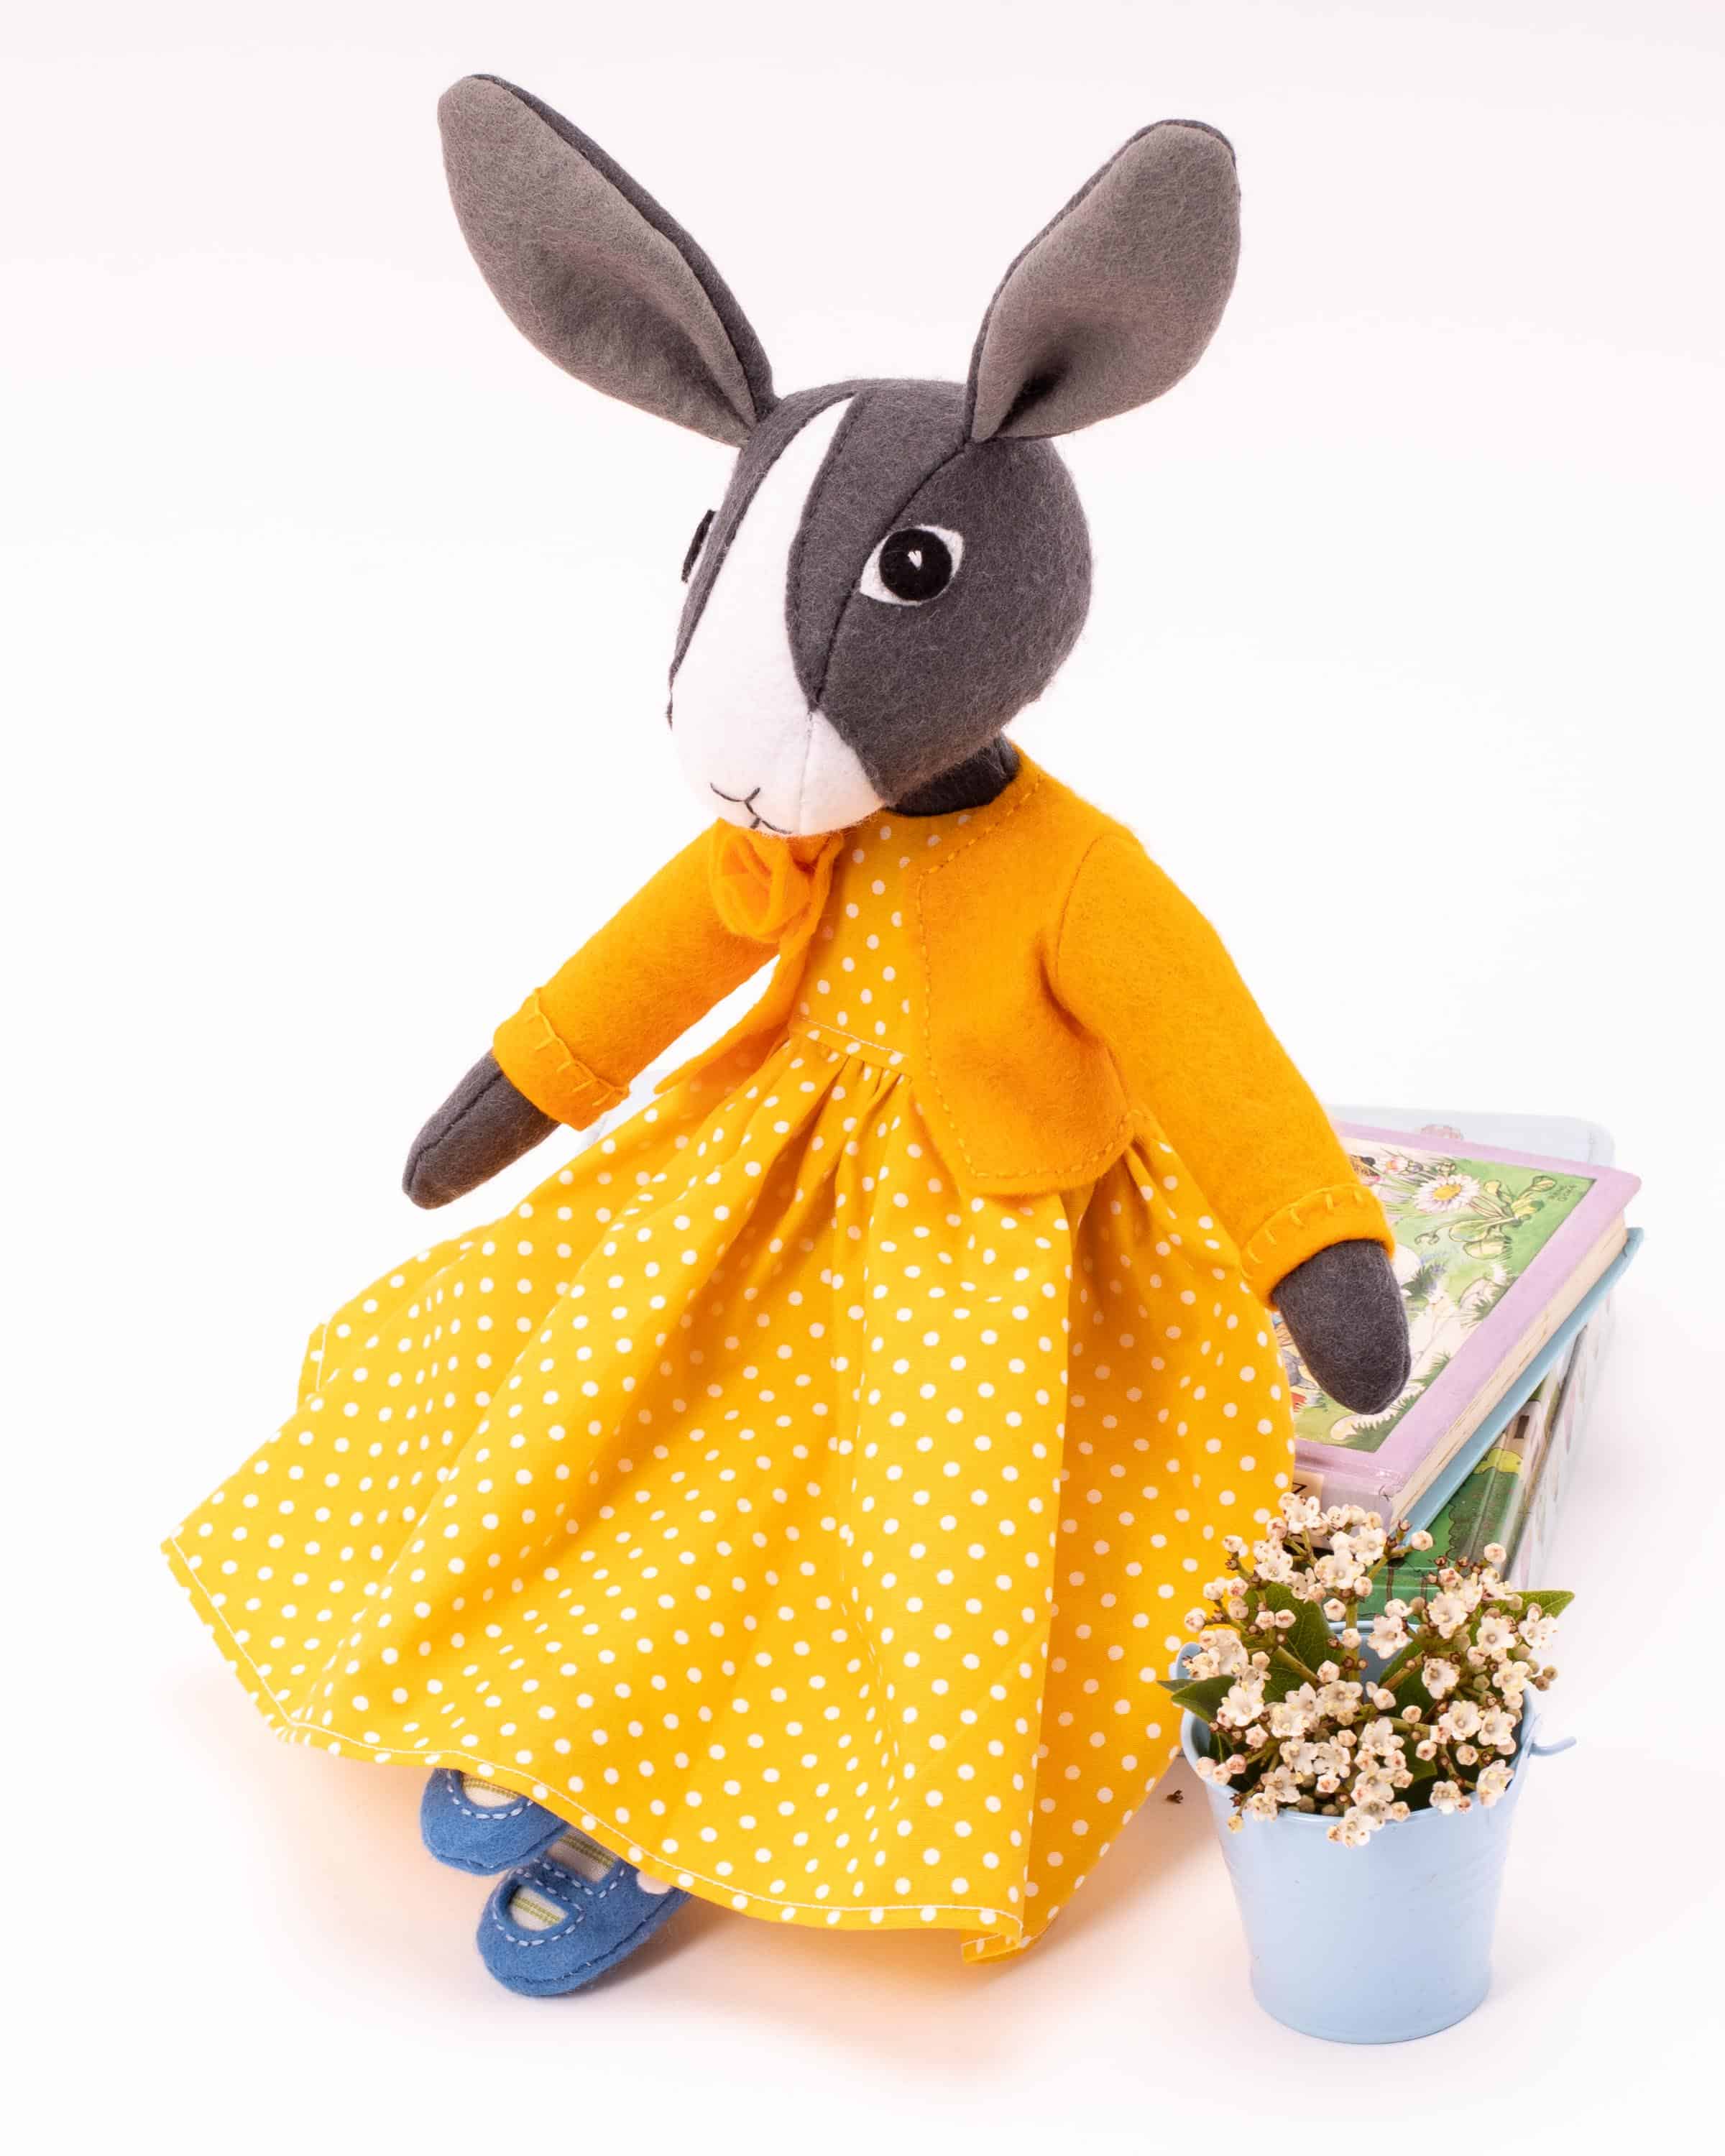
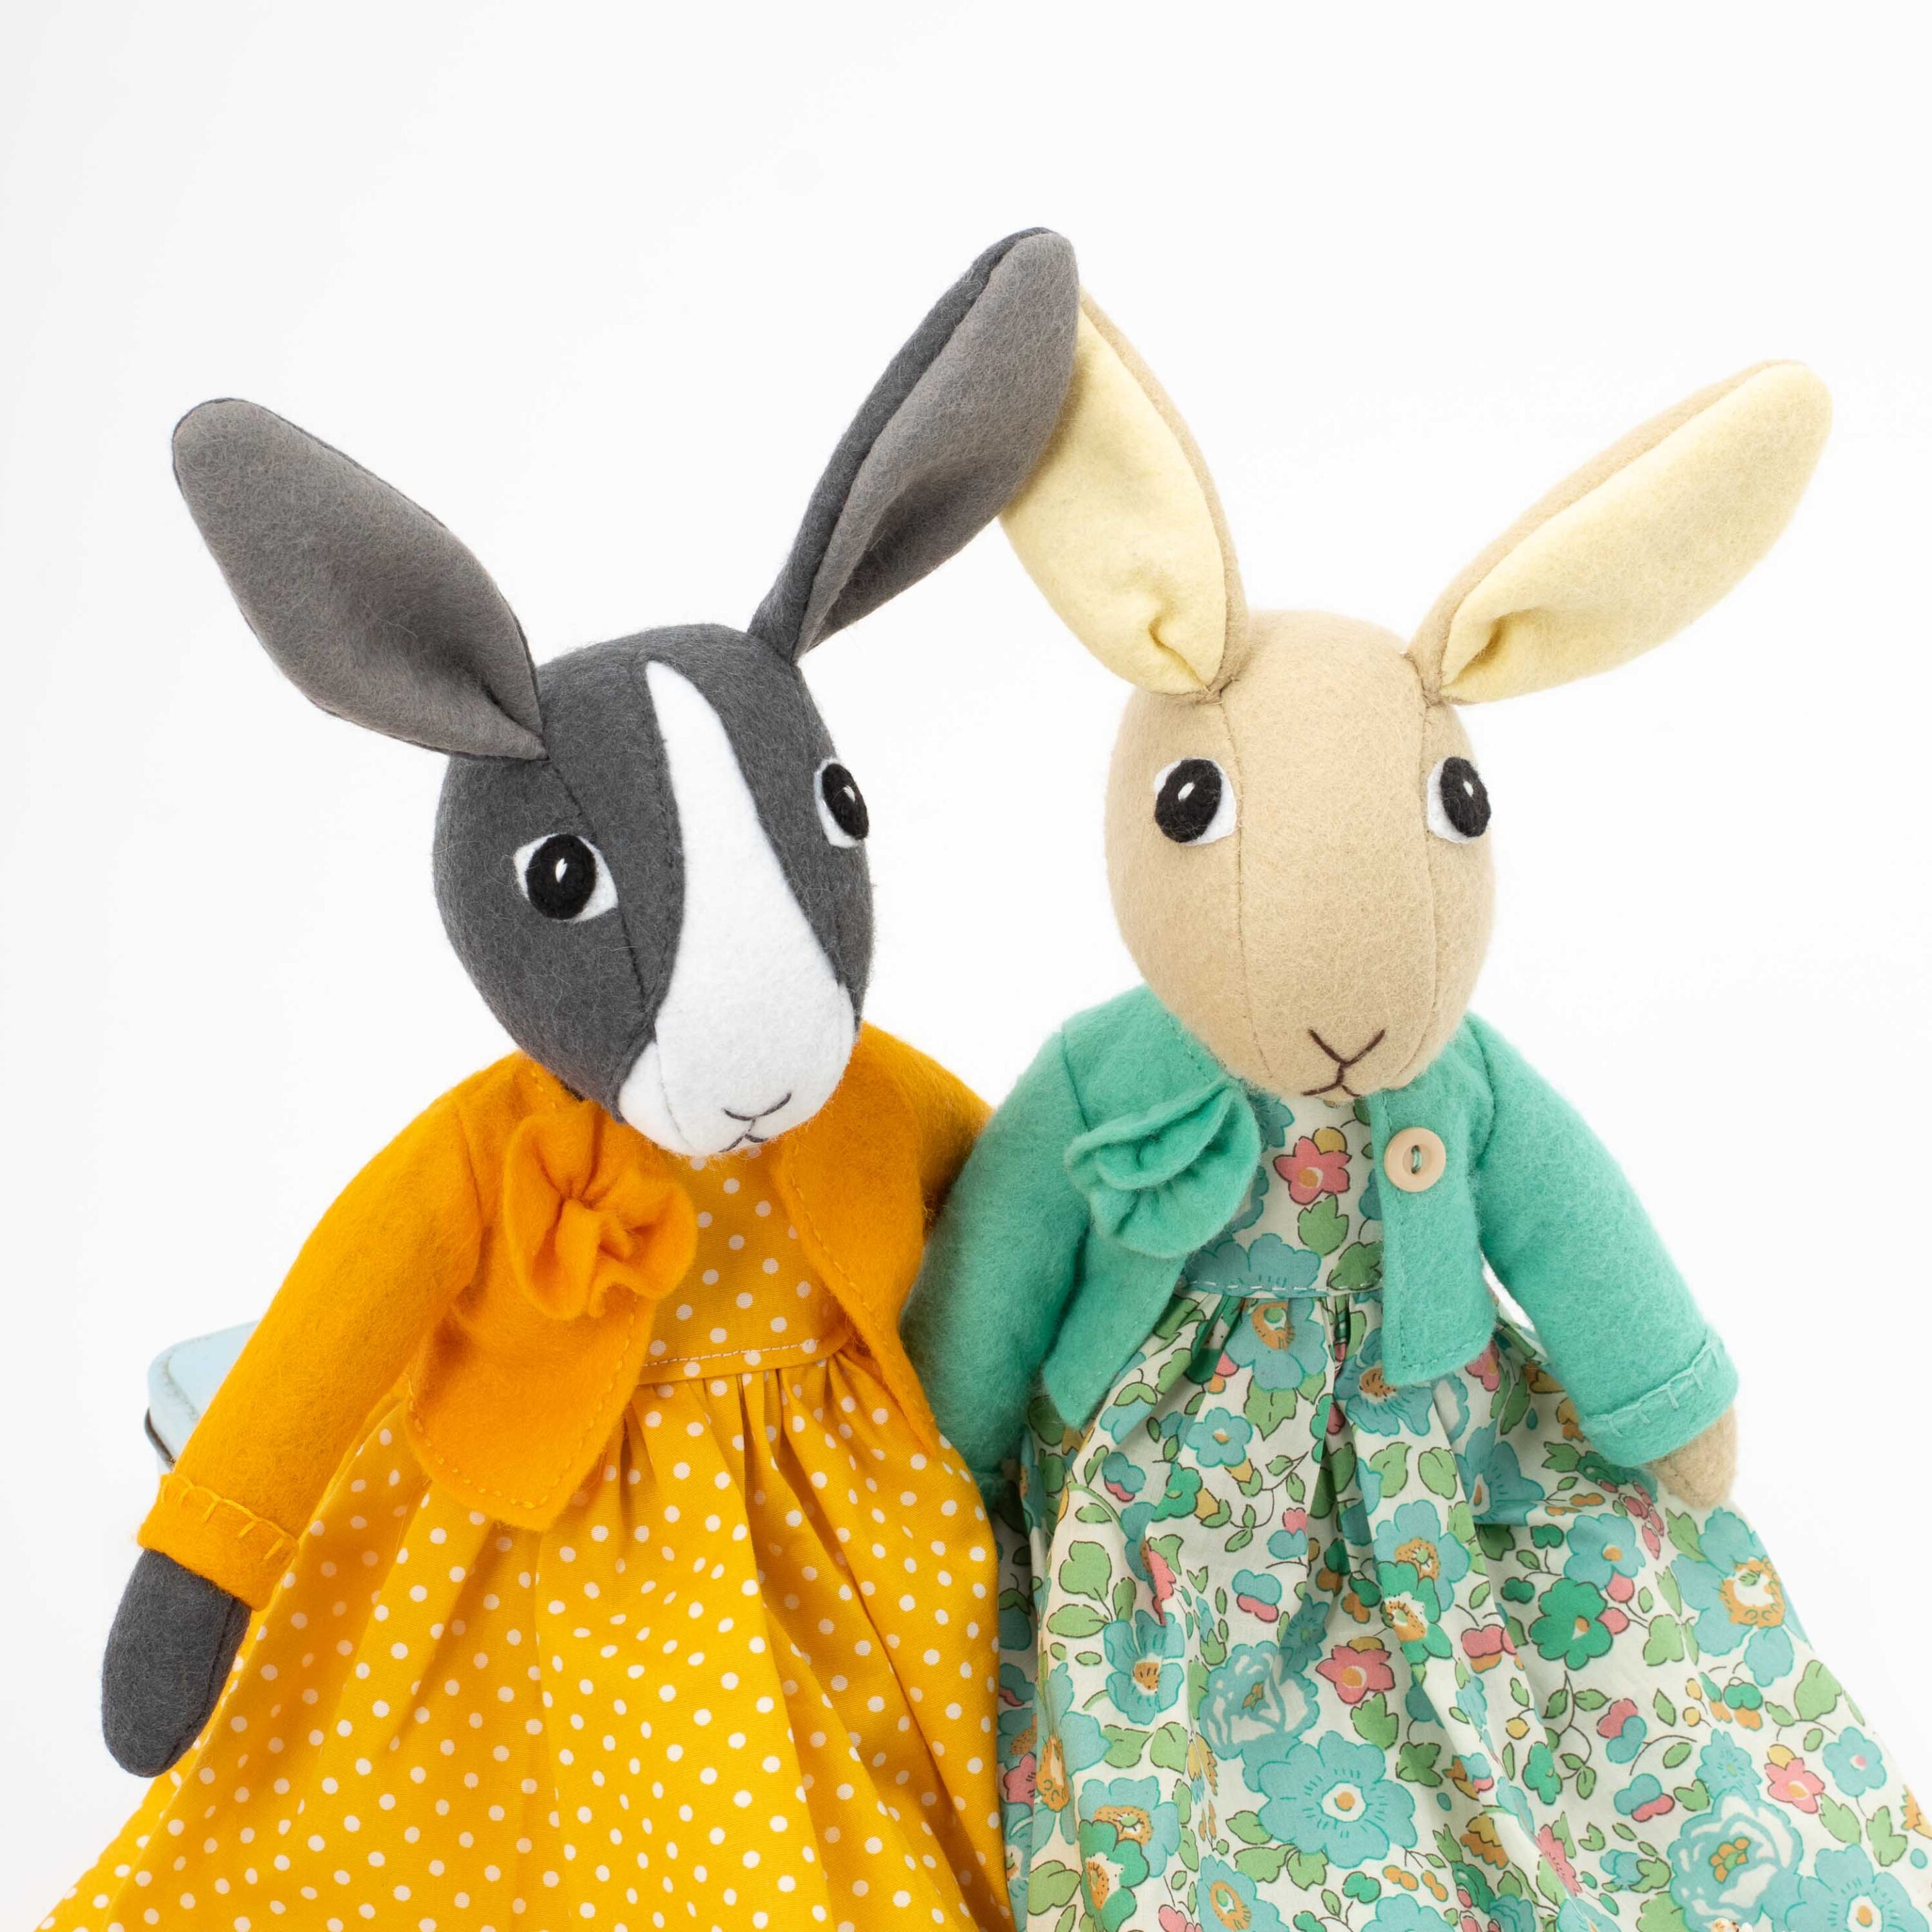
I love Dutch rabbits, with their distinctive face markings in grey and white or black and white. I thought I’d try making one using my Tabitha Rabbit pattern, and the result was Tabitha’s new friend Topsy.
Here’s how to adapt the Tabitha pattern to make a Dutch rabbit. (If you don’t already have the original Tabitha Rabbit pattern you can purchase it here.)
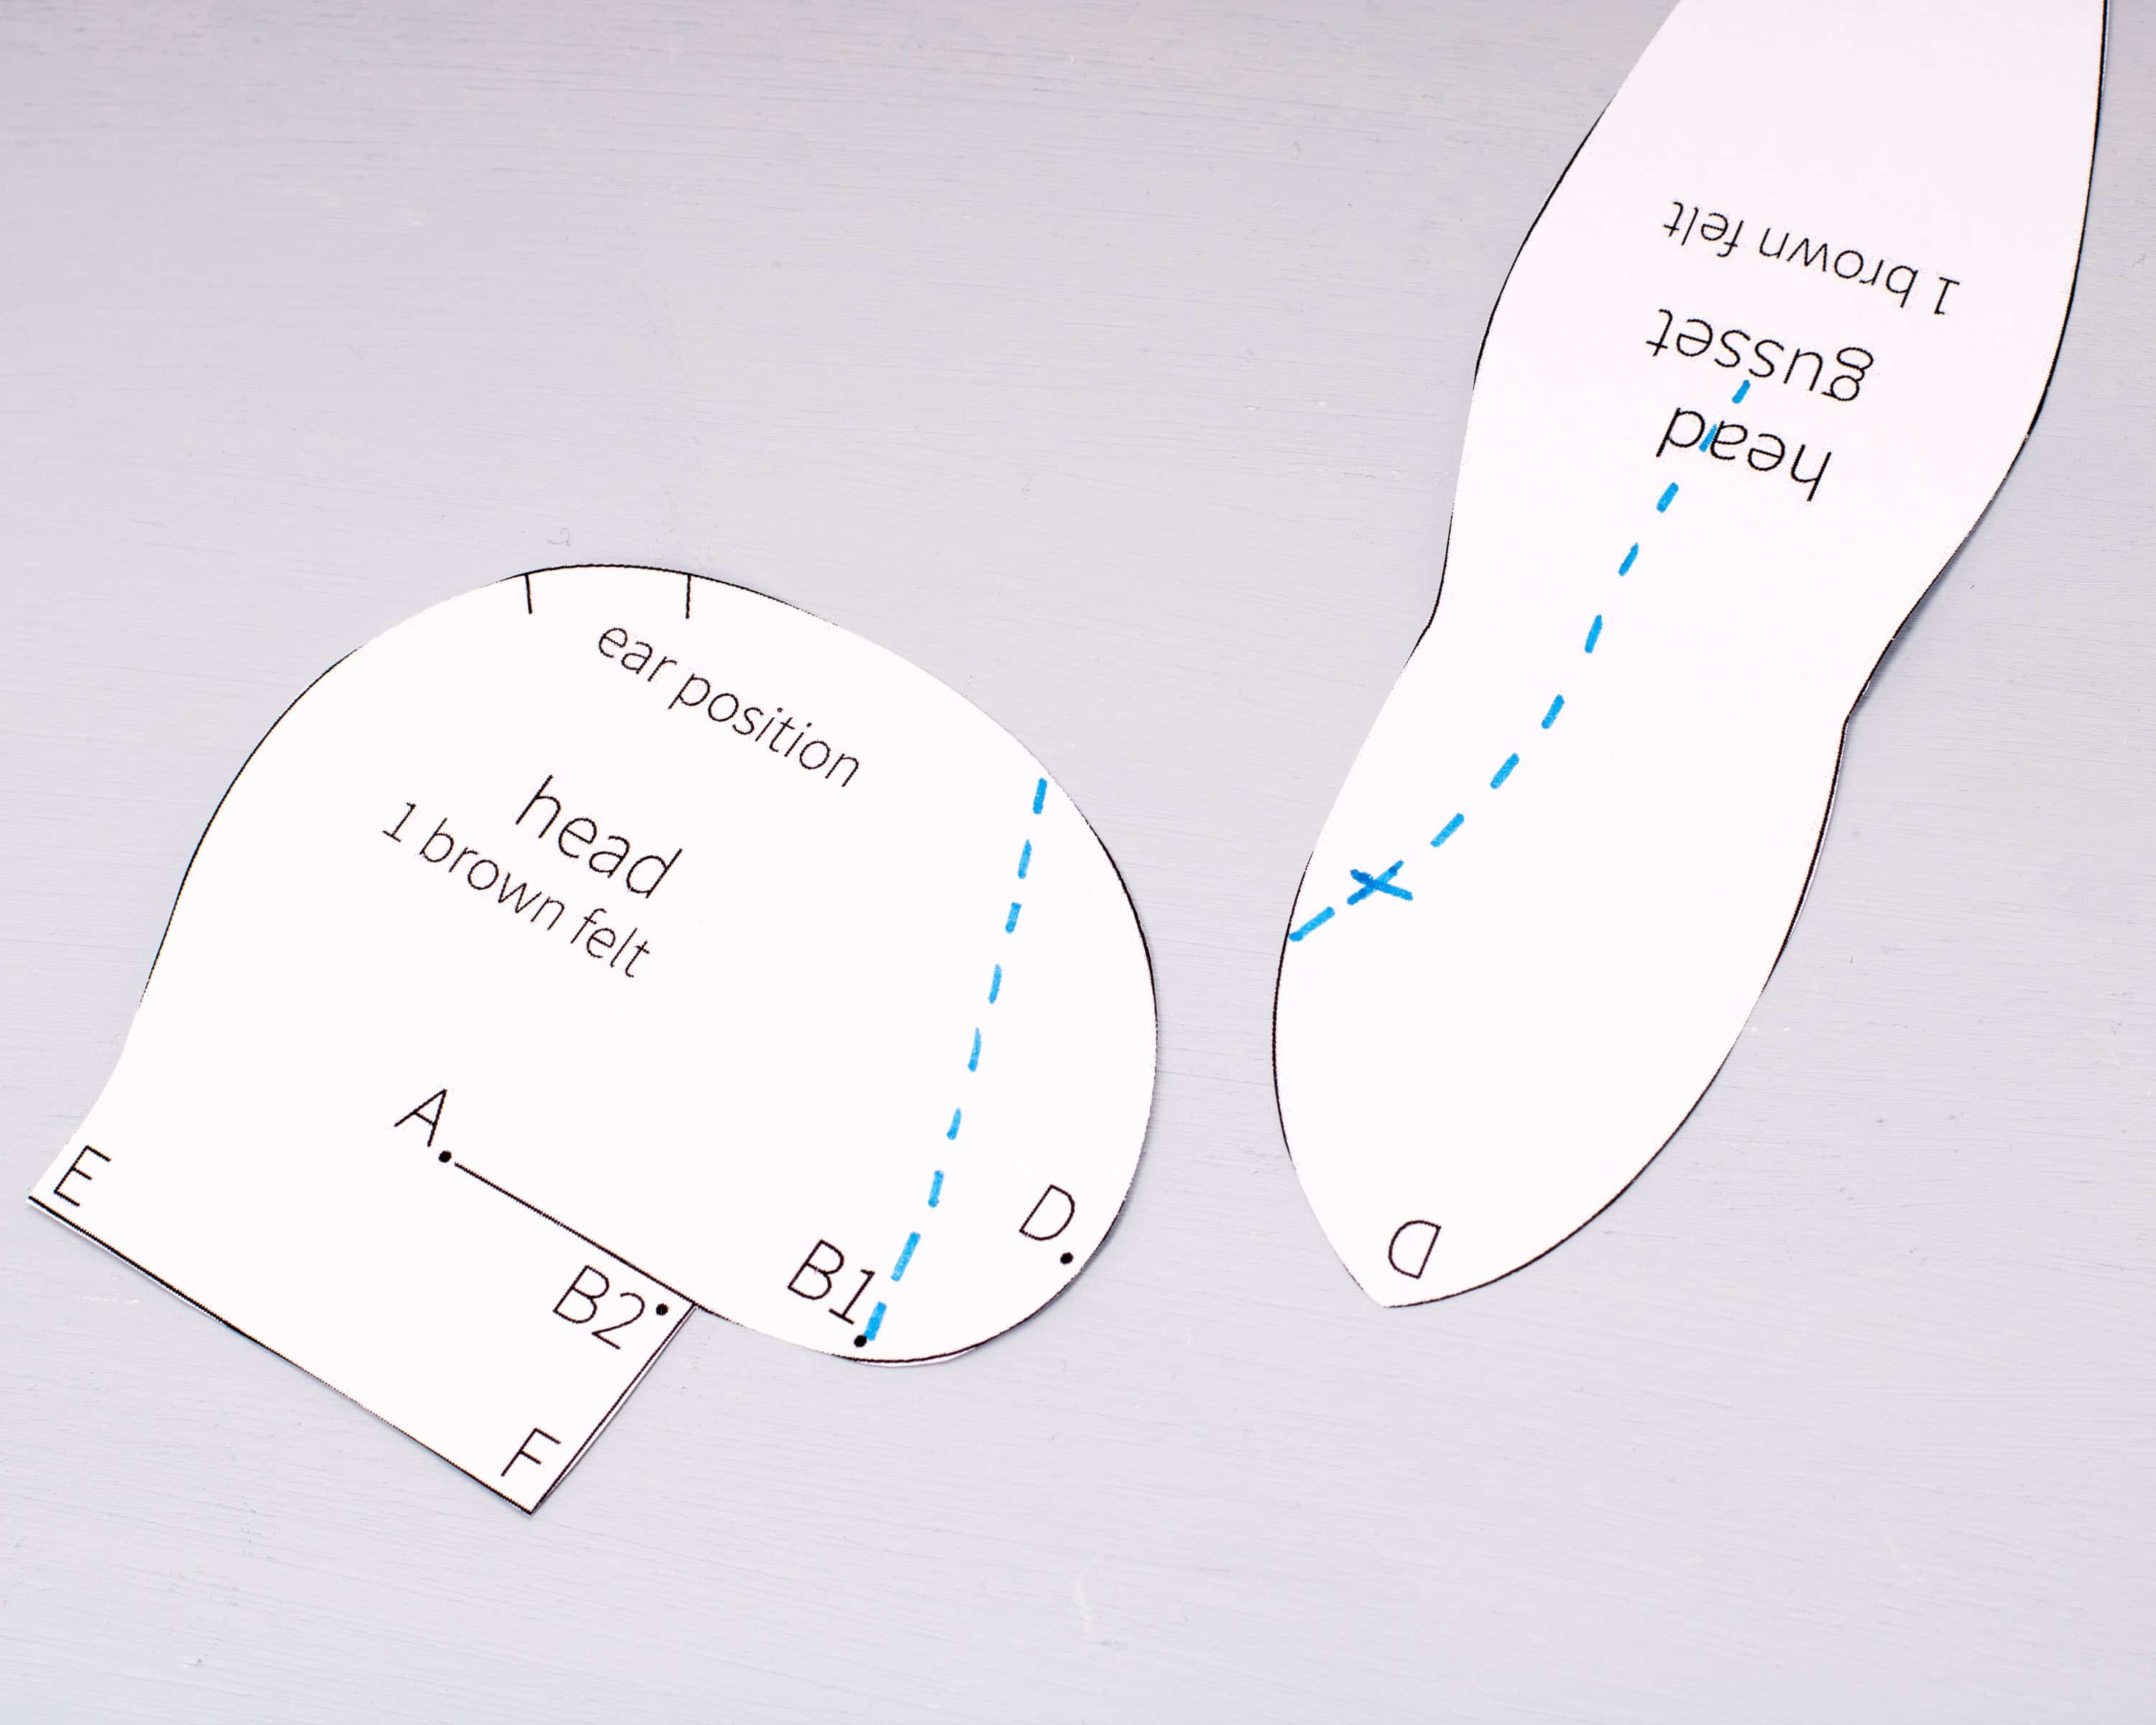
Print or trace a copy of the head and head gusset templates.
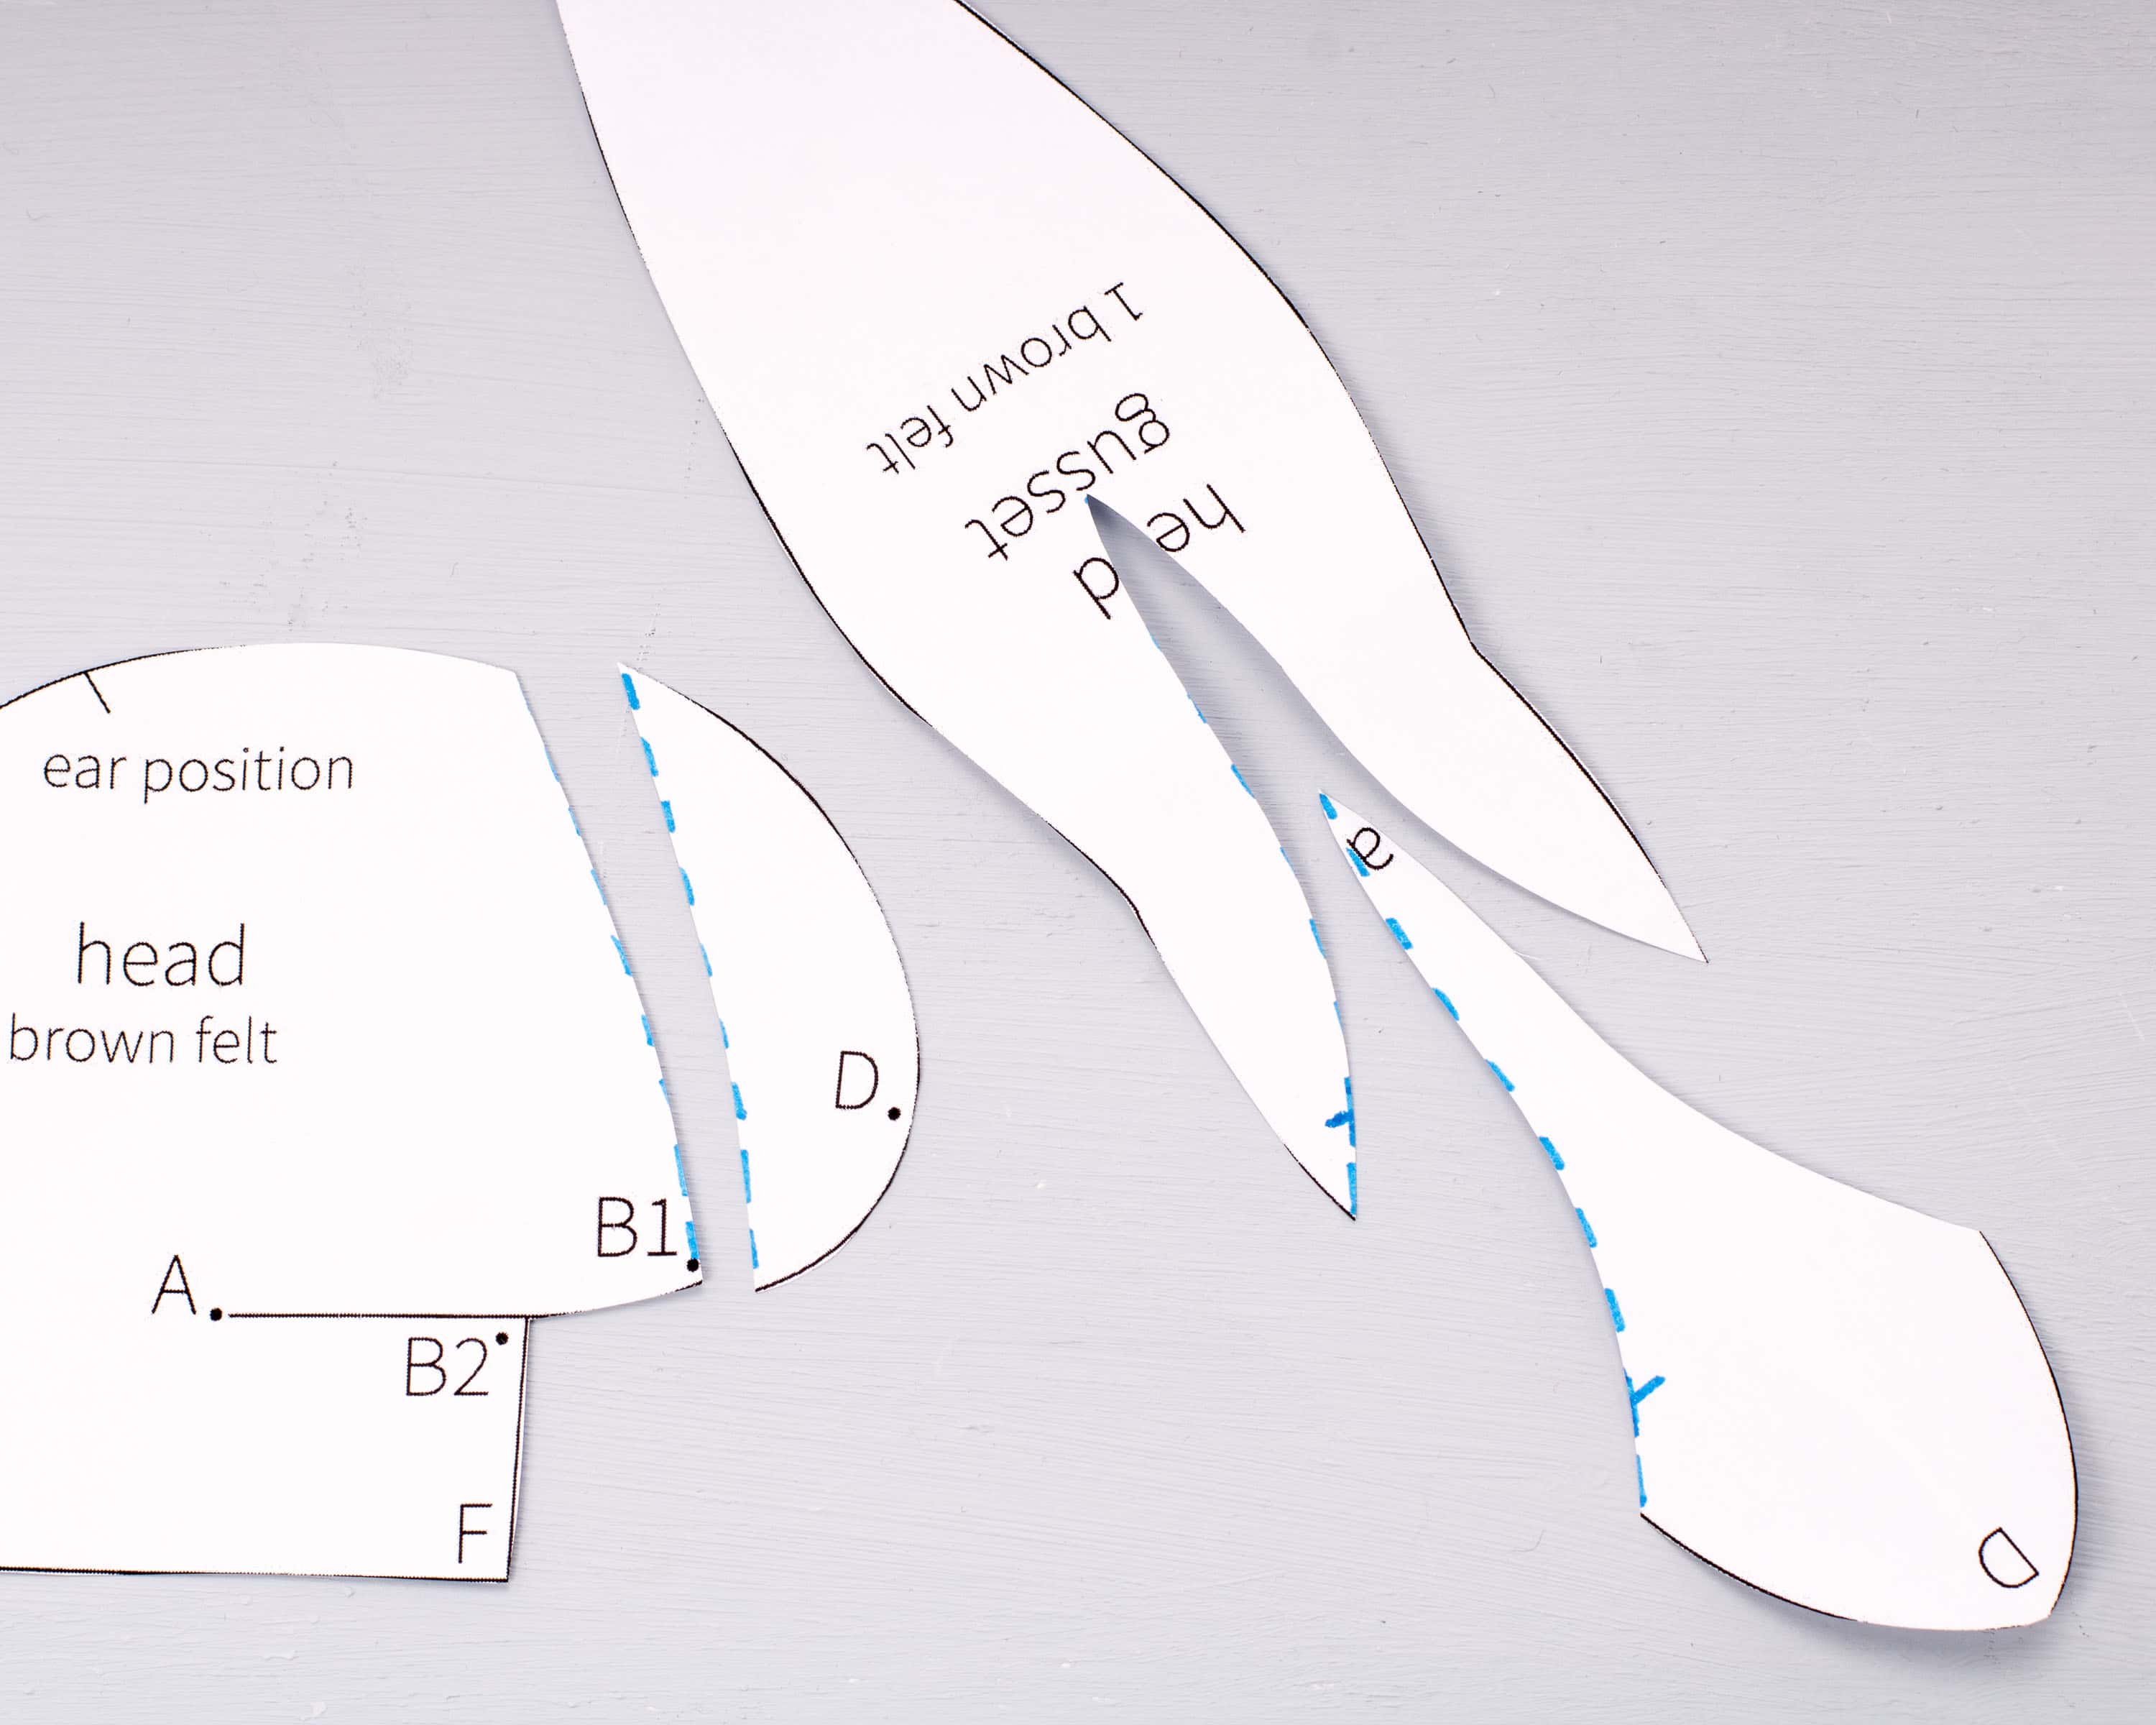
Placing them with the dots marked D side by side, draw lines on each template as shown. The cross marks the seamline where the joins line up.
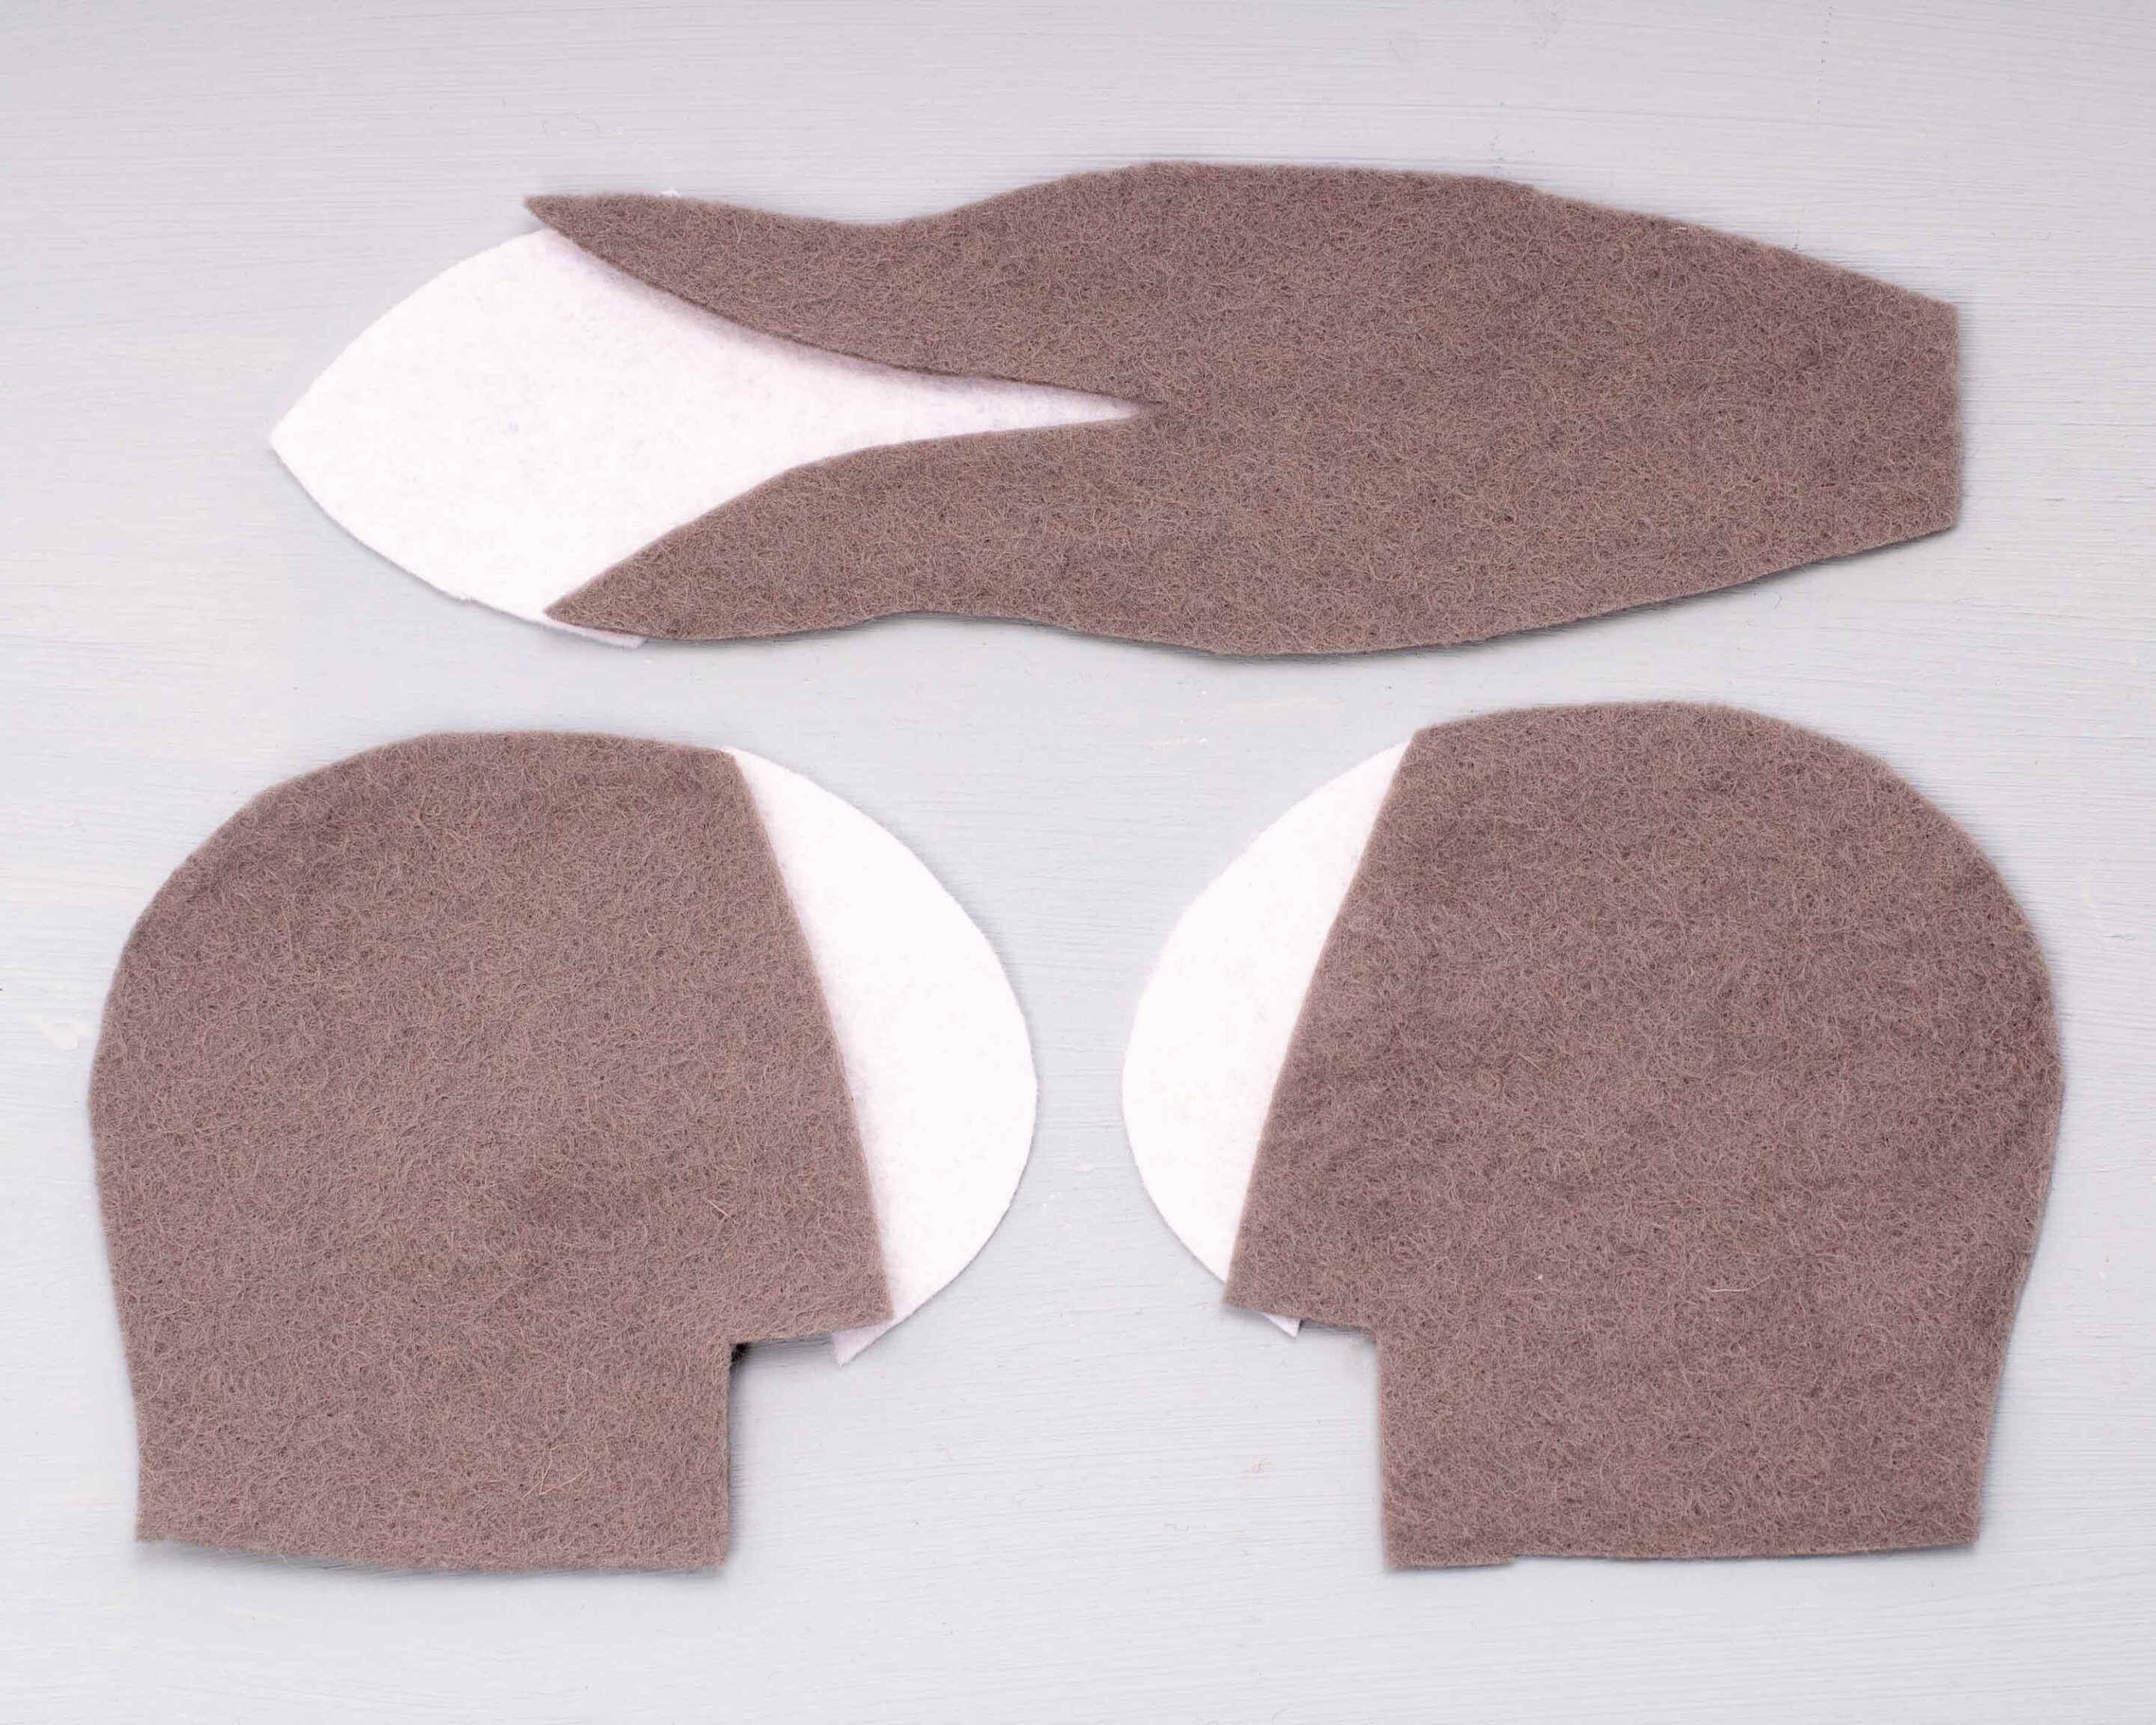
Now cut along the lines. You can fold the head gusset lengthways before cutting to make the shape symmetrical. You now have separate templates for the dark and light parts of the head.
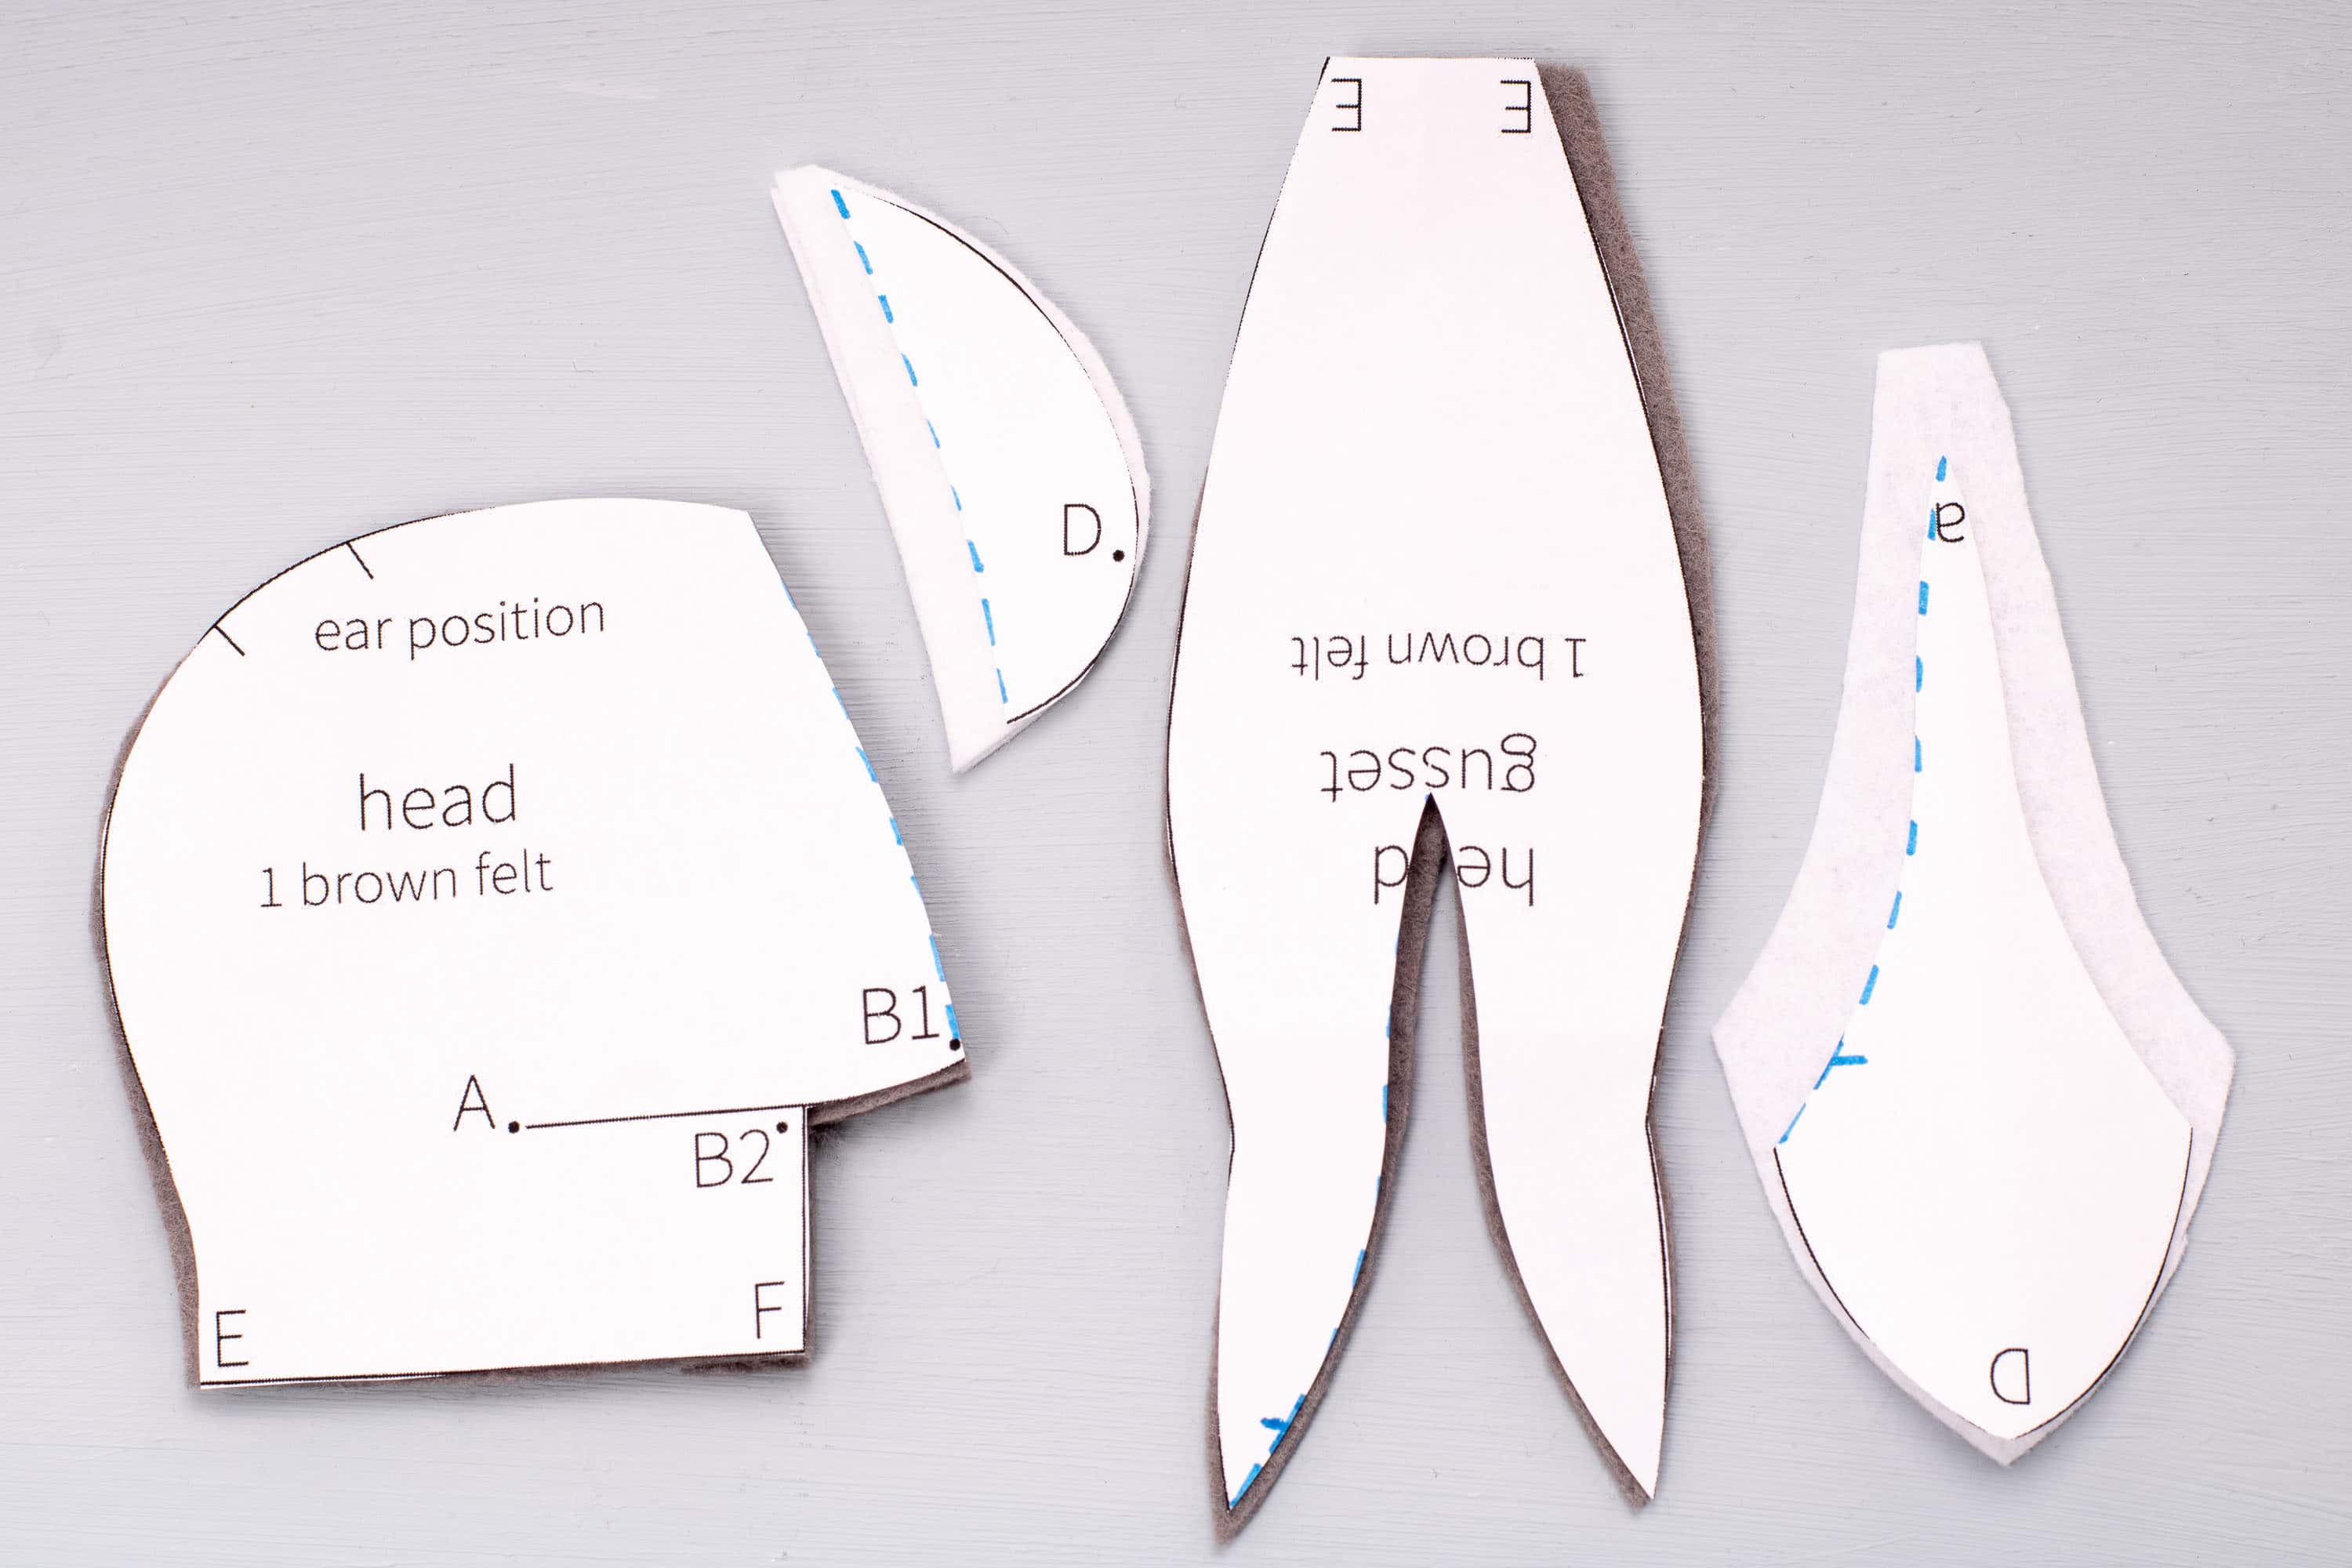
For the dark parts, cut the felt along the cut edge of the template. For the light parts, add a seam allowance to the cut edge.
Place the dark parts over the seam allowances of the light parts and stitch together on the right side.
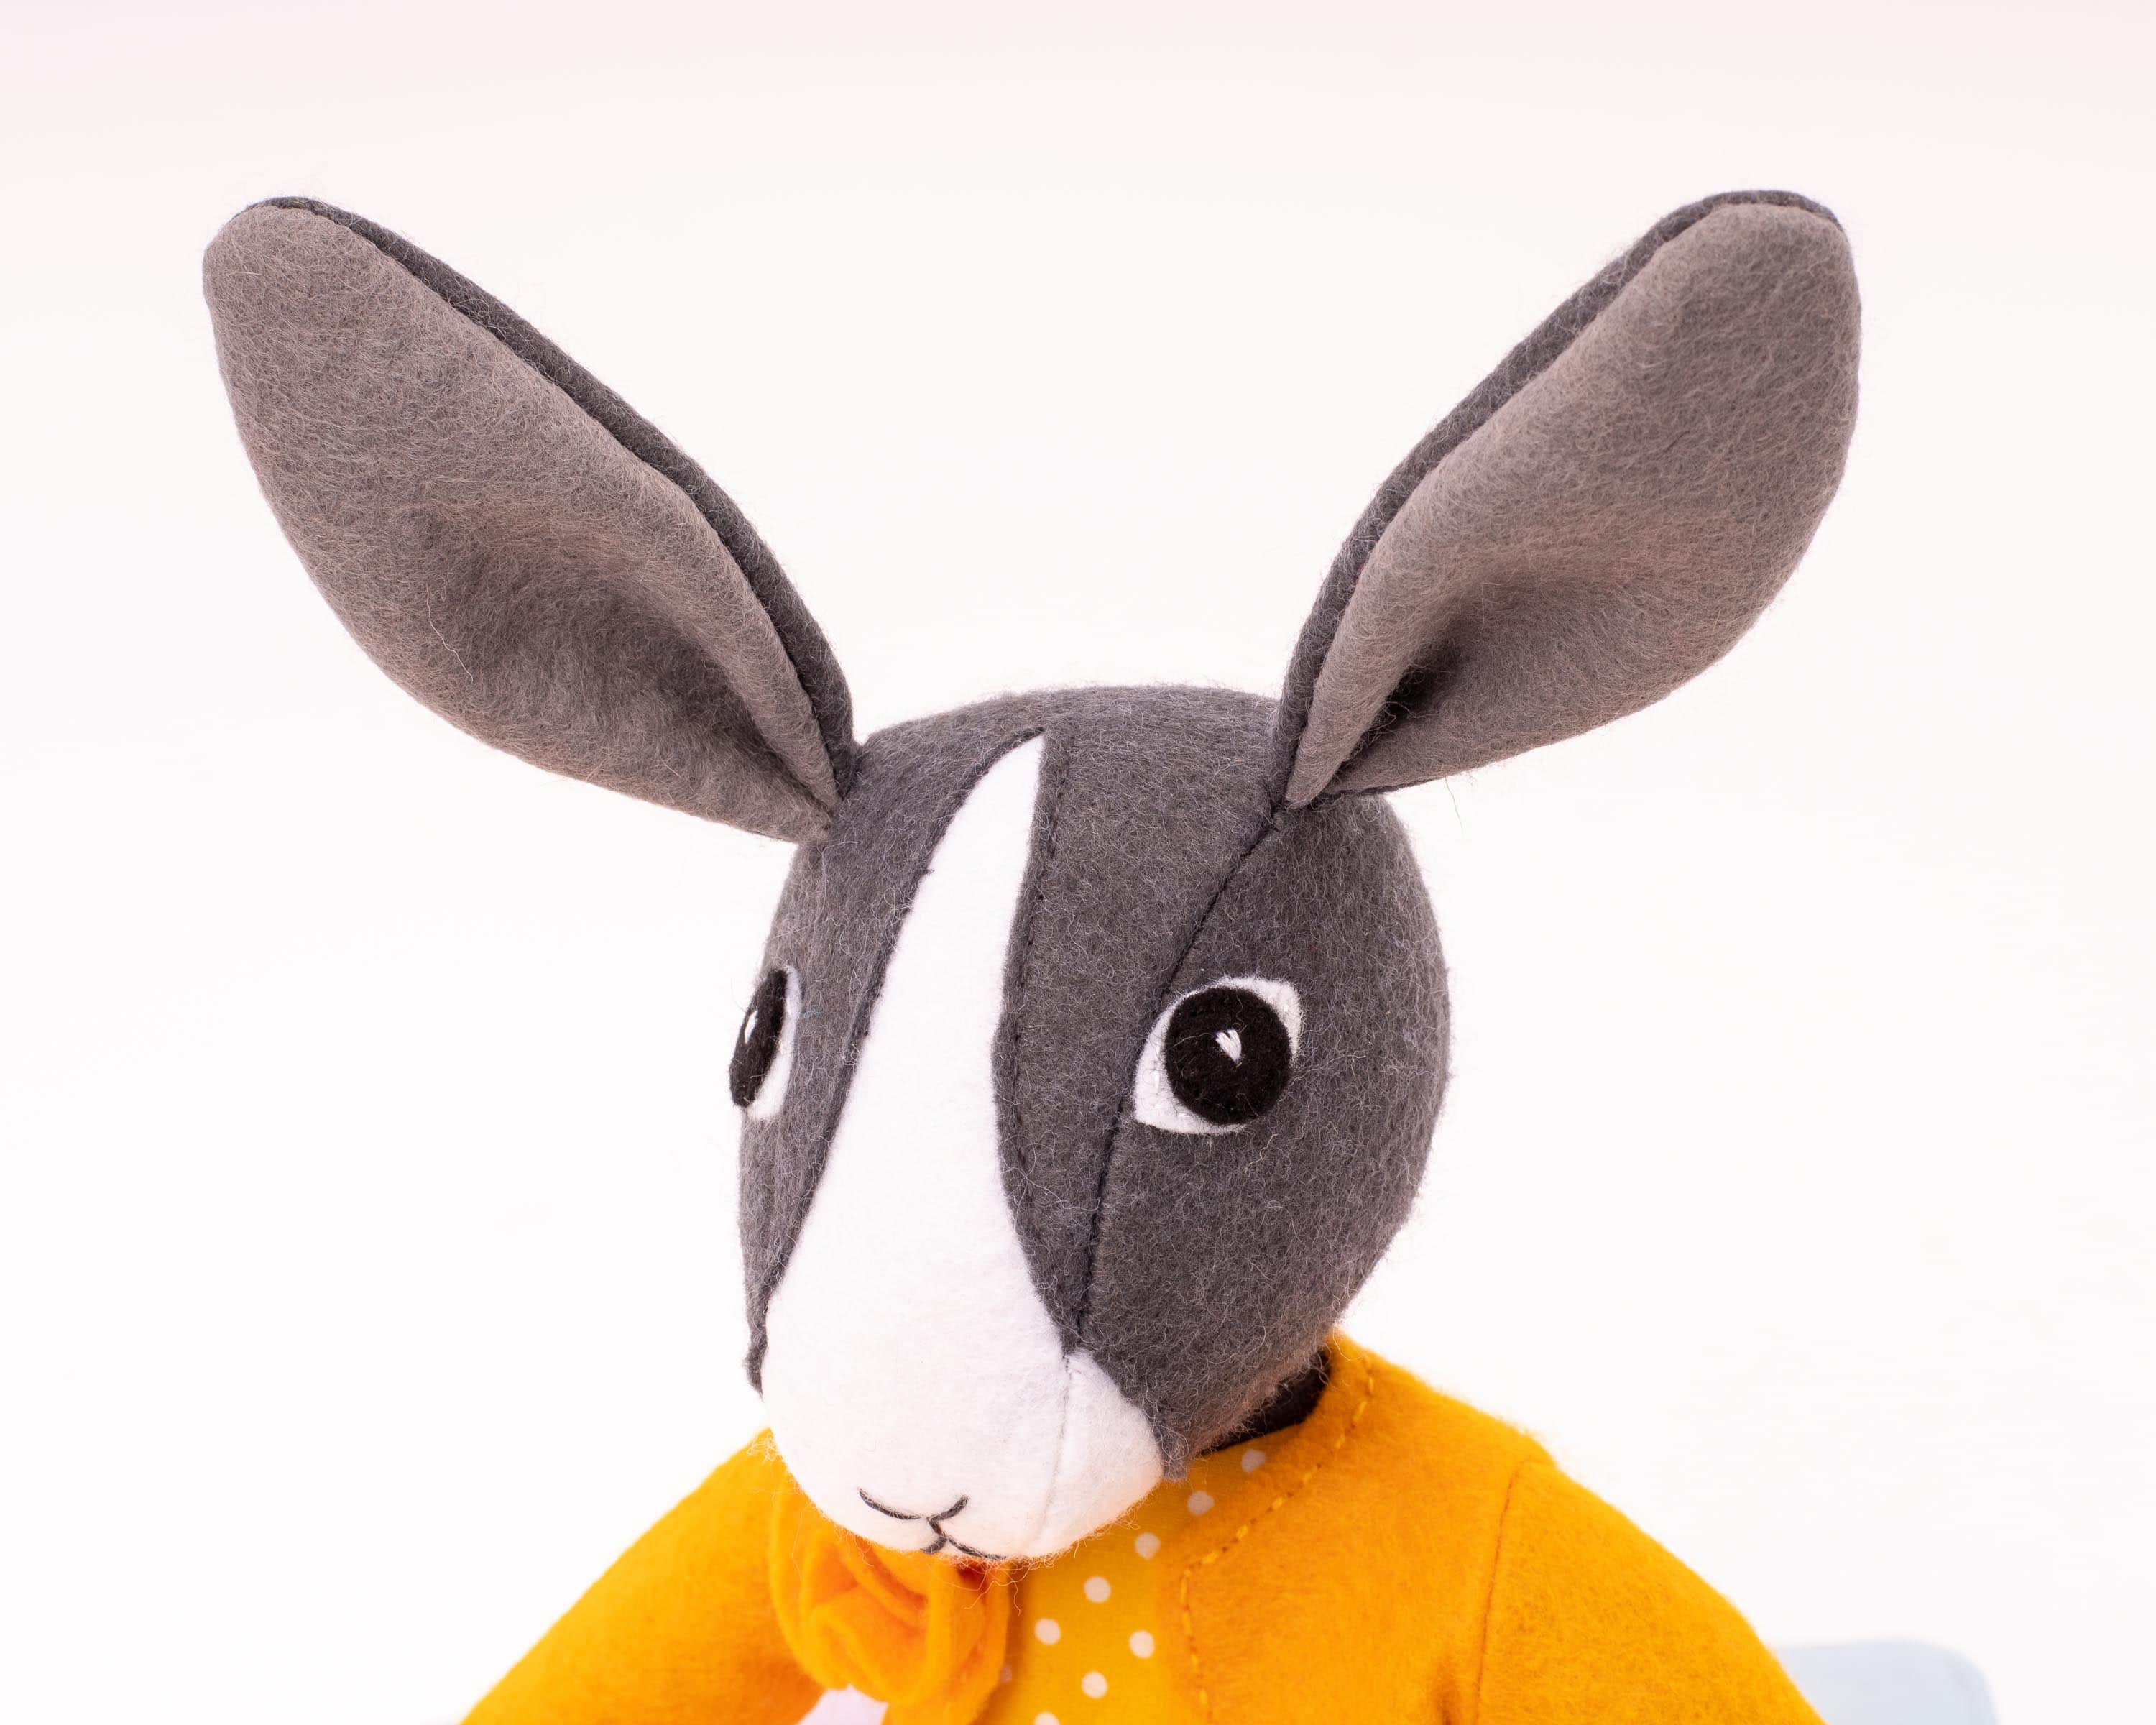
When assembling the head it can be a bit tricky to make sure the dark and light sections line up when the head pieces are stitched together. To do this, pin one of the heads to the head gusset, wrong sides facing, at the point where the colours join. You can fold back the seam allowances to check that the joins line up and adjust if needed. Secure in place with a few stitches.
You can now make the ears and continue constructing the head according to the pattern instructions.
Using different colors and markings can give your dolls very individual looks, so have fun experimenting.
You can find the Tabitha Rabbit pattern here.

You don’t have a mark for placing the eyes or the nose on the Tabitha pattern. Do you haven any pointers for placing them nicely?
Hi Suella,
I usually pin the eyes on a few times, moving them a little until I’m happy with the position. On my Tabitha model, the front corners of the eyes touch the head-gusset seam about 1 inch down the seam from the ear. The upper “V” shape of the nose begins about 1 inch up from the lower point of the head-gusset.
I hope that helps – I find it works better to position face details after the head is stuffed, as any markings on the felt can be stretched out of position when turning and stuffing.